
The ability to make cuts and make up tasks It is a basic requirement of every designer and it frequently forms the backbone of any of your Photoshop work that they can deliver.
3 types of basic requirements to make quick cuts
In this post we are going to go through three basic requirements to create different selections and for later cover makeup layer options and how they work a little more in depth. Once you're hooked on the basics, you'll see a whole realm of creative possibilities unfold through Photoshop.
Magic wand
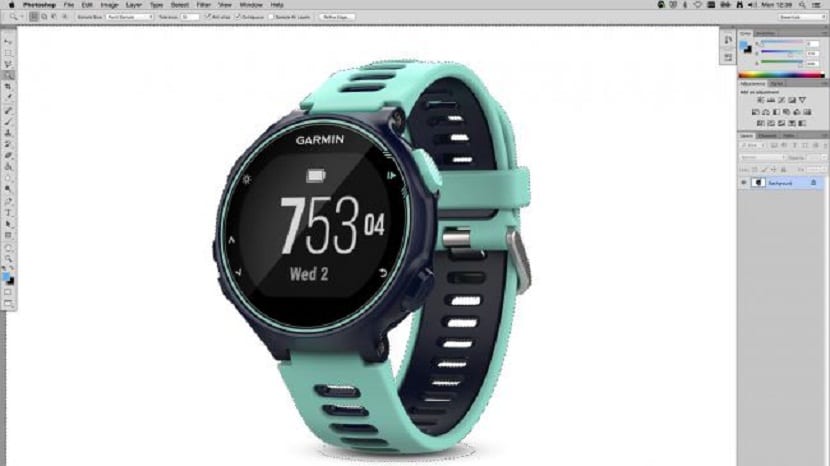
La wand mágica It is the fastest and perhaps the simplest way to make simple selections within Photoshop. Product images are usually made on a white background, so that the Wand Mágica is a perfect tool for this job.
Navigate in the Magic Wand tool and then increase the tolerance to 30 and click on the white area to make the selection.
Now press shift + cmd + I to invert the selection and then press the button "Add layer mask”At the bottom of the layers panel to unmask it from the background.
When we zoom into the background of the image display, we can see that the shadows have not been unmasked from the background, so for more precise options, there is no better tool than the Pencil tool.
Select the tool and start clicking, holding and dragging it to create patios and “Curves BézipperUntil you are satisfied, then click on the point of the original version to close the patio. Now navigate through the patio panels, cmd + click on the patio you just created and the selection will be made correctly.
Color range
The color range tool is particularly a simple tool and úto to select larger areas that contain a similar hue range.
Just navigate through the selection menu and click it to display the color range panel. Now scan your image and you will notice that an eyedropper appears. Click on the area where you want to make an image selection and you will see how inside, the panel will change
Bright

Once you have become a master with the selections and the masked, it is very easy to create many fun effects such as the shimmering glitter in the image of a phone that we have placed in the upper coverage and it is that to create this effect, you must select the phone, once you have unmasked it.
Now, on a new layer, fill the color selection with white and then, with the pencil tool, draw a curved patio. We will use this to create an impressionóNo solid shine on the teléphone.
Once you have unmasked the glow area, you can alter the opacity to make a subtle effect and use a large, soft brush to edit the layer mask.
Anyone makes or teaches cutouts on a white background. YouTube is full of tutorials. But when it comes to a normal image that one really wants to bring out the background in practice, there is no tutorial. They all give it to them as designers but with high background contrasts. So even my baby with a single click does it.
Gon Her if there is actually a video uploaded how it's done