There are certain abilities that they have to be well rooted when using a design tool such as Adobe Photoshop. Using keyboard shortcuts to perform all these actions will save time in those hours that we can spend with this design program.
For selecting images and shapes within a file open in Photoshop, if known the three most used forms, we will know how to better manage the time we need to give the special touch. We are going to discuss three of the fastest and most effective options when selecting shapes or objects from an image.
Magic wand
It is the fastest tool for use it in an empty space or a flat color, so that with the combination of keys Control + Shift + I, we can select any shape we want quickly.
- We click on «W» (magic wand key) and we we lead to tolerance or tolerance at the top. We select 30 and click on a blank area
- Now we press Control + Shift + I to invert the selection and click on the button «add layer mask» or «add layer mask» at the bottom of the «Layers» or «layers» panel
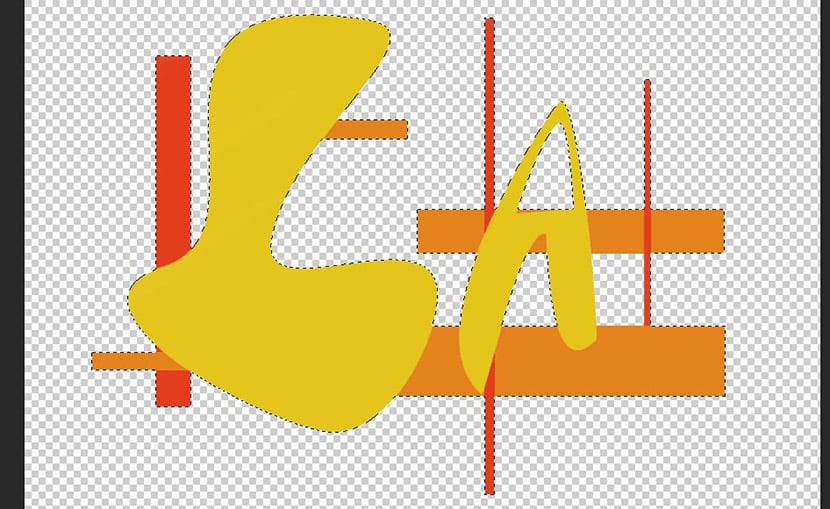
The pen tool and path selection
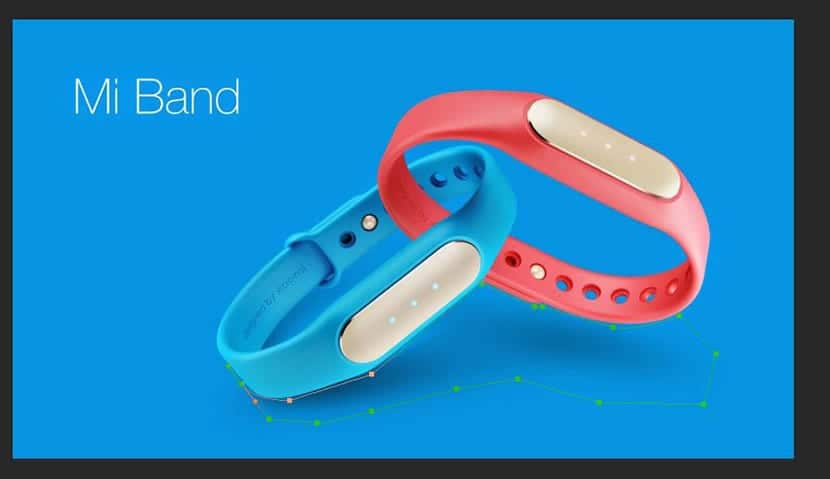
When we need make more complicated selections in which curves are included, as happens in this image of the activity bracelets in which we want to get rid of the shading, the pen tool is perfect for this.
- We select the pen tool and we start clicking to surround the shadow shape.
- You have to keep hold down the button and move the mouse to change the shape of the Bezier curve until you take the shape you want
- It takes a bit of practice, but when you're handy with it, you'll be able to make perfect curve selections.
- Now you only have to go to trace panel and right click on the created one to select "Make selection" or "Make selection"
- A window appears in which you can create the new selection by pressing «OK»
Color tool and mask layers
The color range tool is perfect for selecting large areas that contain a similar tonal range.
- We go to «Select» or «Selection» and click on «ColorRange»Or« Color range »
- Now we leave the mouse pointer over the area we want to select
- The pointer was changed to a dropper
- Click on the area that you want to make the selection and the part that has not been selected will appear in black in the «Color Range» window.
- Click on "OK" and you will make the selection
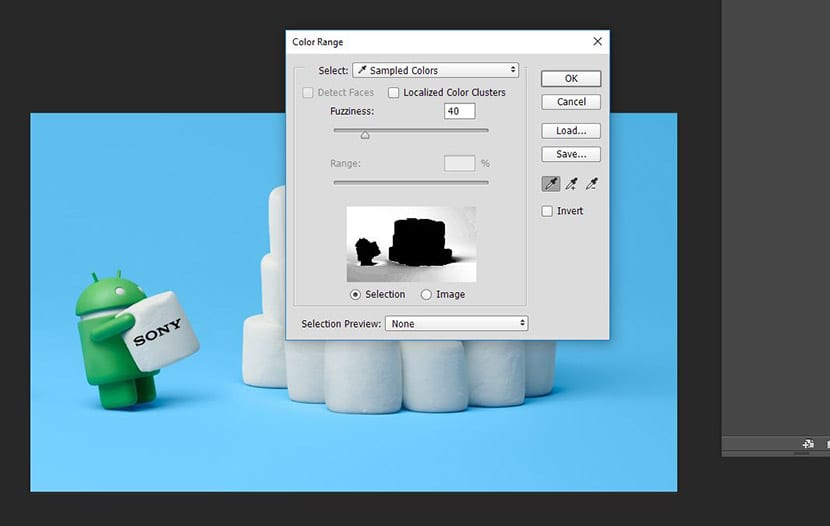
You always have the option of specify the selection with the «Fuzzines» bar or just the first one that you will find in the window below «Select».
Interesting article, in the case of "tonal range", you have explained it quite well, I also play a bit with the eyedroppers "+" and "-" of the dialog box of "tonal range", I go to the thumbnail and I add or subtracting until it is more or less what we want. Good article.
Thanks Dani!
One of the best things about Photoshop is that there are always multiple ways to do anything. You have to find the one that best suits you.
For rough selections of curved objects I usually use the magnet lasso, but the truth is that the pen is the most professional; all you have to do is be used to it so you don't waste time in the selection.
Regards!