
Source: Hypertextual
In Photoshop, you can not only make mockups, but also at your disposal a wide variety of tools that help you correct various errors, especially when the images are revealed.
Nowadays, there are a lot of programs and software to remove noise, but Photoshop is the most effective program to reduce noise for several reasons:
- Incorporates advanced noise reduction through Camera Raw.
- Allows you to use external plugins.
- It offers the possibility of performing advanced techniques.
- Allows you to apply settings selectively.
Of all the advantages, the fact of being able to apply the adjustments locally is the most important, since, through adjustments and masks, we will be able to correct noise in Photoshop in a much more specific way than with any other program. Throughout this article, you will be able to know all the details about how to reduce noise in Photoshop, being able to put into practice all the functions and techniques from basic to advanced.
We start
Introduction to Photoshop
Before entering the tutorial, if you are a new person in this world, we are going to briefly introduce you to the world of Photoshop.
Photoshop is the name of a more than well-known image and photography editing tool, a program used on PCs to retouch photos and make professional montages, although it is also accessible to users who have been experimenting in this field for a short time.
It is a tool developed by the company Adobe Systems, anyone can use Photoshop on both Windows and Mac OS. Currently, it is one of the essential allies of any marketing team, especially in the creative branch, given the potential it has to create any type of graphic material with relative ease. It takes some learning, but its possibilities are almost endless.
Unlike the famous GIMP tool, Photoshop, it is a paid application. And unlike this one, it may not have the same quality or offer the same facilities, but it is also quite determined in various fields. Photoshop fits better with the professional realm, while Gimp is more valid for the amateur.
Reduce grain with color gamut
This method has been around for years and is still just as effective. It's true that we could forget about Color range and bet on luminosity masks to do exactly the same and with more precision. But you have to create them or find a panel that allows us to work with them. It depends on the skill of each one with the program. I assure you that the way I tell it, it works like a charm. And also each one can add their brand of the house to personalize it.
Let's start.
Step 1:
Source: Capture
First of all, we reveal the file RAW with our usual workflow in ACR. If we want we can control the noise in this plugin but as it causes a loss of sharpness, I think it is best to leave the default parameters. We open photography as an intelligent object, how could it be otherwise.
You have to create three different layers. One will have only the highlights, another will have shadows, and the last will have midtones. This way we can apply a noise reduction of different intensity in each one.
Let Selection> Color range> Shadows. Thus we select the pixels that are in the left area of the histogram. We have to play with the Tolerance around 50 and the Range around 128 to get to select exactly what we need.
Now we are going to Select> Modify> Feather> 2 pixels.
Edit> Copy.
Layer> New> Layer.
Edit> Paste.
These last five steps have to be done two more times: with the highlights and with the midtones. And always starting from Color range.
Once we have reached this point, we have in the window Layers four layers. The original smart object and three more layers with Shades, Lights y Medium tones. Now is when we can correct the noise in each layer with appropriate parameters.
Step 2:
The best filter for these tasks is still Filter> Noise> Reduce Noise. To each of the three layers that we have created we will have to give the pertinent adjustments according to the following parameters:
Intensity fulfills the function of the filter, remove luminance noise. In the Shades I usually raise it to the maximum value.
Keep details does exactly what it says. If you want the effect of Intensity It looks completely, you leave it at 0 and if you don't want anything to be noticed, you raise it to 100.
Reduce color noise work with him chrominance noise which fortunately will have been removed in the editor RAW with default parameters. We will have to touch it little or nothing.
Focus on details is an unsharp mask that tries to preserve the sharpness of the image and counteract the effect of the filter. Even Adobe recommends using an unsharp mask better.
Remove default jpeg We will not use it if we work with TIFF or PSD.
If we work in the Advanced mode We will have the possibility to regulate the Intensity in each RGB channel.
Other ways to reduce noise
Another option to reduce noise is through:
- Adobe Camera Raw: We can reduce noise in Photoshop with Adobe Camera Raw in the same way that we do in Lightroom, since these Adobe programs use the same algorithm for noise reduction.
To do this, we will have the following settings in the detail panel:
- Noise reduction luminance in Adobe Camera Raw: Where we can reduce luminance noise in Photoshop through Luminance adjustments, luminance detail and luminance contrast.
- Noise reduction color in Adobe Camera Raw: Through which we will eliminate the color noise in Photoshop through the color sliders, color detail and color smoothness.
- Reduction filter noise reduction in Photoshop: This anti-noise filter can help reduce noise in Photoshop similar to the reduction in Camera Raw / Lightroom. Also, this module allows us to reduce noise in Photoshop more selectively.
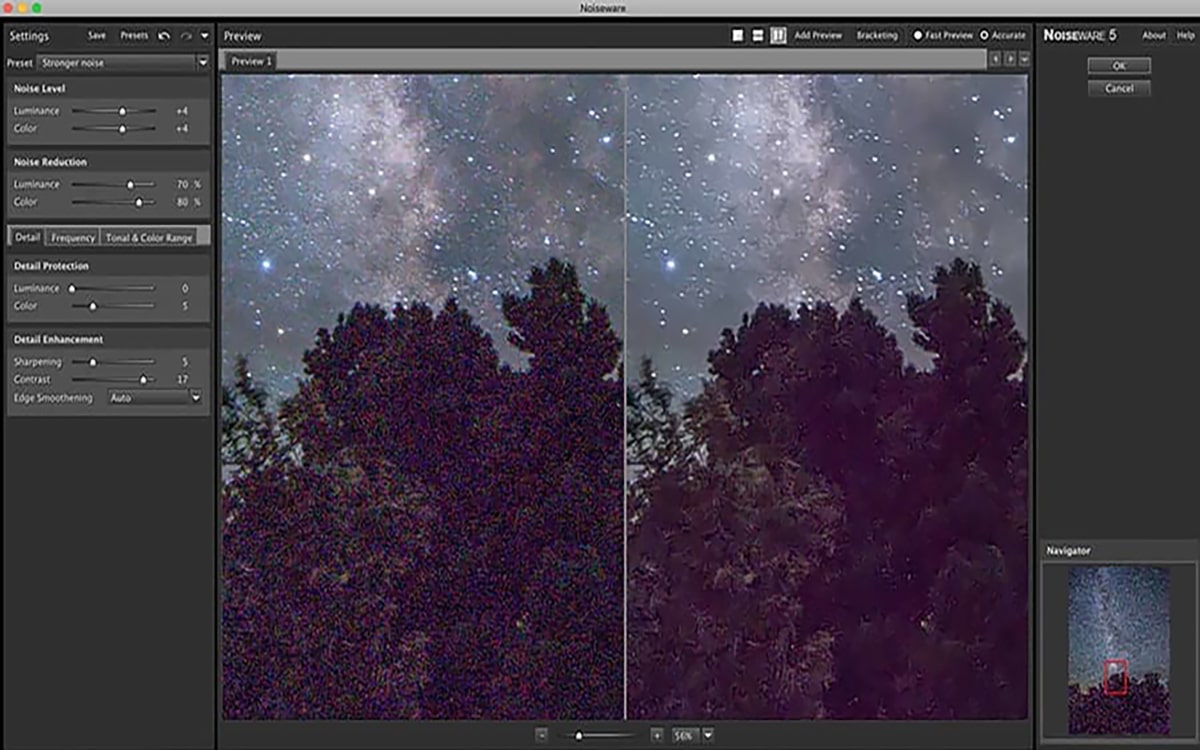
- Plugins and extensions to reduce noise in Photoshop: In the extensions section, we can configure third-party plugins that allow us remove noise in Photoshop, such as Luminar, Noiseware, Dfine 2, Noise Ninja and other plugins that we will see later in the section on best Plugins to reduce noise in Photoshop.
- Using smart objects: Through this setting, we can remove noise in Photoshop using multiple images with the same characteristics. It is one of the most effective noise reduction techniques in Photoshop.
Reduction techniques
Once we have the different options where to eliminate noise, to summarize better, these are the best techniques to eliminate noise in Photoshop, that is, those techniques with which you will obtain a better development.
- conduct a blending to reduce noise in Photoshop, one of the best techniques for removing noise with starter cameras.
- conduct a piled up to reduce noise through smart objects.
- Use the noise reduction of Adobe Camera Raw selectively.
- Using the dashboard filter -> Noise -> Reduce Noise selectively.
- Use a Plugin applied through masks selectively.
- Create luminosity masks to apply noise to specific areas.
When should I reduce the noise
You can reduce noise in Photoshop at any time, it is advisable that the main noise reduction is done at the beginning of your workflow, before even focusing the image.
When the image already has background noise, as we begin our workflow, we apply focus, brightness, contrast and color adjustments, which often causes the grain to become more evident, especially in the shadows and areas. underexposed.
Our advice is to apply a moderate reduction at the beginning of your workflow and, if at the end you see that the noise is still evident, go back to apply an anti-noise lightly and more specifically in the affected areas.
Digital vs Brightness
There are different options, it all depends on how you shoot and measure the image:
Digital
If you shoot Raw, reduce the noise in Camera Raw. If you shoot JPEG, apply Camera Raw as a filter or use the Reduce noise filter. The smaller the file, the greater the likelihood of compression damage to the image. That damage typically manifests as visible lines between blocks of eight-pixel-square measurement pixels.
Luminosity
In addition to the red, green, and blue spots of digital noise, you might face luminance noise. Under the Noise Filter menu, we can find the Remove Spots command.
Conclusion
In short, as you have seen, there are different ways to reduce the grain of an image. You can choose the mode that best suits your format or way of projecting your results.
Thanks to current technology, we can shoot and go wrong when measuring ISO which is one of the main causes of graininess in images.
It is time for you to start investigating and putting all of this into practice.