
If we talk about smart objects, vectors or layers, a computer program or software that is capable of handling tools with the aim of designing or making a graphic element comes to mind. This small definition tells us that we are talking about neither more nor less than Adobe Photoshop.
In Photoshop, it is common to work with layers. In this post, we show you a small tutorial where we will explain how to change your size. And if you do not know what we are talking about, then we explain what the famous layers of this program are and what function they have in the application.
Layers
Source: Photopress
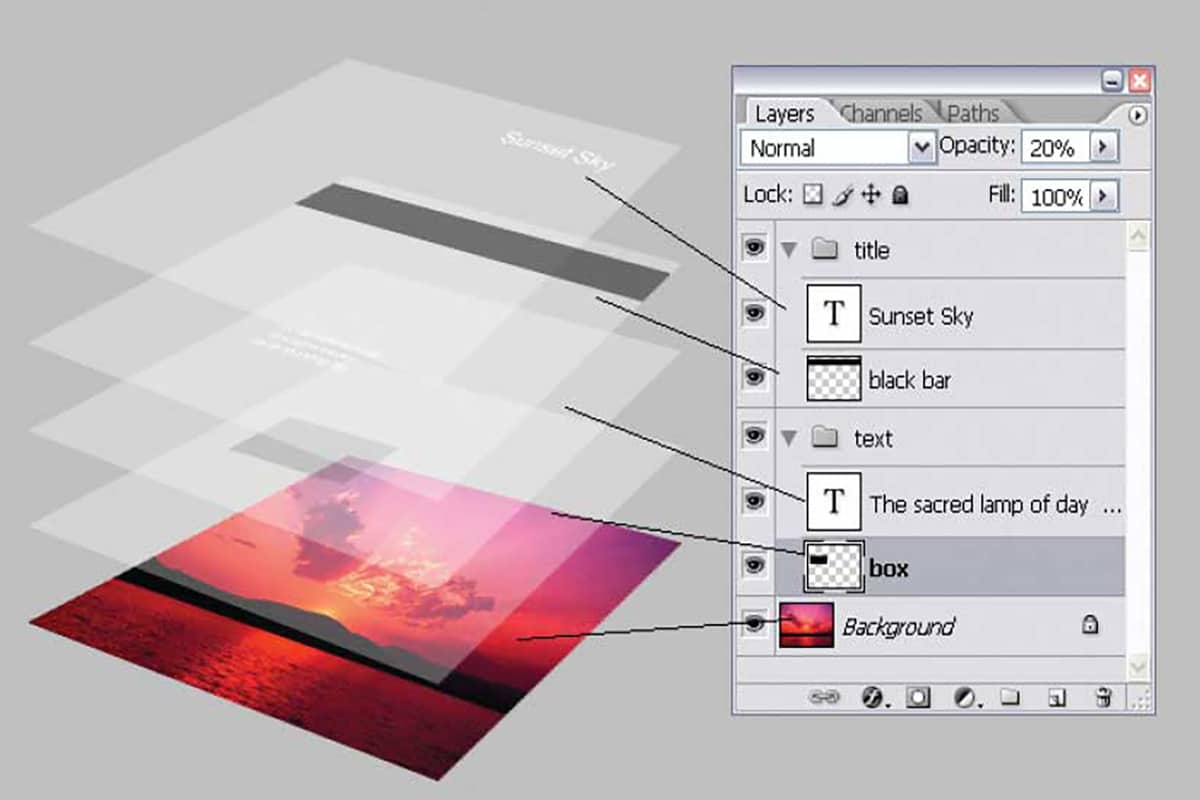
Let's say that what best defines the concept of layers would be a series of sets that form an image. These layers were introduced in Photoshop in 1994 with the release of Photoshop 3.0. This concept influenced the complexity of digital images and now comes standard with most image editing programs. Layers allow you to make changes to individual elements and in the effects in the photo, giving you more flexibility in editing.
Layer types
There are different types of layers, and depending on the way we are going to work we find the following:
- Image layer: are those images that overlap ours.
- Text layer: This refers to a text layer.
- Adjustment layer: certain effect layers that have the property of modifying a photo, an example of this is contrast, another.
- Filler layer: color layer, it can be a gradient.
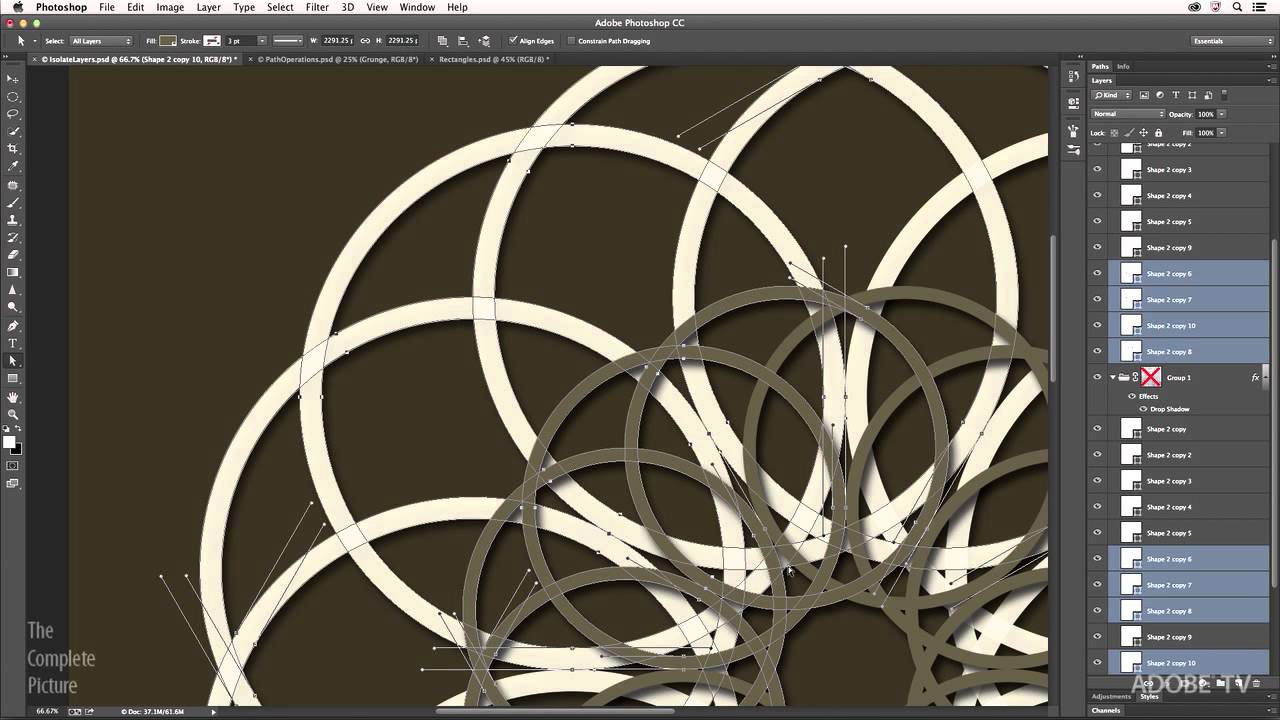
- Shape layer: it is usually generated when making a drawing on the photo.
Create a layer
Creating a layer is very simple, for this, it is important that you start with only the background. This is not technically a layer and no style or properties will be activated, it is simply so that the layer comes with a background.
You can add an access layer to the Layers box. If the layers box is not displayed on the screen, you can click on "Window" in the top menu and put a check mark next to "Layers". From there, look for a little page swap icon that says "Create New Layer" when you're on top. Layer 1 will be listed above "Background" in the Layers box.
Your choices
Previously, we have explained the types of layers, but these layers provide a series of options or adjustments where we can modify their appearance. For example, from the bottom of the Layers box, you have the option to create a layer of Adjustment, which refers to color and contrast edits.
You can also create layer stylesthat is, link the selected layers together and add layer masks. Layer blending options are displayed in the drop-down menu at the top of the box. With this, you can blend layers together in different ways, while controlling the opacity level of each.
Resize the layer
Step 1: The size
Source: Adobe
Before changing its size, you need get your size. For that, use the keyboard commands. If you have a Mac operating system, you can press the following series of commands to find out the size of the layer in Photoshop: Cmd + A, Cmd + C, Cmd + N.
This action will show you the document in a new window. The information that comes out in width and height are the dimensions of your layer. To exit that window you just have to press the escape button. In the case that you use Windows operating system, replace the command key with the control key and carry out the same procedure.
Option 2
Another option is that you select the layer you want size next to the command or control button and view the data of the "Info panel". There you will find the symbol of the measuring ruler next to the letters W and H that tell you how to know the size of a layer in Photoshop.
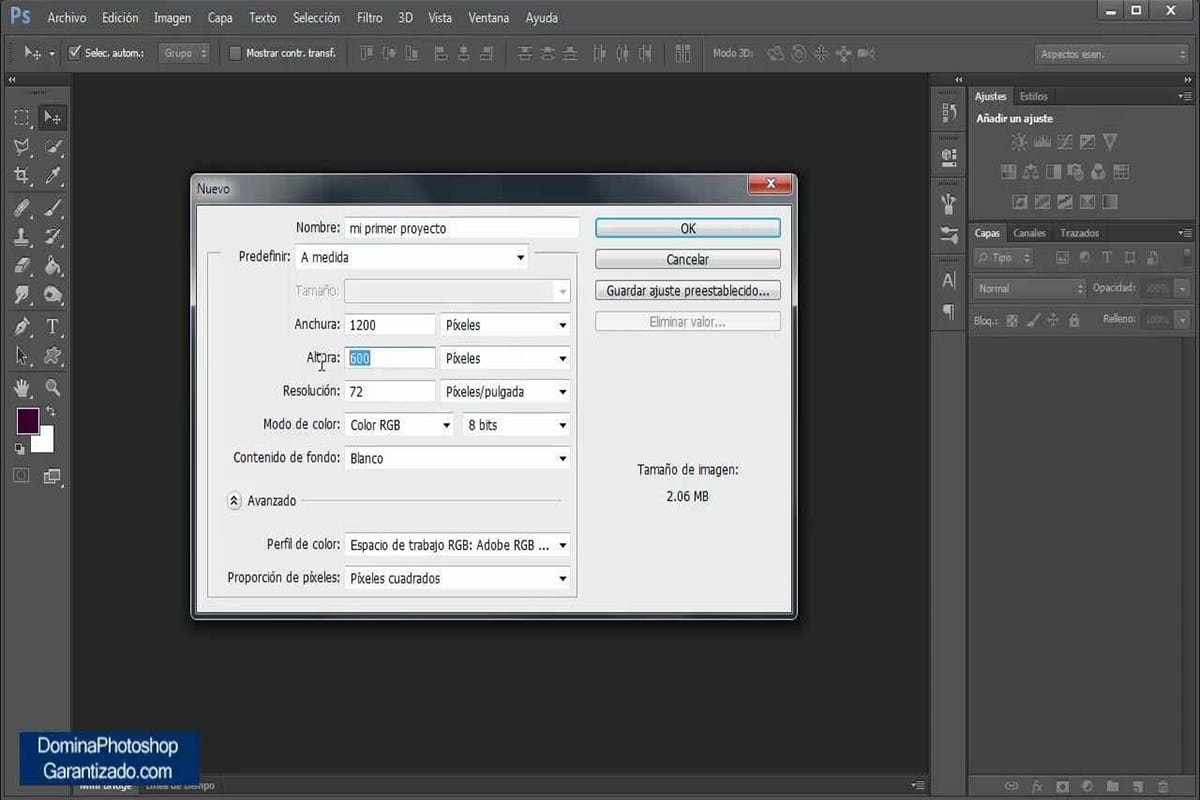
Step 2: Create new canva
Source: YouTube
The first thing you should do is create a layer or several layers over the image you have in the software.
To make a new layer:
- You must open a new document by clicking on the "File" option.
- Then choose "New".
- A pop up window will automatically open.
- There it will ask you to adjust the size of your blank canvas. Ideally, create a Photoshop layer the same size as the image you already have available.
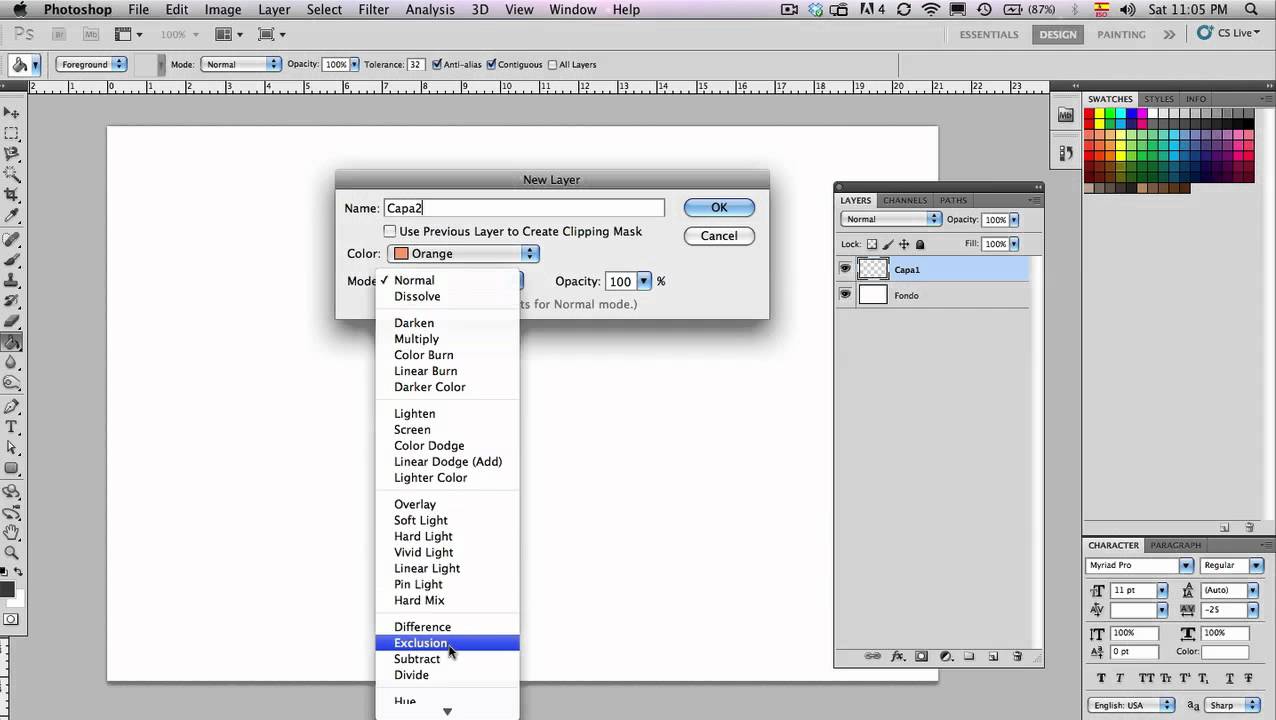
Step 3: Add New Layers
Fuente: YouTube
To design with greater fluidity and flexibility, we recommend that you add multiple layers on this background you just created. Remember that you can always delete them once they are no longer necessary.
To create a new layer in Photoshop:
- Go to the layers palette found in the lower right corner of your screen.
- Make sure the "layers" tab is active.
- All you have to do is click on the icon that looks like a leaf with a little bent.
- You created your first layer in Photoshop.
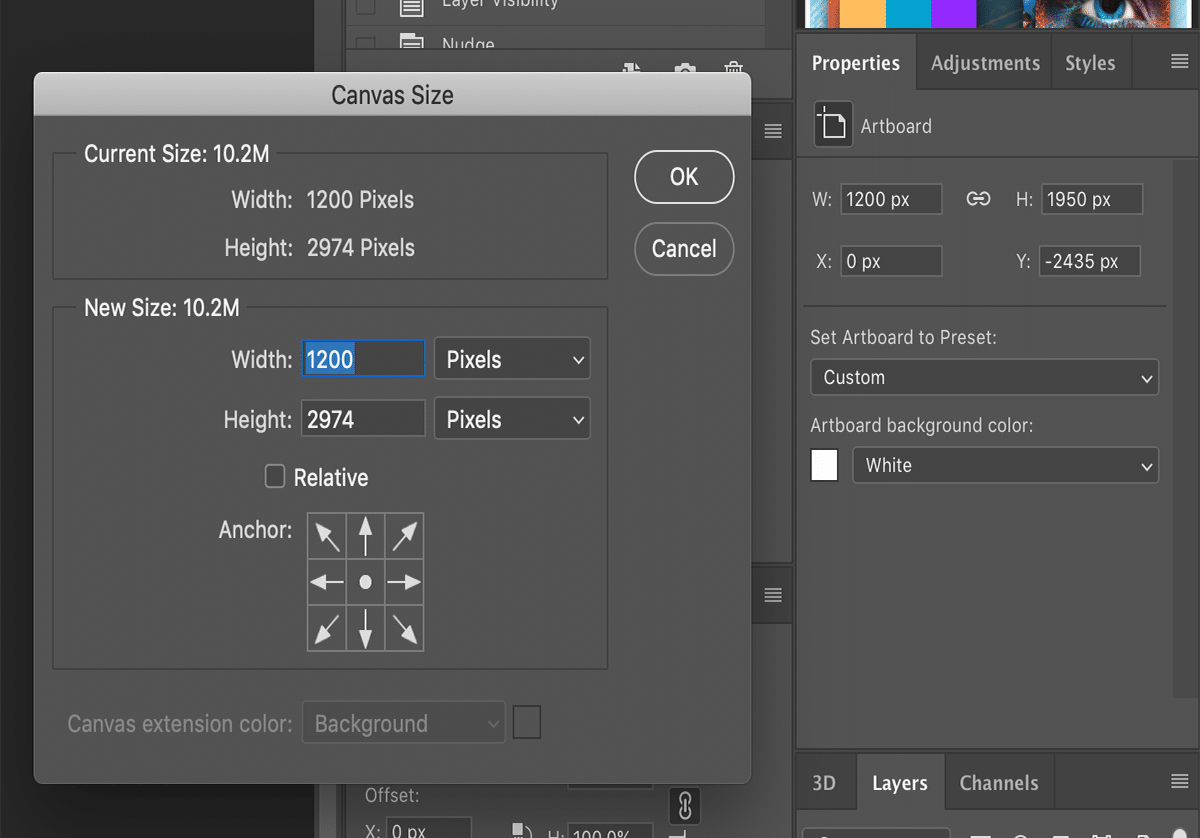
Step 4: resize the layer
Now that you know how to design on layers in Photoshop, you just have to learn how to resize them. Imagine that your design was not exactly the height you expected to combine it with this image. There are two ways to resize a layer:
- You can go to the "Edit" option and click "Free Transform" in the drop-down list.
- There is also a shortcut that is activated with command or control and the letter T.
Step 5: the anchor points
Source: Adobe
A key element of changing the layer size in Photoshop is understanding how the layers work. anchor points:
- If you click somewhere in the corners and drag towards the center, the layer will pick in both directions. However, this resize in the cape will not be perfect. Do this by pressing the SHIFT key.
- In the same way as just before, if you click on a corner but drag the mouse outwards, the layer will change its size to a larger one.
- Now, if you only want to change the size of a layer in Photoshop towards the vertical direction, you must click on the anchor points that are at the top or bottom.
- If what you are looking for is to increase the width of the layer, you will have to do the same procedure but from the sides of the layer.
About Photoshop
Now that you know how to change the size of the layers. We do not want to put an end to this post, without first explaining what Photoshop is and why it is so important in graphic projects.
Photoshop is currently the editing program more complete and more recommended by both professionals and amateurs because its use is very intuitive and has more advanced tools where you should learn to use it.
Among the main Photoshop features We can say that it is very complete, therefore the tools and their functions serve both for architects and for anyone who wants to edit their photography. It is incredible that its use is so wide with such a low weight, however many of these functions must be mastered perfectly so that the project is of the quality you expect.
Its functions
Currently you can use Photoshop for any design aspect that you want to implement, however before it was only possible to edit images as you want either by adding or removing objects in it.
It works with bitmaps with which you can edit, modify, manipulate, retouch, improve, with the help of all the tools that Photoshop has, being the most complete that you can find among the thousands of platforms for it. You can make custom photographs, banners, edit photos, real posters, advertising campaigns, logos, among many other graphic design projects that you can improve only by using this program correctly.
Conclusion
Photoshop is available to everyone today. The importance that has been given to this program is too much, that many people are unable to not work with it. Intended for graphic design, web design, 3D and photography, It is one of the most widely used programs in the world, not only on a photographic level but in general terms.
In all design schools, the first thing that is taught is to handle this program and its tools, since due to all the options it has, it has become the star tool, whether you are a designer, illustrator, or art teacher. Or simply dedicate yourself to digital marketing and need to create advertising media adapted to your campaign.
We advise you that, after reading this article, let yourself be carried away by the wonderful world of Photoshop and become another designer. Start with a small layer, try to apply small adjustments (lights, contrasts, colors) etc. And start your creative journey and take it in style.
What type of cape have you chosen?