
Smart Objects header in Photoshop
The smart objects are part of an Adobe technology (from at least CS4 versions onwards) where the main concept is the non-destructive image editing. Although there is much more to tell about smart objects.
To see in a practical way how Smart Objects work, we are going to do a daily test in Photoshop such as scaling an image. In the sample photos you can see the difference between the workflow with and without smart objects. In the second image we see the loss of resolution and its subsequent pixelization, while in the first image, we see how despite having reduced, enlarged, and reduced again and enlarged the same photograph, it continues to maintain its original quality.
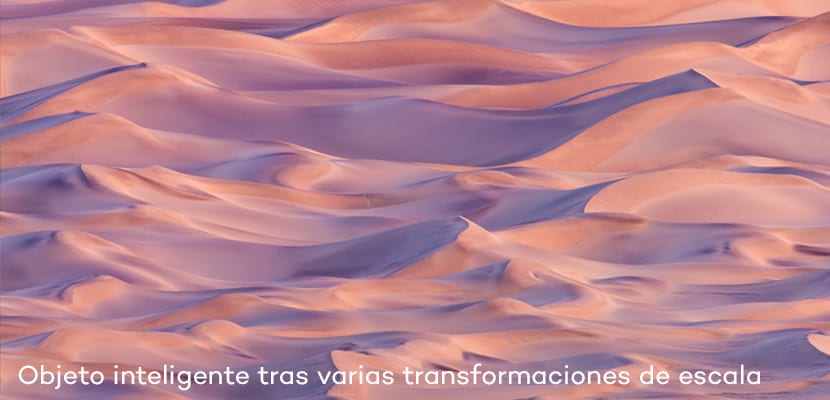
Image Example Smart Object

Rasterized Example Image
We already know the first and great advantage of this technology: preserves layer resolution.
To convert a layer to a smart object we select the layer, right click and choose the option "Convert into smart object"
Photoshop and Illustrator they are very well understood, so we can also benefit from Smart Objects when working with these two programs at the same time. When copying from Illustrator and pasting it into Photoshop, we are asked how we want to paste that content and the first option that appears is to paste as smart objects. This is another way of streamlining our work since, automatically, the changes made in the Illustrator document, when saving, will be immediately reflected in the Photoshop document with which we are working.

What are the ways to transform a layer into a Smart Object? Several.
- The first, already mentioned above. Click on the layer that interests us and turn it into a Smart Object.
- The second, from the menu Layer-Smart Objects-Convert to Smart Object.
- The third, from the menu Filters-Convert from smart filters.
- The fourth, from the Place command. File-Place (Place). We can use images or vectors.
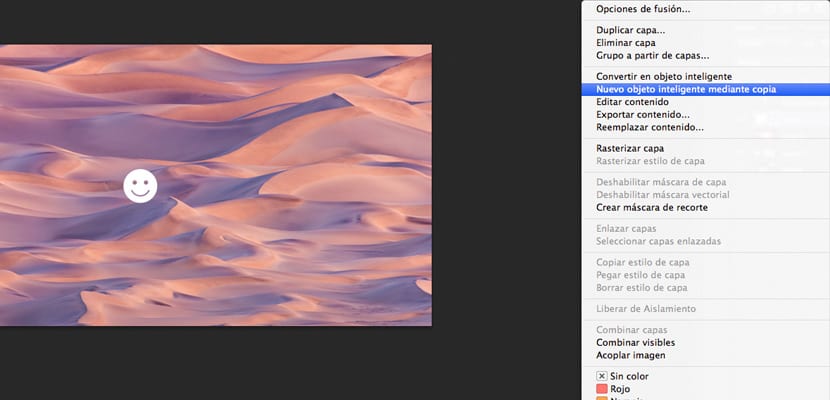
There is something else that we need to know when working with Smart Objects and that is the difference between layer copies. If we have a smart object and we duplicate the layer, we are creating different rooms of that layer (something like the symbols in Flash or Edge Animate). This means that the changes produced will be reflected in all copies of that layer.
However, if we want to make changes that do not affect the original layer, we must use the option of "New smart object by copying" from the context menu (right click on the layer). So we are creating a totally independent layer. Use both ways when necessary.
Smart filters are a great creative tool. It offers us the great advantage of maintaining control of the filters applied to a layer at all times, thus being able to change the parameters of the filter in question when necessary. To change the options of an applied filter again, just double click on the name of the filter under the layer and the corresponding window opens. It is a non-destructive way of working that offers us great productivity.
An important detail is that we can also replace the content of a smart object by right clicking on the layer and choosing this option.
This has been a brief introduction on the use of Smart Objects. It is advisable to practice yourselves and thus discover new possibilities in your daily work in Photoshop, achieving greater productivity and efficiency.