
Photographers are sometimes faced with the dilemma of choosing between two photos that have a perfect pose and the other an almost magical expression. So the doubts come to choose the final photo. But thanks to Adobe Photoshop you can perform a little magic and exchange the heads in two photos that have some similarity in the composition.
In this Photoshop tutorial you will learn how to swap heads in an easy way of the same round of poses performed, since otherwise it could be quite difficult. That is why we are going to use Photoshop CC which has some tools that will make things easier when it comes to doing this exchange of "faces".
How to swap heads in Adobe Photoshop CC
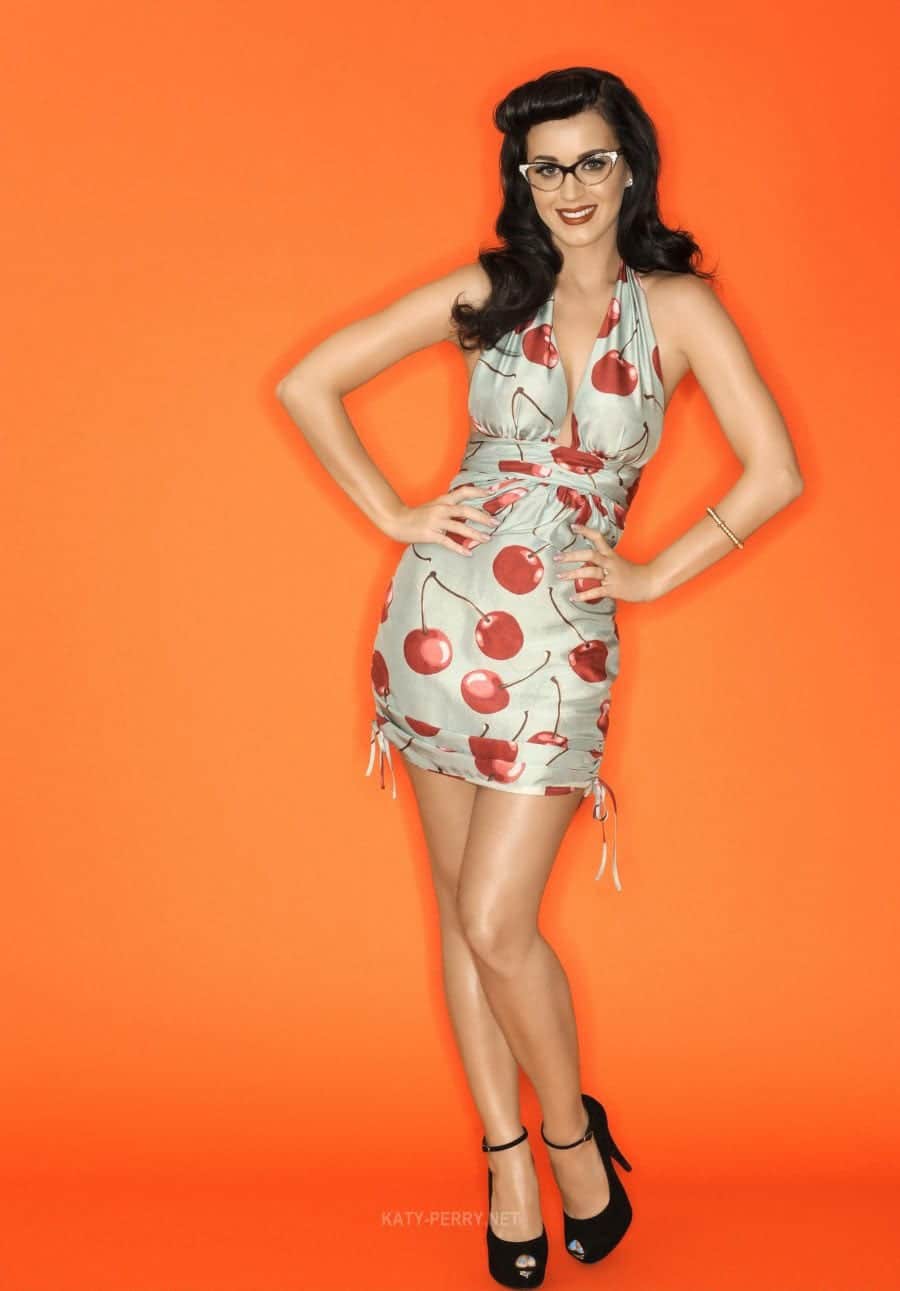
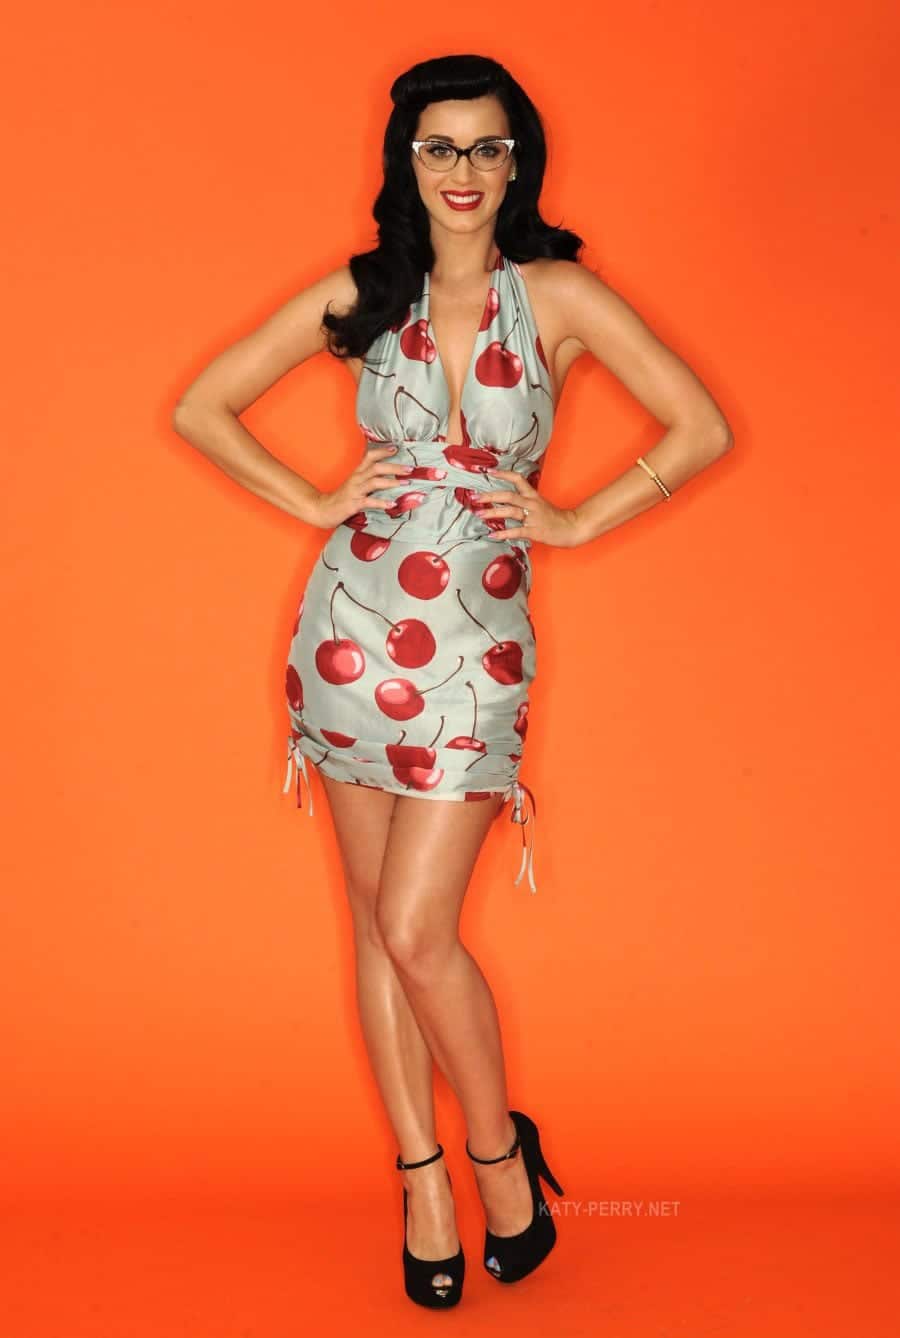
I had to look for two photographs of the same round of images in which the photos are quite similar, especially in the pose of the body, since this will seem more natural. You can download the two images below:
- We select the two images we want and we open them in Photoshop. It does not matter that they are the same size.
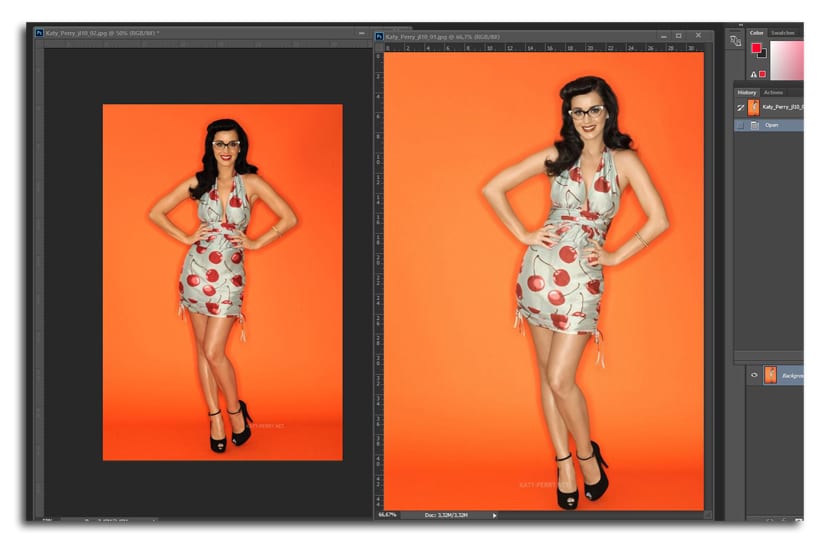
- With the tool move (V), we click and hold on an image to take it to the other document as an additional layer. If we hold down the shift key it will be done in an aligned way
- We unlock the background layer clicking on the lock icon in the appropriate layer
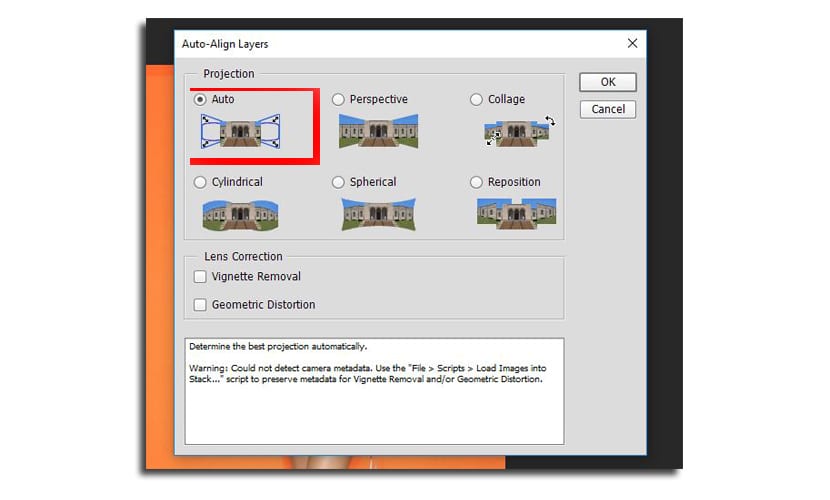
- Now we select the two layers at the same time and we go to Edit> Auto Align Layers (align layers automatically)
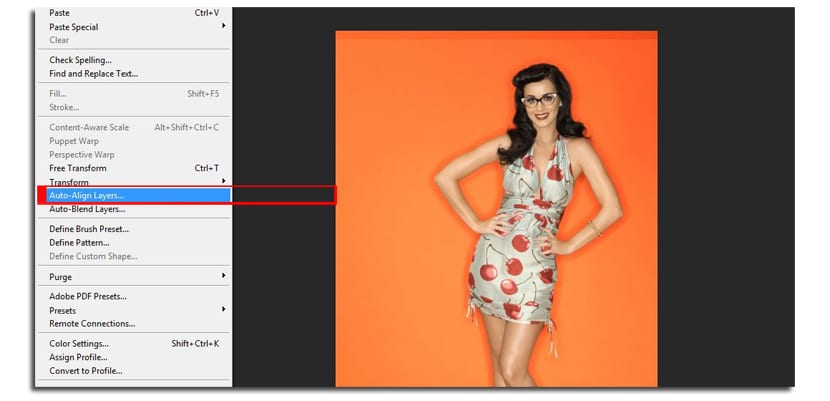
- Photoshop will allow you to choose from several options for aligning images, including rotation and size. We select car mode
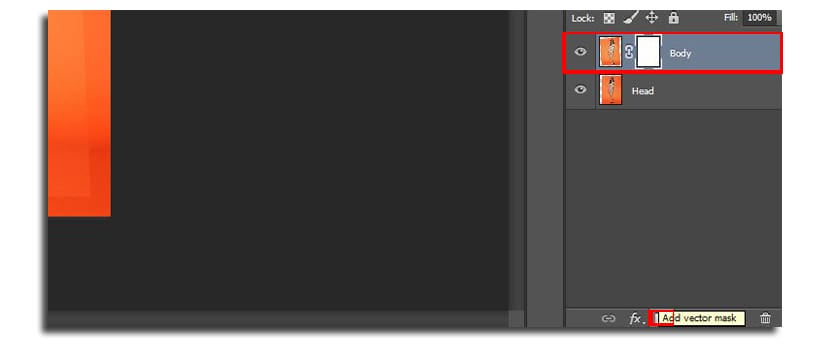
- We change the name from the layers to "Head" and "Body" respectively. The one that was the bottom will be «Head».
- We select the «Body» layer and we click on the button «Add new layer mask button» that we will find in the same layers window at the bottom
- We choose the brush tool (B) with a size of 160 pixels, 100% opacity and we choose the black color to paint
- Now we paint on the head to reveal the one below. With a few 5 or 6 clicks we will have the new face
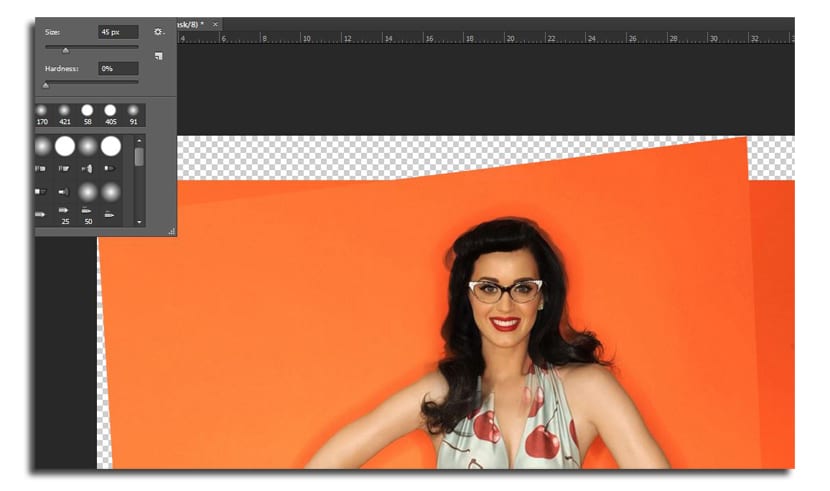
- We change the brush size to 45 pixels, we zoom in and we reveal precisely the part of the face so that it has some naturalness. Above all, in what is the neck and the dress. Here it will depend a little on our patience and art to obtain a better result.
- You can select the white to paint the part of the face that you have erased
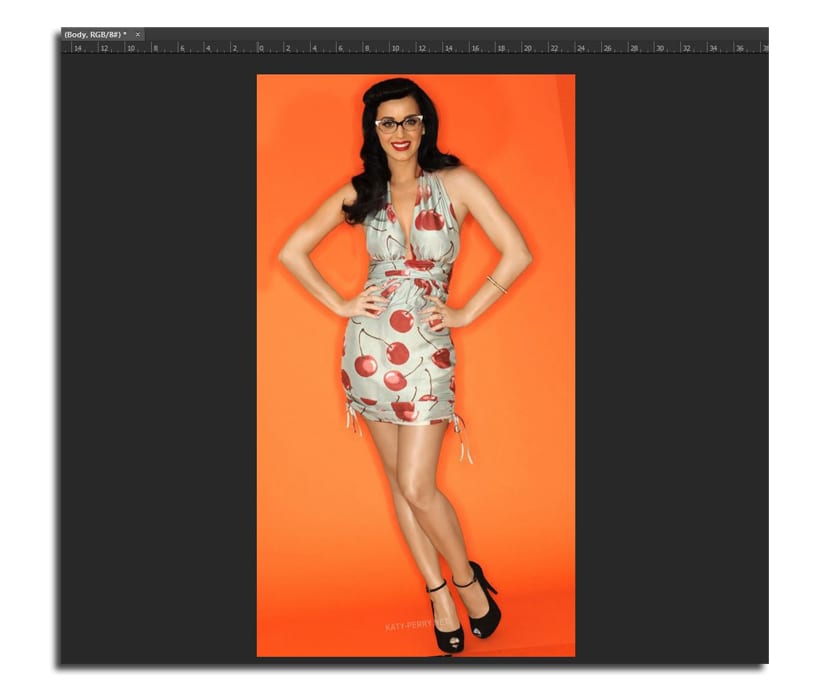
It is recommended that the background of the photos is flatSince in my example, when the tone of the oranges is slightly changed, a small difference is appreciated, which forces us to have to use the brush with a larger size and half opacity to be able to touch up those more pronounced parts.