
In this second installment we will finish the facial features of our illustration in the style of Tim Burton. We will work on the eyes, the nose and the mouth. We continue!
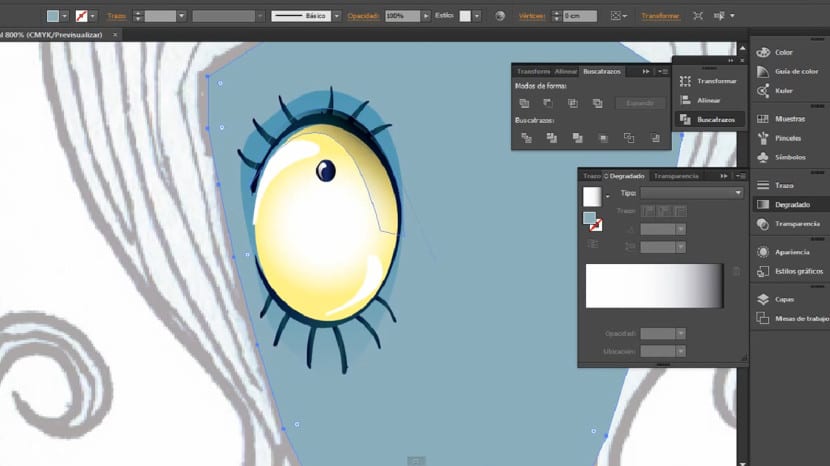
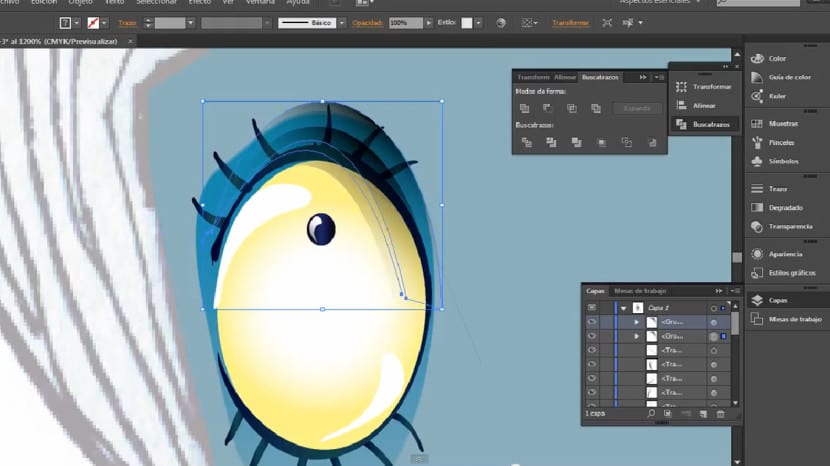
The next thing will be to create a new shadow through the pen tool, we will give it the following shape. We will fill it again with a linear and diagonal gradient that goes from a white to a black hue and we will apply a raster blending mode. Next we will duplicate this shape (with a Ctrl + C or with a C + F, to stick in front). We can play with the opacity of one of the two to create greater depth and realism in that eyelid. Make sure that the top shape matches the shadow that occupies the entire eyeball, this will give it more depth.
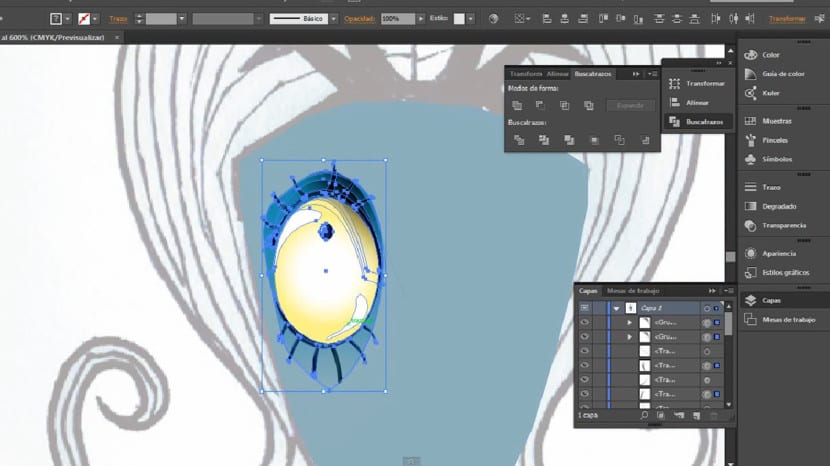
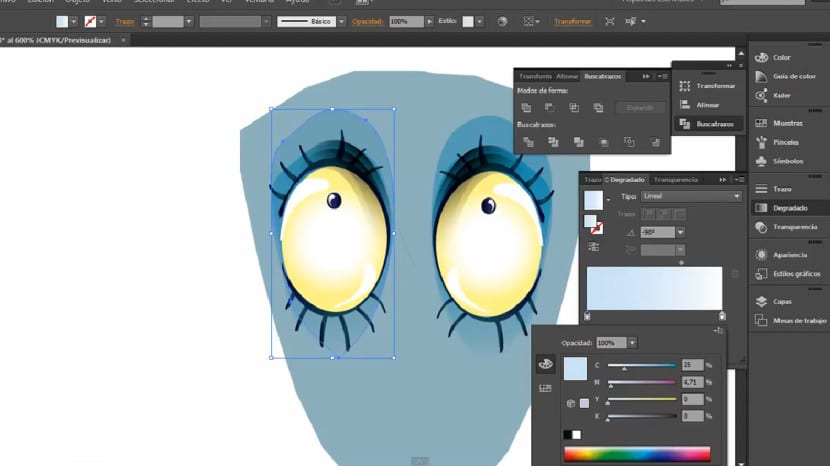
Congratulations you have the basics of the first eye done! We're doing pretty well. To make an exactly the same replica in the right area and thus create a similar eye, we will select all the layers and elements of the eye. Once you have selected them we will click on the menu object> group to reflect this group of elements. Remember that you can access the group option with the O key, or in the drop-down button found in the rotate tool. When the pop-up window appears we will activate the option to "Take the vertical axis" and we will confirm this option in the button "copy»And what interests us is to make a replica and not the position of the original eye. Once this is done, we will drag the new replica to the area that interests us with the black pointer.

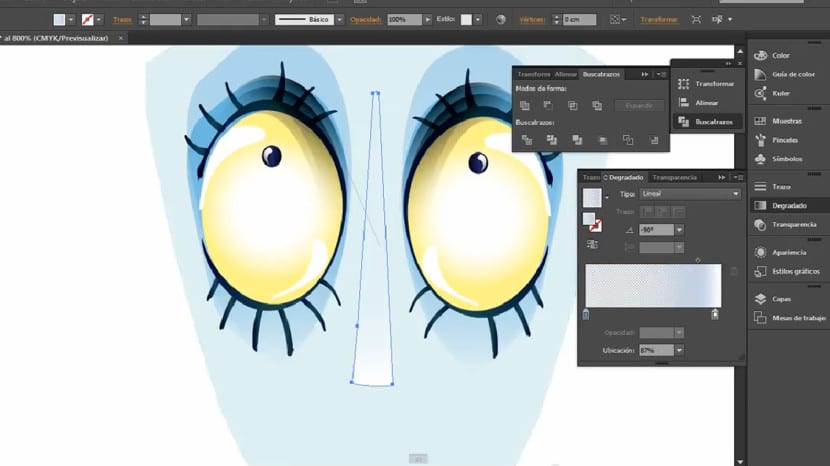
Next we will create an even bigger shadow around the eye. We will duplicate the existing one and we will place a gradient like the one you are seeing in the image. The blue hue should be whiter, we have to make that gradient quite smooth.
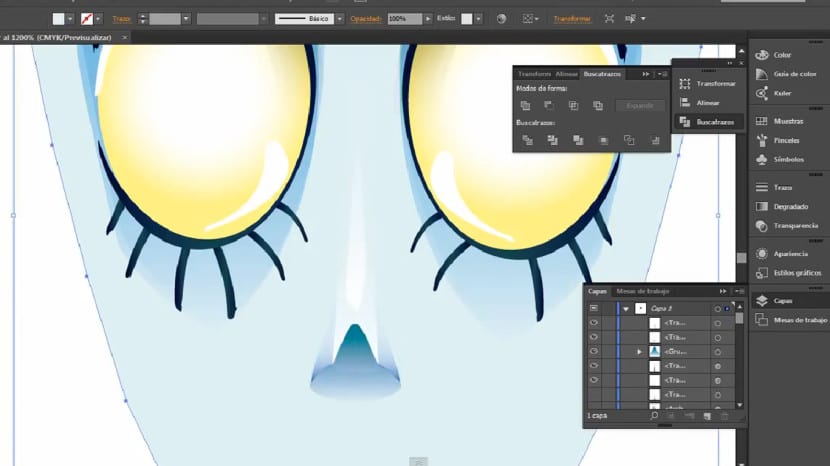
As you can see, I have modified the tone of the skin to a lighter one, keep in mind that you can modify this when you please but the sooner you decide, the better combination it will be. We will begin to work the nose, we will build the bridge of the nose to give the face more depth and dynamism. To do this, we will create a triangular shape with the pen and fill it with a gradient that starts from transparent to white. We will create a similar shape but of smaller dimensions in the center and give it a lighter gradient.
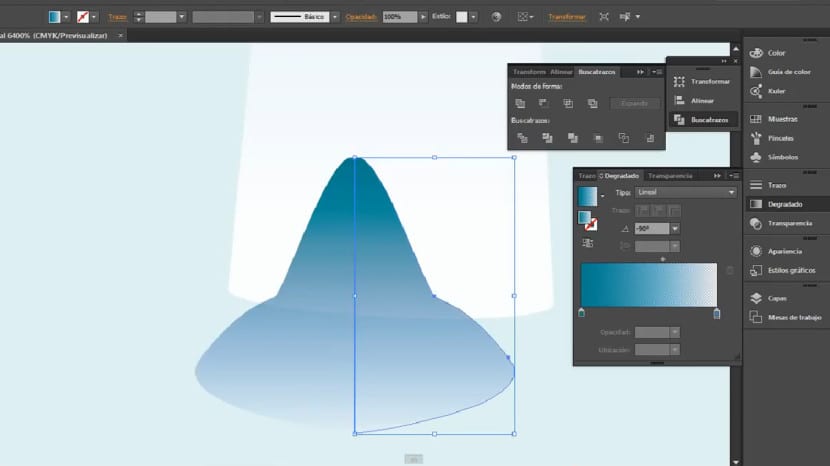
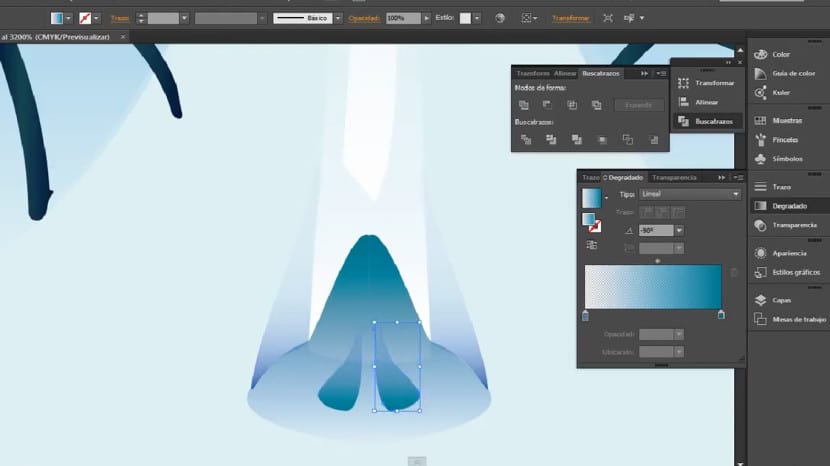
To create the shape of the nose we will detach ourselves from the design that the sketch itself brings us. We will follow the same process as with the face, we will work first on a profile of it or on one half with the pen tool. We will use a vertical gradient to fill it that goes from a lighter gradient to a darker one. Once we are happy with this shape we will duplicate it by taking the vertical axis with the tool Reflect (O) and we will join two shapes with a Shift + Ctrl + J taking care not to leave space between the two elements or mount one over the other.

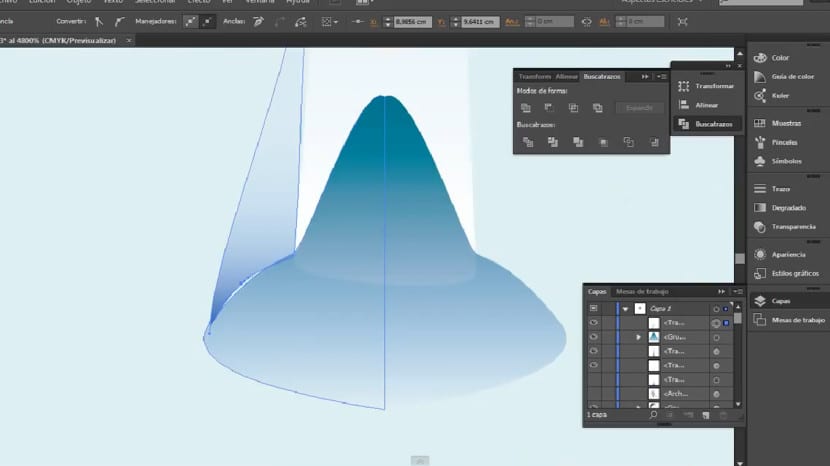
The next step will be to create shadow areas on the sides of the nose to accentuate that feeling of volume and depth. We will create with the pen tool a triangular shape like the one we are seeing. Inside this shape we will create a gradient inverse to the gradient that is in the nose. Next we will carry out the same procedure. Mirror> Mirror with vertical axis> Copyr.
The next thing will be to create the same procedure to create the shape of the nostrils. As for the internal gradient in this way, it will be the same that we have used on the sides of the nose, that is, a lighter bluish color in the upper area and a darker tone in the lower area. Likewise, we will reflect with the tool Mirror> Mirror with vertical axis> Copy.
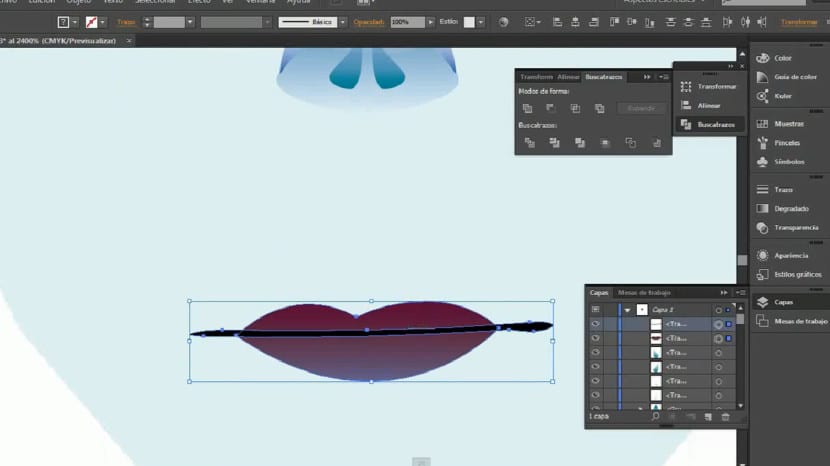
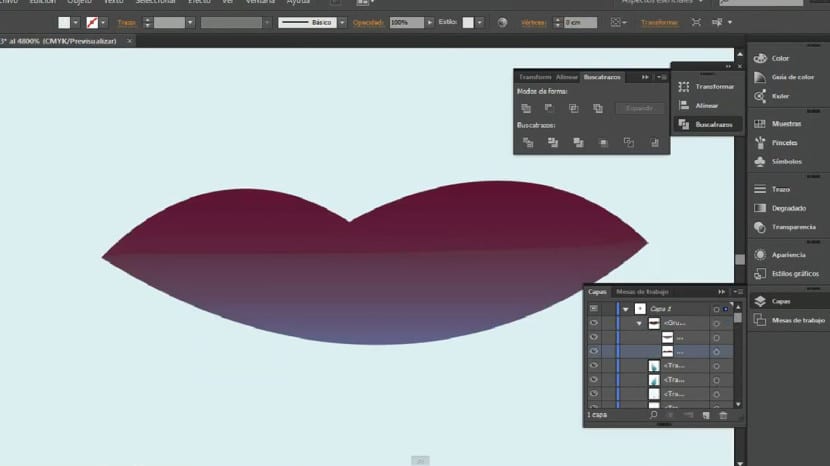
To create the lips we will create the following shape with the pen tool, without a fill color, only a path of this shape, we will see better the shape we are creating. Once this shape is created, we will fill it with a vertical gradient with the colors that appear in the image. Once this is done, we will use the smudge brush and make a path to divide those two lips into two parts. We will go to the pathfinder and select the trim tool so the lips will remain independent and we will slightly mount one on top of the other.
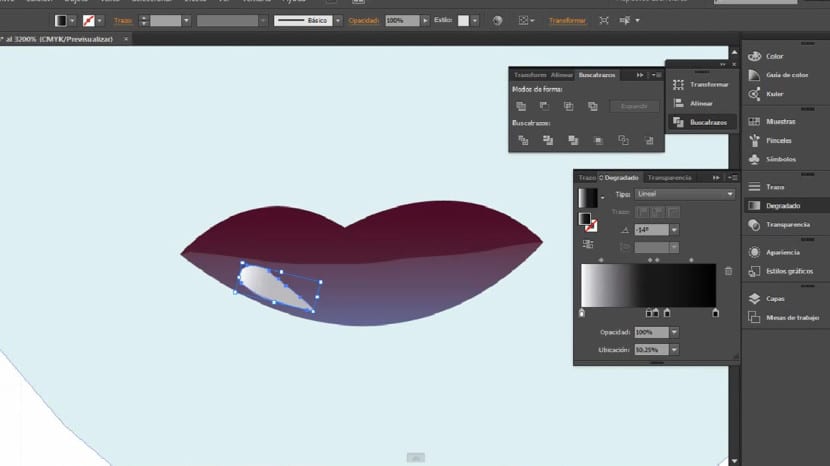
Finally, we will create a gloss on the lower lip following the same technique that we used in the glitter of the eye. We will create a shape like the one we see and fill it with a gradient that goes from white to black and applying a raster blending mode.
And well, until here we will see in this second part. We have already created the facial features! Easy right? If you have any questions or problems, do not hesitate to raise your questions through comments;)