
In this tutorial we will see in a simple way how to create, automate and store functions from our Photoshop application. Creating actions can be very useful especially when we work with a large number of projects at the same time and we need to apply the same format, effect or adjustment together.
So far we have seen actions that are reduced to the creation of photo effects, color, contrast, montage ... but this Photoshop tool it serves for much more that for this, it serves to save all kinds of procedures and adjustments that Photoshop can contribute to our composition. In this case we will see how to create an action to influence the saving mode or modify the format of our photographs. What we will do is follow a procedure to save our images in TIFF format, which will be very useful to work on the file conversion.
Create actions: An action is the application of effects and options in Photoshop in a grouped way automatically and with a single click. To work on an action we must work on all its elements. In the example in this tutorial, the essential elements or steps will be those of the save process. However, if what we want is to create an action with special or color effects, we must work on each one of them at the same time that the application is recording all our movements (we can check this by seeing our Rec or recording button in red ).
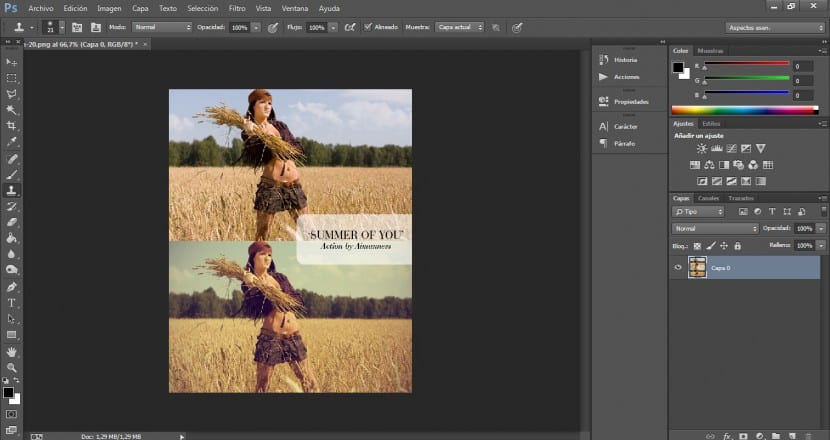
- We will import the photograph on which we will work and we will unlock it by double clicking on the padlock icon.
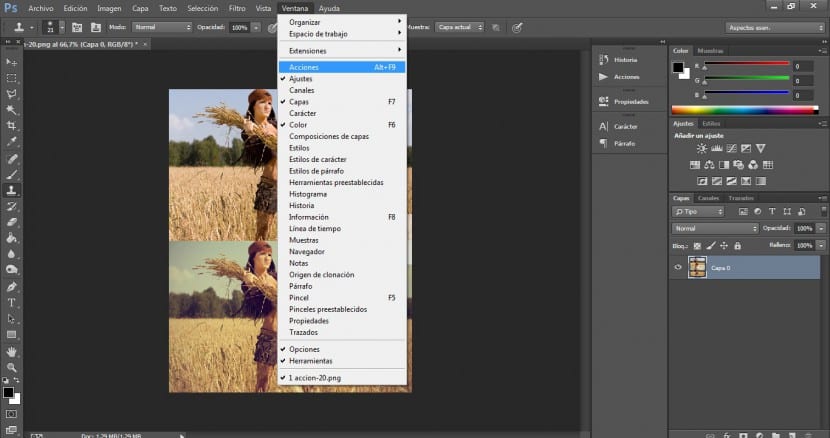
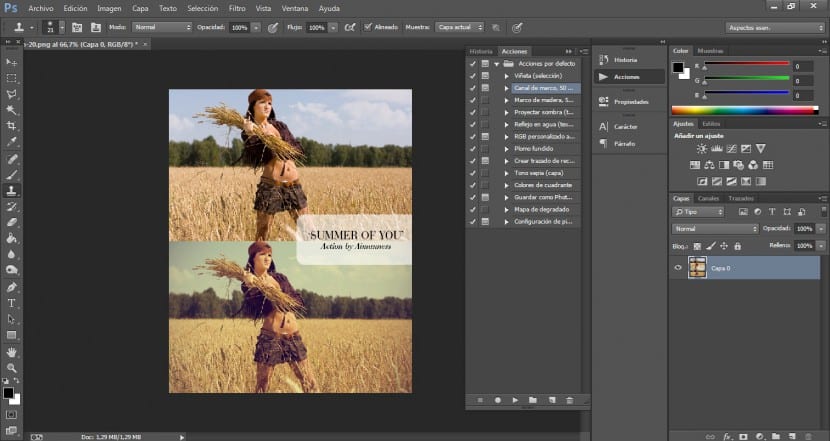
- We will go to the Window> Actions menu and the actions pop-up window will appear with its settings (we can also access this window by pressing Alt + F9). You will see that in that pop-up window there is a list or a table of effects. These can be applied and come by default with our application, but in this case we will work on creating our own effect.
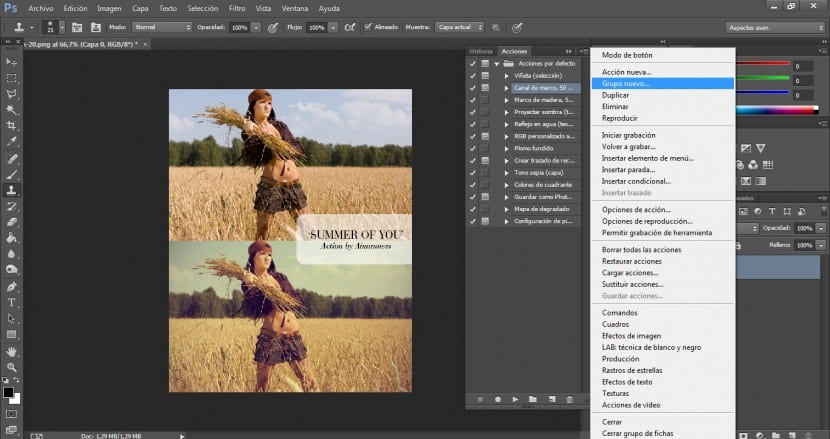
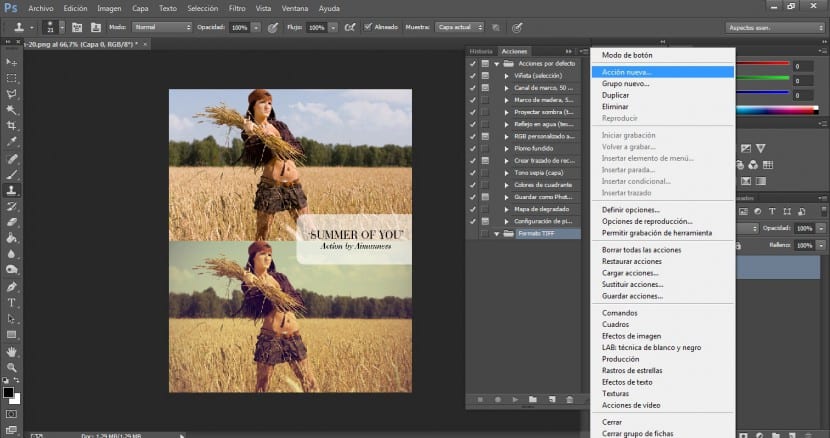
- We will click on the button in the upper right corner and select the option «Create group». In this way the whole process will be much more orderly and the moment we want to locate the effect that we have developed with all its options and elements it will be visually much easier. When we click on this button, a pop-up window will appear where we will have to name our group.
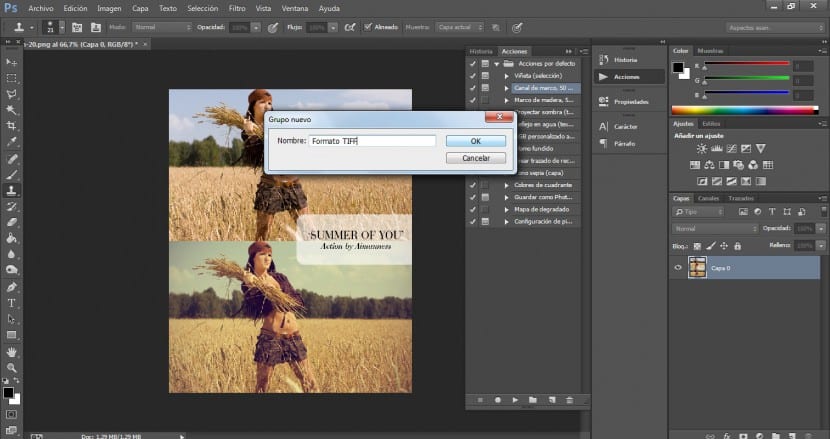
- Keeping selected the new folder or group created in the actions panel, we will go back to the button in the upper right corner and select the option «New action». In this case we will name "TIFF Format" to our new action.
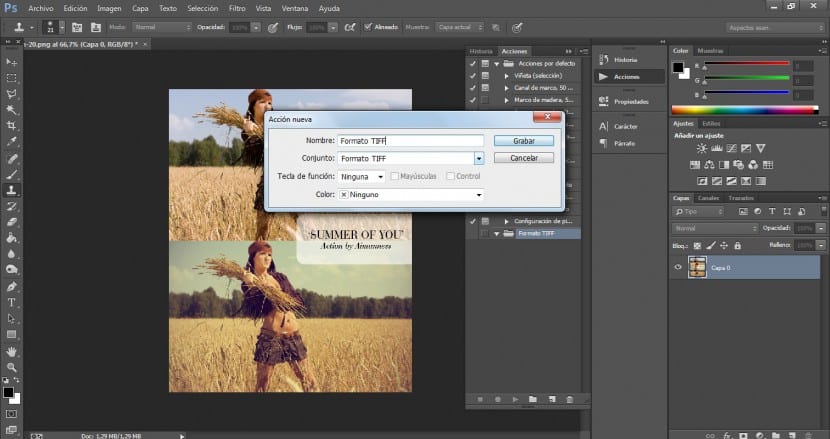
- The moment we observe our action, the rec button will be red, this means that Adobe Photoshop will record the entire procedure in its entirety to create our action.
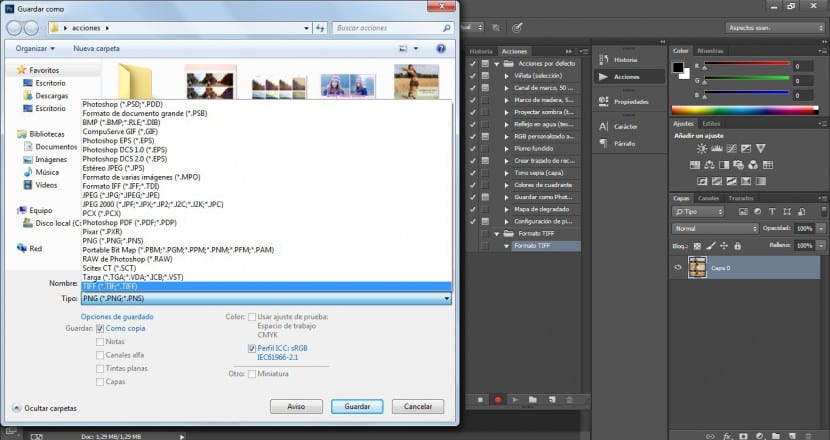
- Then we will save our document in TIFF format following all the steps so that they are logically stored in the history of our action. We will go to File> Save As ... and select the TIFF format. we will click on accept.
- We will immediately go to the STOP button to stop the recording or to the upper right button of the action panel and click on «Stop recording».
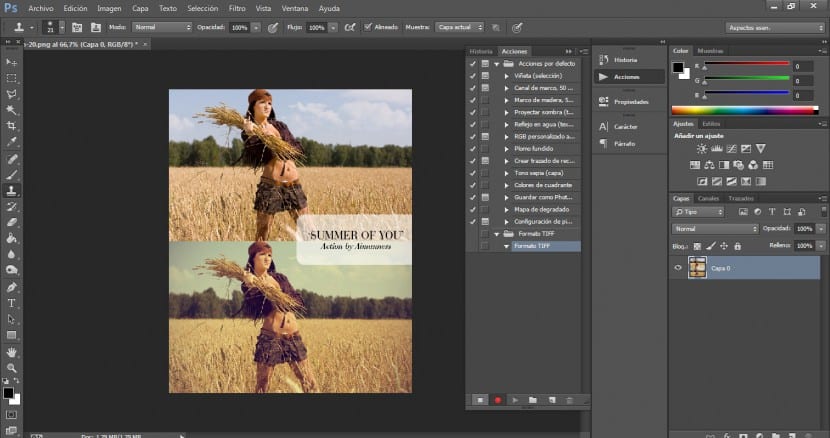

- If we look at the actions panel we will see how now within the folder or group that we have created the action "TIFF Format" will appear contained and the data of said action under it.

Automation of actions: As its name indicates, this procedure will help us indiscriminately apply our actions in an unlimited amount to documents or files in .psd format.
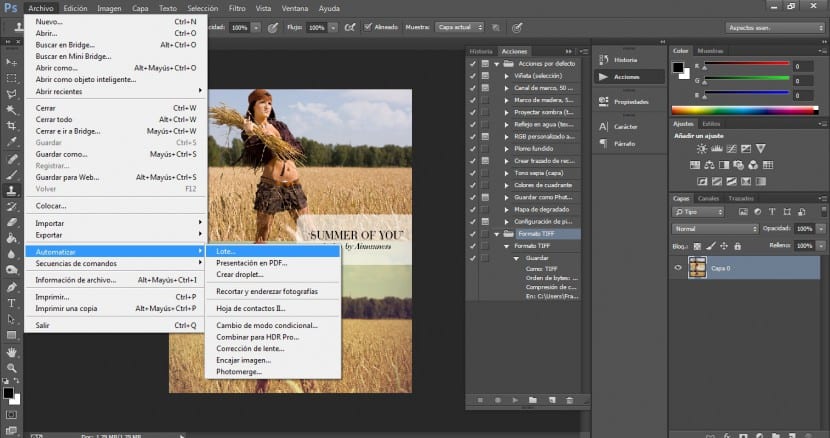
- To apply our action automatically to an unlimited number of documents or projects, we will only have to go to the File> Automate> Batch menu ...
- In this window we will see the option set where we must select the folder that contains our action and in action we will display the tab to select the action we want to save. We will select the action »TIFF Format».
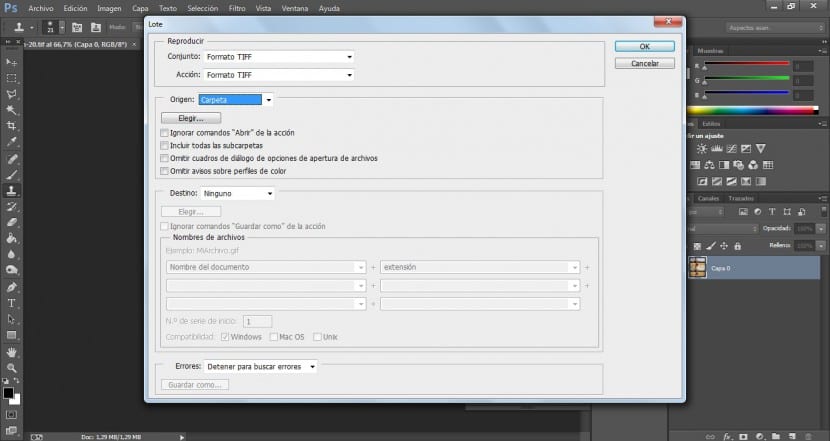
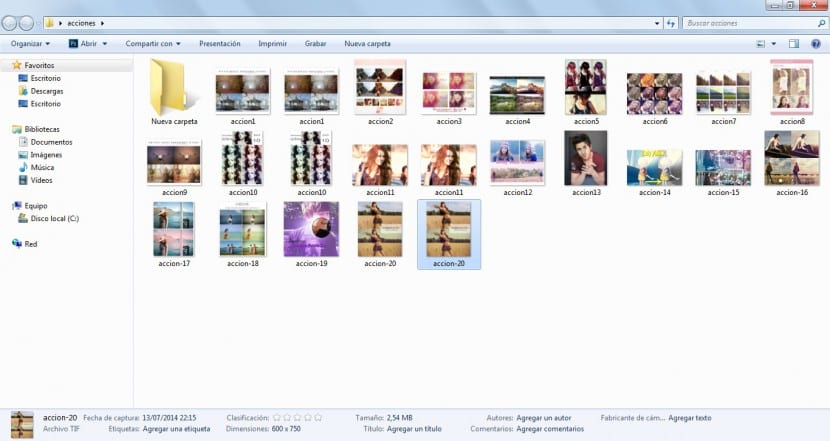
- In the "Origin" option, we will activate the folder option and click on the "Choose ..." button. A navigation window will appear and we will look for the folder that contains all the images to which we want to apply our action.
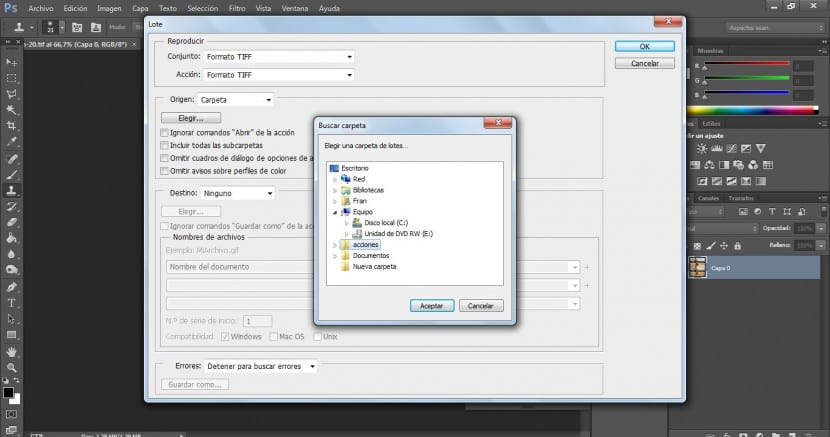
- We will click on Accept and all the photographs or images that the selected folder contained in our application will automatically appear. In addition, they will have been saved in TIFF format automatically in our source folder.
Saving and storing actions: This step will help us to share our actions and use them in such a way that we can apply them in other projects, on other computers or share them over the network as a resource.
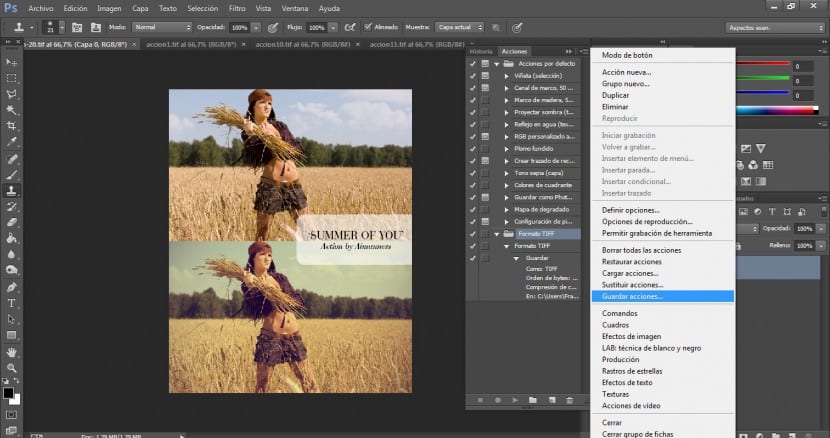
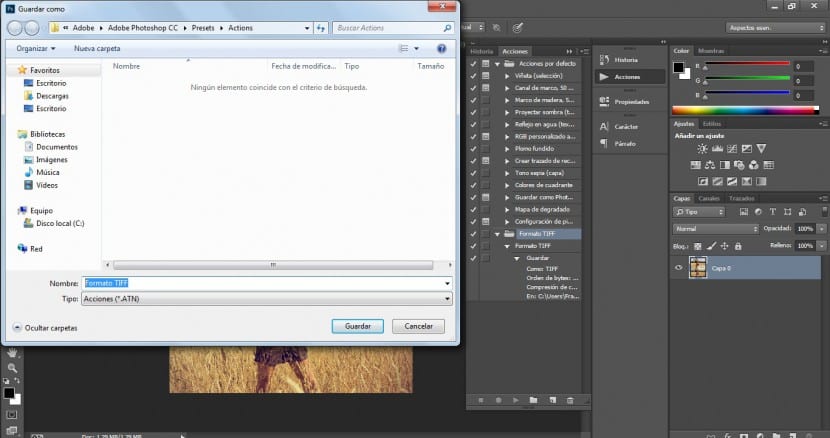
- To store our action on our computer we will only have to go to the upper right button of the Actions panel and select the option "Save actions", a pop-up window will automatically appear and we will select the destination.
- We will select the name of our action and it will automatically be saved with the extension .atn.
Thanks Fran !!
Hello, thank you for sharing your knowledge, congratulations for the effort made in developing the tutorial.
Knowing will make us be and be aware.
All the best