
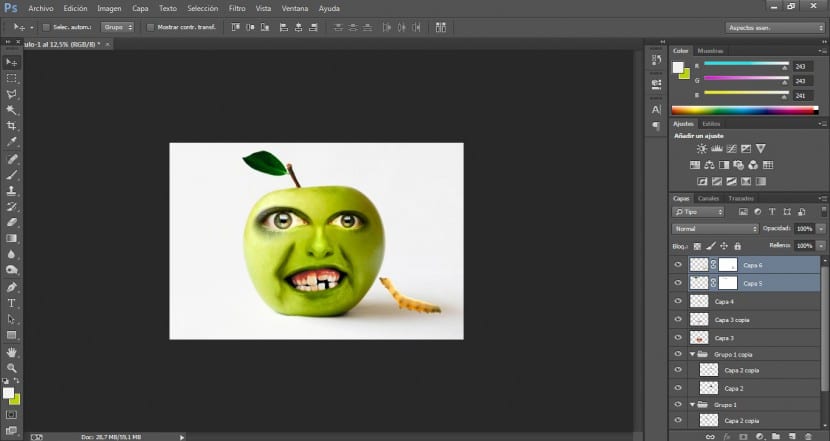
We continue with this second part of the tutorial to finalize the rest of the facial features and add some details such as the leaf that crowns the stem and the worm that wants to climb on our friend's head.
I have tried to provide as much detail as possible, but if there is any doubt… I better not finish the sentence, right? ;)
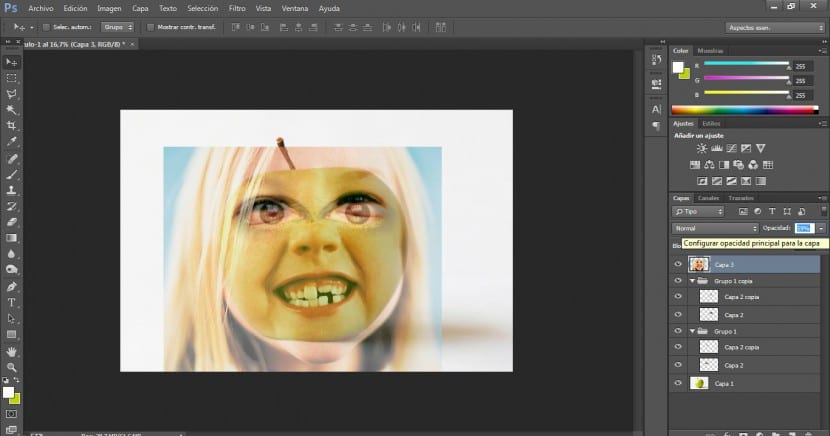
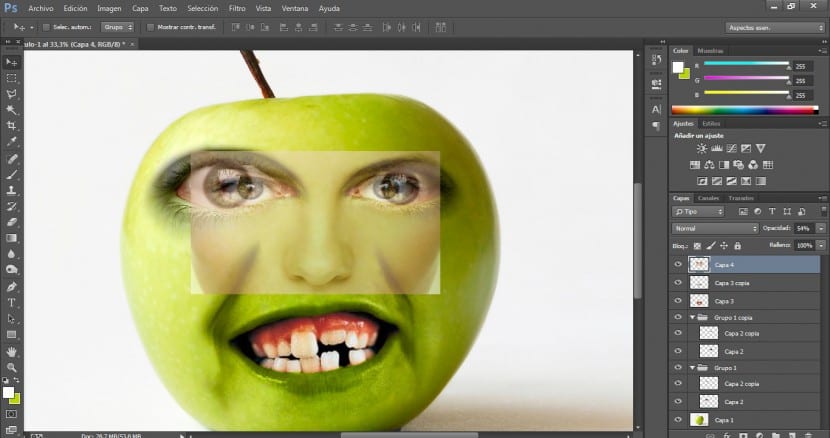
The next step will be to import the photograph from which we are going to take advantage of the mouth. We will reduce its opacity until we can clearly distinguish both layers. The one with the apple and the one with the girl. We will modify its size with the transform option (you already know that you can access this option in the Edit> Transform menu or by pressing the Ctrl + T key).
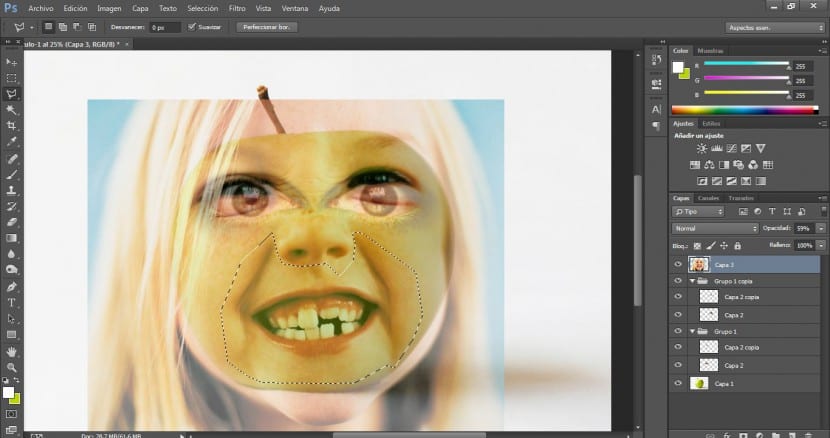
Once we have the photograph in the right place, we will choose a selection tool (I usually choose polygonal lasso because it is the one that I manage best, but you can choose the one that seems most comfortable for you) and we will select the area of the lips including fine lines. This will give us more expressiveness and realism.
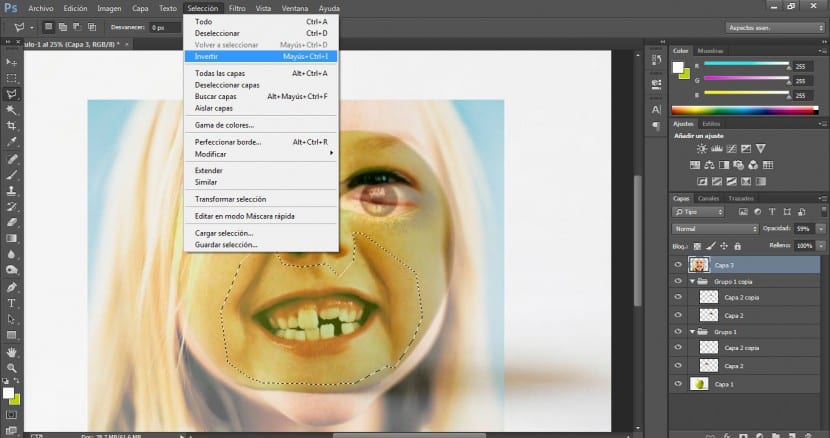
We will go to the msnú Selection> Invert. The external area will be selected and later we will press the button to delete (delete) to eliminate the external area that we are not interested in.
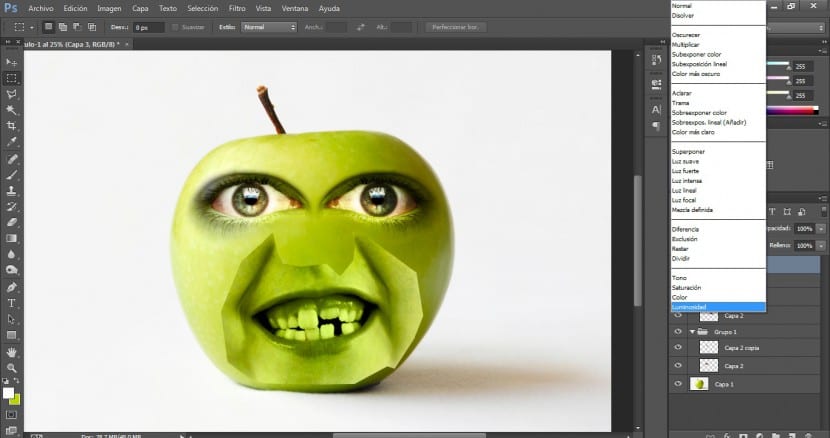
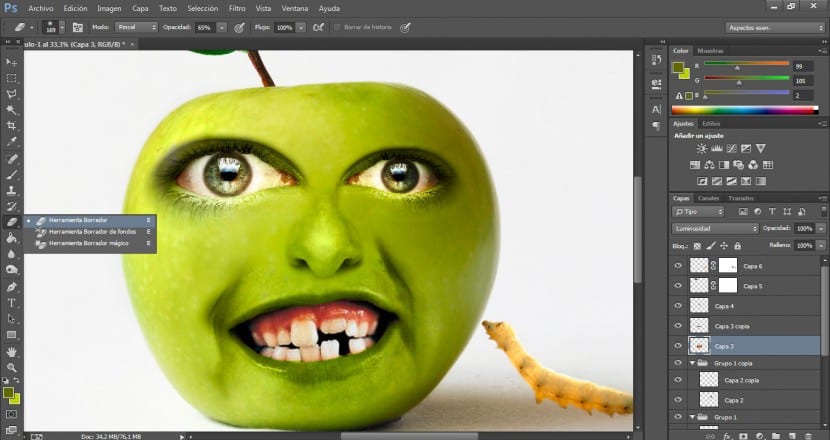
We will apply a Luminosity blending mode to this layer and we will see that it has integrated perfectly into the apple (it has acquired its hue). But the edges of the mouth photograph are still too obvious and what we will have to do now is soften and hide them.
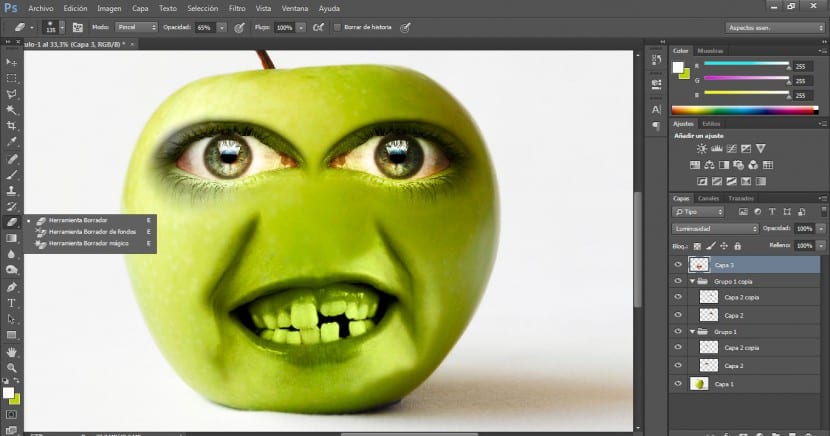
We will go to the lips layer and choose the eraser tool from the tools menu. With a very diffuse brush, a suitable size and an opacity of 65% to do it in a smoother way, we will begin to erase those edges and we will integrate it with the apple in a more plausible way.
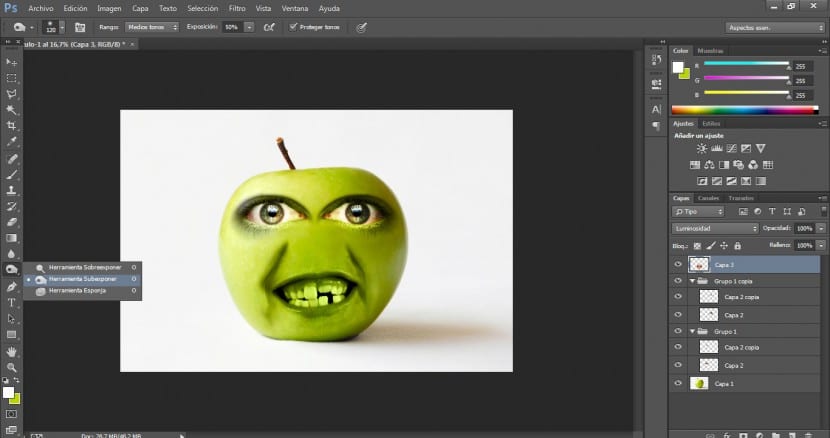
We will use the underexpose tool again with an exposure of 50% and a brush size that occupies approximately a quarter of the block, and we will lightly review the right area that is the most shaded so that the right cheek and the corner are better.
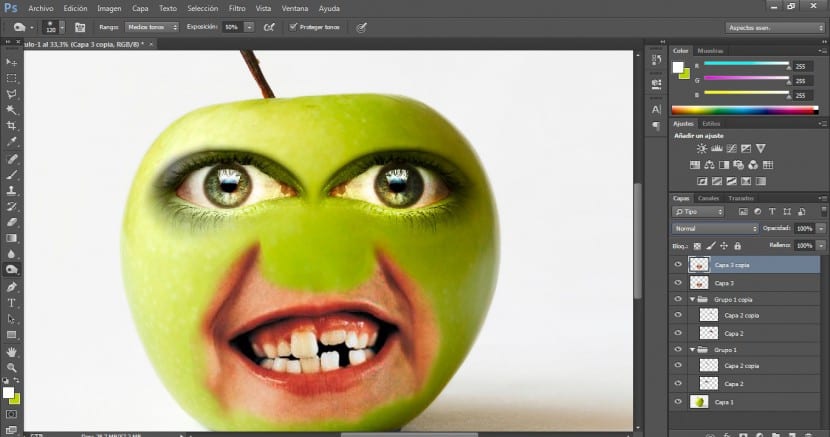
But as you will guess, we are interested in maintaining the color of the gums and teeth. For this reason we will duplicate this layer with a Ctrl + J or in the layer menu with the right button of our mouse on «Duplicate layer».
With the magnetic lasso tool we will go over the entire internal part of the mouth and perfect this selection with a polygonal lasso by adding or reducing the selected area as appropriate. (Alt + Selection to reduce and Shift + Selection to enlarge our selected area). If you prefer, you can include in this selection the area of the lips to give them their natural color but personally, it seems to me that it is better treating only the gums and the inside of the mouth. Then we will go back to the menu Selection> Invert and we will eliminate with the Delete key the external area that does not interest us.
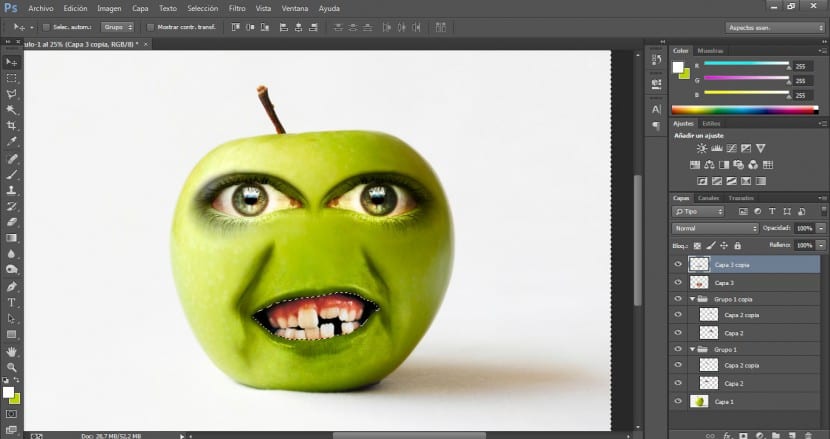
Next we will import the photograph from which we are going to take advantage of the nose. We will reduce its opacity until we can work with quality and we will define the most successful position. Keep in mind that the bridge of the nose should match the upper lines of the eyes to allow for greater integration and volume. Once this is done, we will use the selection tool we want again and we will draw the area that covers the entire nose and the upper area where it joins the eyes. This area is important.

To give it a more comic appearance, we will slightly modify the appearance of the nose, making it more elongated. We will go to the Edit> Transform> Skew menu.
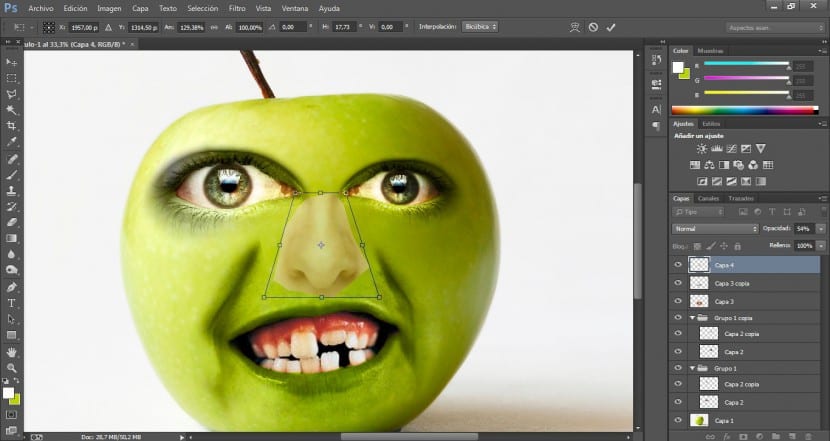
Using the upper handles we will give it a triangular structure and refine it.
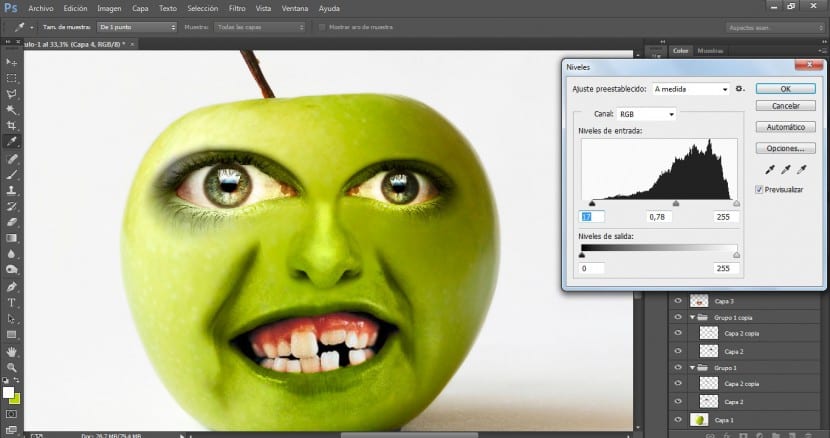
Next we will follow the same process that we have been carrying out with the rest of the facial elements. We will apply a blending mode in Lighting and we will also affect the contrast. We will go to the Image> Adjustments> Levels menu. I have given it values of 17 / 0,78 / 255 although you can try others. What we want is to equalize the intensity of the shaded areas of the mouth and the shaded areas of the nose. This will also acquire greater expressiveness. To soften the brightest areas of the nose I used the eraser tool with an opacity of 50% since it seemed to me that it was too out of tune and robbed the composition of reality.
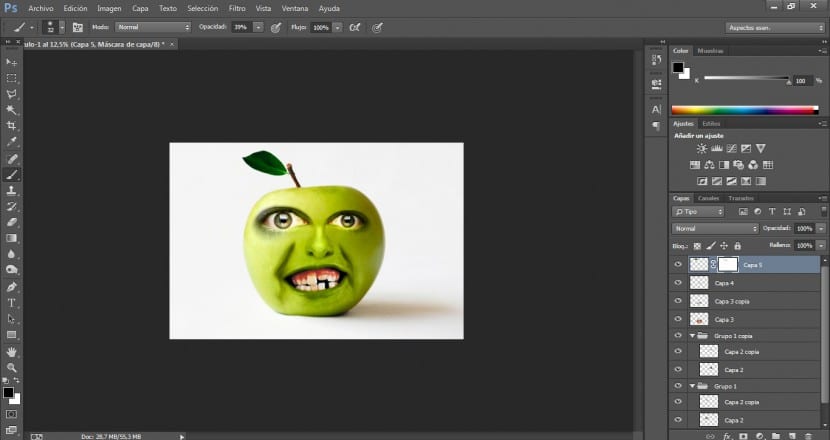
We will also add "as a hairstyle" a small leaf that crowns the upper stem. To do this, I have imported a photograph, modified its size and placed it in the appropriate position using the rotate tool. (Edit> Transform> Rotate). I have also slightly modified its tonality with a cold photo filter and an amount of 20%.
With the worm I have done exactly the same except for the photo filter step. The selection of the worm has been somewhat more complex, especially due to the environment it was in, with any selection tool it was not enough, So what I have done has been to select the background with the magic wand tool and then perfect all the halos residual color with a layer mask. I have created a layer mask and with a black foreground color and a fairly blurred brush I have carefully retouched the legs and the outline.
Finally, I have used the Burn tool to accentuate the shadow of the original scene and thus give the scene greater volume and realism.