
Adobe Photoshop is a tool used by a large number of people with different profiles. From professionals to students and amateurs who are starting in the world of digital publishing. There are obvious differences between these types of users that go beyond the end results. Today we will dedicate a space to an extensive tutorial quite different from what we usually deal with. Although we are not going to focus on technical knowledge or specific methods to obtain specific results, we are going to review the optimal methodology to develop our project (of whatever type) with the greater professionalism and cleanliness that are possible for us.
Generally, when we start working with a computer application of whatever type, and especially if we start working with it in a self-taught way, we do not usually follow a specific procedure or protocol. In a more or less intuitive way we are investigating, investigating and putting into practice the different tools that are made available to us through the interface. When we take our first contact from this route, we can learn perhaps in a faster way than if for example we use a manual or follow theoretical instructions, but it has a weak point. Designers who learn to work with these types of tools independently and out of sheer curiosity, over time tend to leave out some points that provide readability, order, cleanliness and organization. At the end of the day we are talking about a professional result that is manifested in the movements we make during our work time.
Especially when we work for agencies, or clients of a larger size, it is important that we learn to take care of the image that our work gives off internally. I mean by this the innermost skeleton and it has to do with providing readability to both the designer and the team around him. Although native files (which are those that are created in the applications themselves and that have extensions such as .psd or .ai) are not usually shared with other departments, it will depend a lot on which company or for which client we work. Particularly within large companies and dense projects, there is often a significant division of work phases into specific departments and specific tasks. In these cases, there is generally a higher rate of dependency among the members of the professional group, so readability and agility work are essential. In general terms, there are certain elements that cannot escape us:

Tools that go unnoticed
If Adobe Photoshop is characterized by something, it is by its extreme capacity to provide us with additional springs and tools. We can easily find alternative ways to reach a single goal. By this I mean that this software probably has so many options and tools that you are unable to fully understand them all. In terms of organization and structuring, it also has many tools that we can use, even plugins or add-ons that help us streamline these tasks if we are working with really complex compositions that consist of large amounts of layers, groups and objects.
Organization, cleanliness, professional image
Although it may be hard to believe, in the selection processes for larger companies, it is common for different tests and examinations to be carried out in order to screen and select from quality filters. Throughout my career I have faced selection processes that consisted of several phases that progressed in complexity and level of demand as they happened. When we speak of environments with overwhelming competencies, any trait becomes decisive. If your test is correct but the presentation of your work is not well structured, organized and is clean and coherent, this will work as a negative feature of your professional profile. And these types of details are usually only mastered by a professional designer. Although I have given the example of a large company, this also works on a smaller scale. If a client reviews the project you are developing with you and perceives a messy and chaotic workspace in which you yourself are unable to place yourself, you will be giving away an image of low professionalism, regardless of the result of your work. This will generate mistrust on the part of your client and reduce the chances that he will become a regular customer.
How far does your professional responsibility go?
There are two concepts that we must take into account in any profession that belongs to the branch of communication and that have to do directly with the planning phase. Although it occurs mainly within audiovisual production, I think it can be applied to any branch of the image. We have to bear in mind that we are subject to an environment in which changes can occur very frequently and can jeopardize the agreed delivery dates or the final quality of our work. Not all of them can be controlled or foreseen, but many of them can. It is important that we learn to make this distinction.
- We talk about unforeseen when circumstances occur that we do not have and that alter the operation of our work but nevertheless we could have foreseen them. So deep down we are talking about a problem of forecasting and organization. A good example of an unforeseen event would be that there is a blackout in the city and your computer turns off without being able to save the work that you have been developing during the last five hours. It is unlikely, but it can happen.
- However, when we talk about imponderable we are talking about a higher level of impossibility. For example, that your client disappears. This is simply something that does not depend on your control.
We have to bear in mind that we cannot control absolutely everything, but all those inconveniences that are given by lack of foresight pass through our direct responsibility.
Professionalism not only has to do with the final result of our work but also with our methodology
Furthermore, this is one of the most visible differences between the amateur and the graphic designer. A professional controls the times, the phases of the process, acquires responsibilities and provides a profitable and productive design internally (usability within team members) and externally (complies with efficiency your ultimate goal). Although in this installment we are going to focus on the Adobe Photoshop application, in the next we will focus on other applications and projects at a more general and comprehensive level. The guide we proposed in this article can serve as a preamble.
1.- Nomenclature
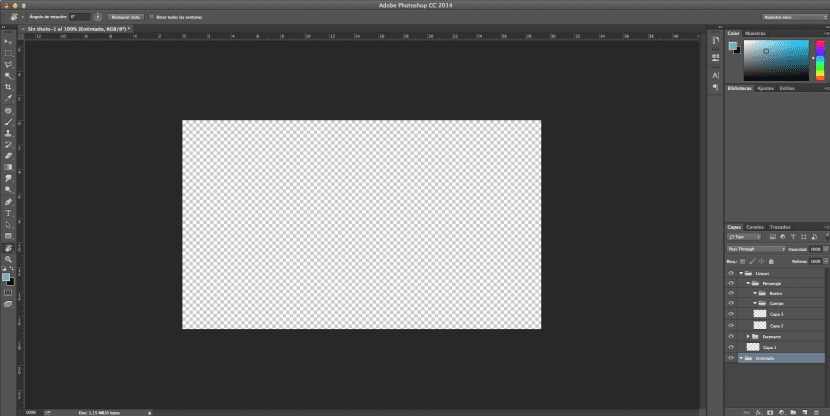
This is a tremendously basic point, but at the same time effective to ensure order and legibility in our documents. When we work within our application, we will need to work with different components, objects, groups, layers and masks. It is recommended that as we include elements we create a hierarchy of order and structure, also from the nomenclature or system of naming and calling all materials. It is good that we do a structure divided into different degrees. First we would find the groups of elements. Within these there may be more groups with their corresponding names and also elements such as layers. It is recommended that the groups be named based on the area or structure they represent. For example:
- Line art / Sketches> Character (face [hair, eyes, nose…], body [legs, hands…]); Scenario (room [floor, walls…], exterior [trees, sky…].
- Inking> Character (face [hair, eyes, nose…], body [legs, hands…]); Scenario (room [floor, walls…], exterior [trees, sky…].
If you spend a minimum time defining a consolidated and organized structure, you will save much more time throughout your day since you will not need to be looking for the layer or the element that you need to modify. Once you have created your groups and your hierarchy, you will only have to drag and arrange them according to your needs. There are few things more tedious than finding a native file full of layer copies, cluttered and without the presence of any group or folder.
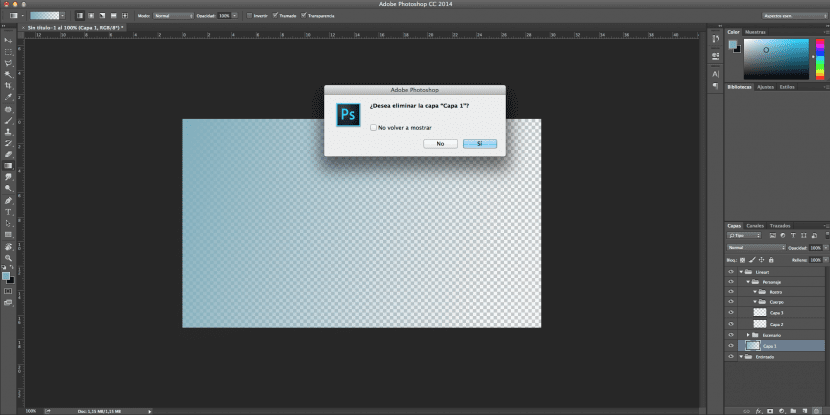
2.- Cleaning
Cleaning and filtering tasks must be performed periodically and at least every half hour of work if we have the need to create copies almost automatically or new layers. In these cases, the most common is that they end up accumulating and end up hindering the reading and work process. Sometimes it can be somewhat cumbersome to have to be checking the more than 1000 million layers that we have within our file to know if they are actually empty or not useful. For this there is a tremendously useful trick that is to resort to the command Ctrl + T and Cmd + T.
3.- Organization
We will go back to review the issue of nomenclature because in this case, we must bear in mind that extends far beyond the elements that make up our layer palette. Our own project file, the final or rendered files, the folders where all the files that are part of the project are included and the plugins and files that work as attachments. Whether they are explanatory, informative or directly a part of our work.
There are different standards for naming our native files or documents. Among them we can use structures like the one I propose below:
«Name_Type_Size_Version»
How do we apply it and why this structure?
- Name: The name of the company must always go first. In this way the brand of our project and our archive will be identified.
- Type: Logically we can work on projects of a very different type and with different functions. The target window (that is, the medium in which it will be produced [web, paper, video ...] should also be included in this section because on many occasions it can help to clarify what file it is and what its function is.
- Size: Here we are talking about the physical size of the file and not the weight it consumes within our memory. It is usually indicated in pixels. First we will include the horizontal dimensions (width) and secondly the vertical dimensions (height) of our file.
- Version: When, for example, we work for the corporate identity of a company, we will see that these designs are updated and modified as the years or even the months go by. In the corporate identity manuals the version data is usually included so that the client company is always very clear about the current design. This will be very important when working on these types of projects.
Here you have an example taking into account all the parameters mentioned: "Apple_Logotype_100x100_V2.psd"
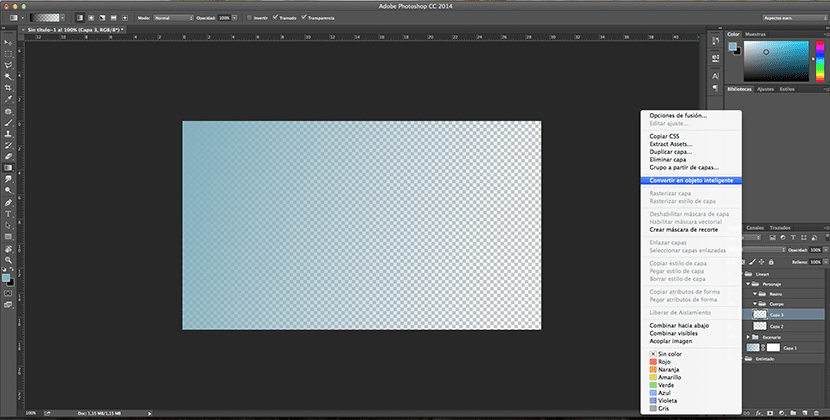
4.- Protection
It is a very important point and it is related to some of those that we have seen previously. When we talk about protection, we are talking about protection in two senses. The first is the most obvious, it is to ensure our work at all times to protect ourselves from the possibility of losing everything. We can even create backup copies. There is the option autosave or autosaved for Adobe Photoshop and you can investigate it or wait for us to talk about it, which we will later. In this way we will configure Adobe Photoshop so that it automatically stores all the changes that we make in our files. In this way we can forget to save it and we can work with greater peace of mind. However, there is another sense of protection that we must consider. Adobe Photoshop is ready to work in a comfortable and protected way. There are many methods to ensure that the original files we are working on are not permanently modified.
In this case it is highly recommended to convert our layers into smart objects (try not to rasterize them) and choose the options that provide us with greater security. In a previous tutorial we talked about the methods of cropping and extraction that exist and we emphasized that it is highly recommended to use cropping from layer masks because it helps us to preserve our image and edit it when we consider it appropriate.

5.- Proportionality
If by chance you are working on an image that needs to be resized, you should never overlook the detail that you should always and above all maintain its relationship in terms of dimensions. To do this, make sure that every time you change the size of an element, it is whatever it is, press the Shift key so that you can modify its dimensions without deforming it. Also, as long as you are not working with vectors, you should bear in mind that there are alteration limits so as not to pixelate the image or cause it to lose quality. For this it is recommended do not enlarge it to more than 130% of its original size, nor reduce it more than 70%. In any case, it will depend on the size of the original material, the larger the size and definition, the greater the margin for maneuver.
In this regard it is also important that you bear in mind that if your project has output in the print window and therefore is going to be printed, ensure its safety margin. This will be done from the use of margins and crop marks. Make sure to include these spaces and these marks paying attention to the indications of the printer and always before you start working on your project and never after.
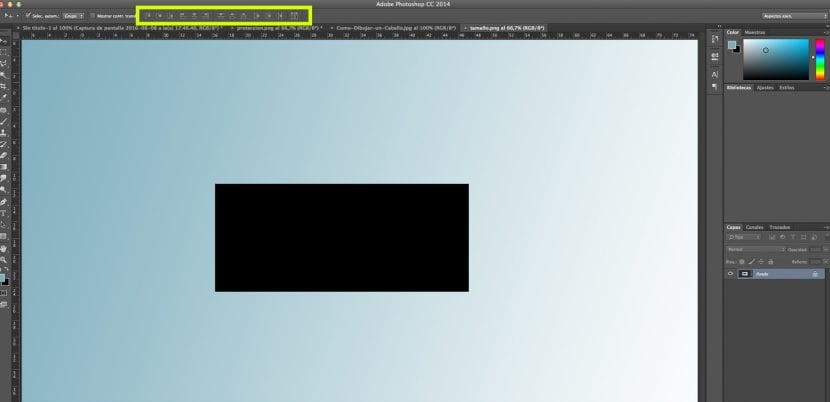
6.- Alignment
It is one of the signs that a good design has been done. To make sure that we align well our projects and the elements that make up these projects, it is very important that we activate the rules that Adobe Photoshop gives us and adjust our components to our grid. We have the options to snap to grid, snap to pixel, or even snap to layer. This will ensure that the design has a perfect finish and the perfect harmony you need to make it pleasing to the eye of any professional or client.
7.- Elegance
Another point we need to focus on is the relationship between elegance and moderation. Generally, and especially amateur designers, will be tempted to apply eye-catching effects without taking into account the dosage. The use of effects such as the superimposition of colors, shadows, textures, bezels and highlights should be applied with caution and bearing in mind that in general we should work with soft brush strokes. It is important that we dose the effects and layer styles so that the result is balanced, professional and smoothed.
8.- Archiving solutions
Earlier we talked about how important filtering and cleaning tasks are. But just as important as eliminating those unusable components is to preserve all those that did not serve us for style reasons. If you are an experienced designer you will know as well as I that to arrive at the solution we are looking for, it is necessary that we do several tests. We will be able to use numerous layer styles, effects and solutions throughout our work process. Many of them will not help us to obtain the necessary result, but it is very likely, and I emphasize, very likely, that we need them or are necessary in the future. That is why it is always recommended that we archive in a separate folder or project all those formulas that were interesting to us but that for one reason or another did not "stick" with our project. We will need to store them and at the same time organize them so that we can access them quickly in the future.
9.- Correction
Needless to say, the review and correction process. Every designer should spend at least a quarter of the time spent on the revision and refinement process. At the organization and work level and of course at the design level. Never forget to review what color mode is your file and if it is in tune with the output window.
10.- Packaging and delivery
Once you are sure that the result is exactly what you were looking for, and you know that this will be the final version, you should know how you are going to "package" your final product and make it reach your customer. It is recommended that you return to using an order and a structure that the client can navigate without problems in case they need it. Dedicate a folder to store in it all the necessary source files (images, fonts, vectors ...), another folder for the final or native files (if the project consists of more than one) and it would also be great if you included one Corporate folder if you are autonomous. In it you can include a PDF file in which you talk about yourself, your company, your thanks for hiring your services and an image with the logo.
Good article, these things make a difference!
Come on, very interesting, thanks for sharing!