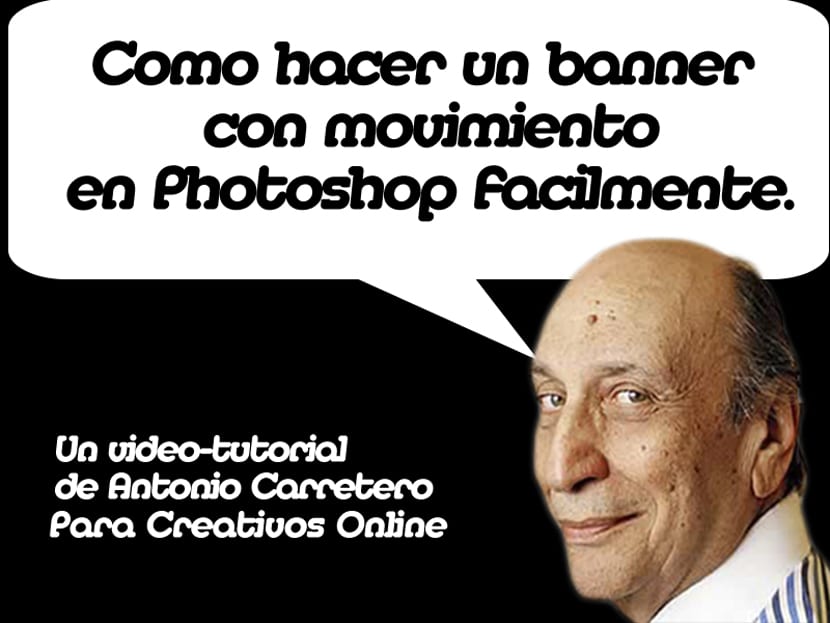
Today in this video-tutorial, we will teach you how to compose and prepare a project to create a banner with the Adobe Photoshop program, for the next video-tutorial to teach you how to give a little animation, as well as export it ready for use.
I will start by telling you who the man in the photo is, that he is not just any anonymous man chosen from any image bank, no sir, this is the Great Milton Glaser, creator of the logo of I love New York how much has influenced our society in the last century or cover of Bob Dylan.
Well, leaving aside the historical note, let's start this video-tutorial: How to make a moving banner in Photoshop easily, my first Video-Tutorial that I hope you like and find it very useful. Let us begin.
I) We make a sketch with our composition and we began to create and search the different elements of the banner.
II) We look for and download a photo of good old Milton Glaser, a character that I have chosen to take on our banner.
III) We open Adobe Photoshop and create a new document. We choose between the different presets that Photoshop gives us to use in web format. Out of all of them, we choose the 800 × 600 canvas, which is a good size for a banner.
IV) We open the JPG file that contains the photo of the good Milton Glaser and we prepare to retouch the photo.
V) We choose from the group of selection tools, one of the Loops, the Magnetic Loop in this case. We outline good old Milton.
VI) Once outlined, we go to the route Selection-Refine Edges. We are going to use that tool to make the edges of the image well outlined.
VII) Once we have left the Milton edge completely to our liking using the tool Refine Edge, we press CNTRL + J and a new layer will be produced with the selection.
VIII) We eliminate the background layer and thus we will have Milton on a Transparent background that we can use in our banner.
IX) To save it we are going to use the Save for web tool. Within the dialog box of this tool, we find the possibility of exporting the file in different file types such as GIF, JPG or PNG. Well, in this file we are going to export it, to keep it on a transparent background. We save and name. We close and save in PSD for what may happen.
X) We return to our web project, to the banner. We change the color of the background layer to black. For this we use the Paint Bucket tool, changing the front color to black and clicking directly on the background layer.
XI) We start by importing the Milton Glaser photo into our workspace or canvas. For this we use the Place tool, found in the file option.
XII) We put good old Glaser in the bottom corner right of the screen.
XIII) We create a speech bubble from the comics. We set it up to look like Glaser is speaking.
XIV) We create 3 sentences with the Text tool, which are the ones that will give the banner information. One of them will go inside the sandwich.
XV) Each of the sentences must go on a different text layer.
XVI) And so we have everything ready to start give animation to our banner.
In the next video-tutorial I will teach you how to give animation to our banner. Do not miss it.