Do you like the aesthetics of Burtoniana? In this tutorial we will see how to create illustrations in the style of this filmmaker. Specifically, in this first part we will focus on some main elements of the face. For this I will use a sketch that I have found on the network of a Tim Burton fan and that I found interesting and on which I can work, although I will make some modifications.
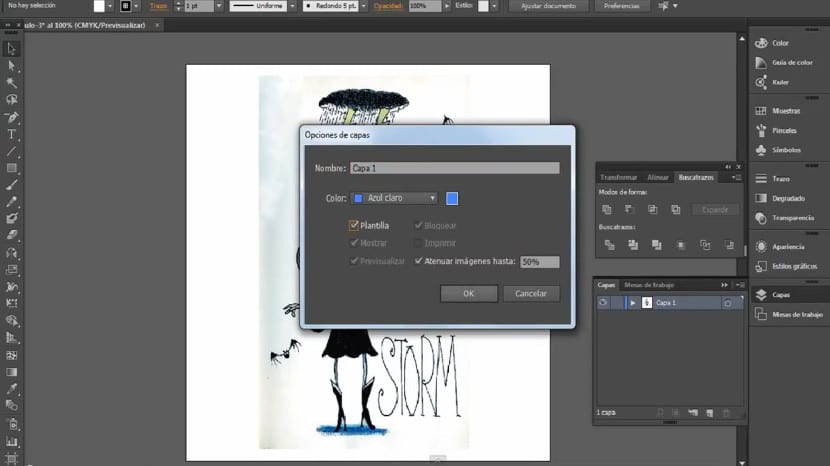
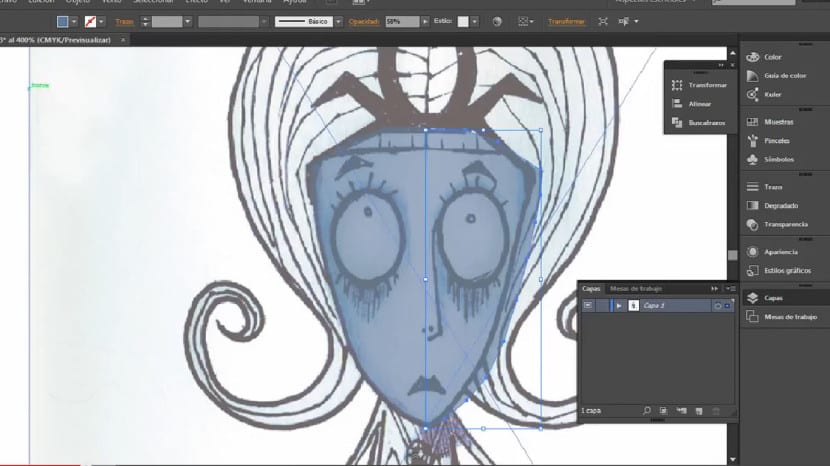
To begin, we will go to File> New and we select the dimensions that best suit us to later go to Image> Place. We will then look for the image on which we are going to make the tracing (I have already told you that I will use a sketch) and we will apply the necessary adjustments so that this image becomes a tracing guide or a drawing template. To do this, we will go to the layers section and we will double click on the image layer that we just placed. A pop-up window will appear in which we must activate the "Template" box (at that moment the opacity of our drawing will automatically become 50%). The meaning that our sketch is going to have is to serve us as a guide. We need to see the lines, the shapes to trace them and work on them in a fast, efficient and clean way.
The next thing we will do is go to pen tool and with a bluish fill color to our liking we will begin to trace a single profile of our character's face. In this case, this tracing technique works quite well for us due to the simplicity of the shape of the face that we are tracing, but depending on the object we are working on, we can resort to different alternatives. It would also be very useful to deactivate the fill color in the pen tool and activate only the stroke, in this way we will only see the line and we will do it with greater precision. After this we can refine its structure and smooth its vertices if necessary working with the white pointer on the anchor points.
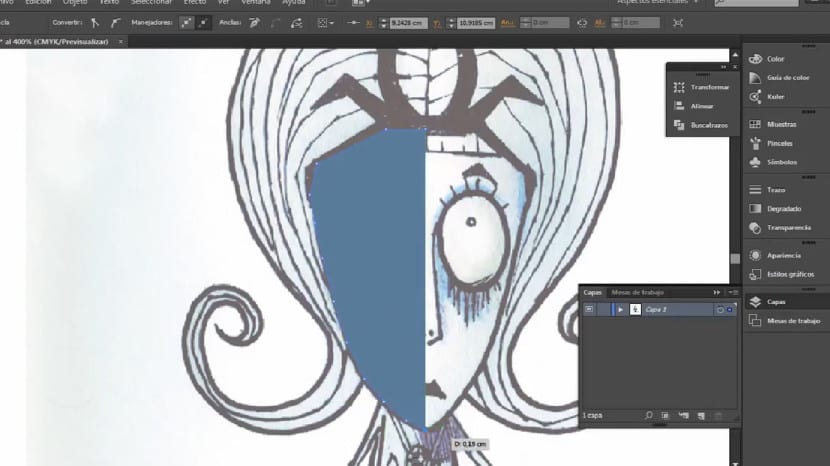
Once this is done, we will go to the Mirror tool that we can also use by pressing the O key and which is in the same button as the spin tool. We will double click on this tool and once a pop-up window appears we must select the option that makes us a reflection taking the vertical axis. It is important that we click on the option to copy, not to Ok, but to Copy. Once we press copy we will drag this new element that we have just created with the black pointer and join it next to the other in a symmetrical way, taking care not to leave a gap between both elements, we press both layers we press Shift + Ctrl + J, Right now there has been a union and those two halves are part of a single piece.

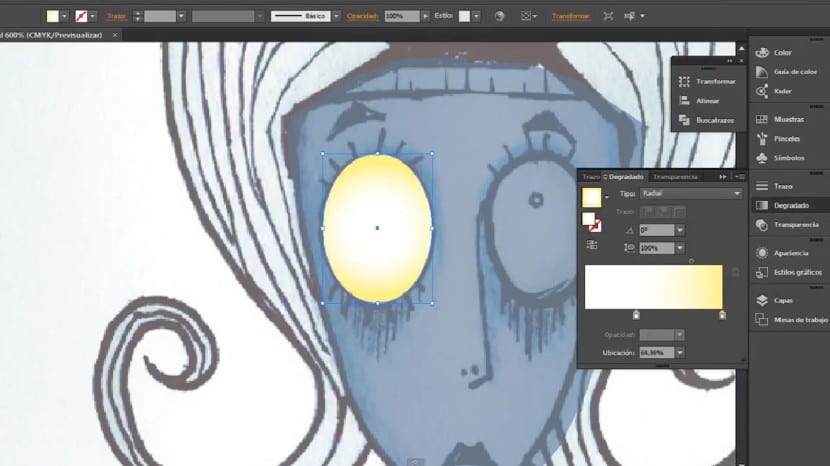
We already have facial skin. We will go to the eyes, with the ellipse tool We will create one on each of the eyeballs of our character. Once we make the ellipses, we will modify their anchor points if necessary. Once this is done we will go to the gradients tab and select a radial gradient that goes from one color pure white to yellowish white. What we are looking for is a volume effect so we look for the alternatives that best fit our objective.
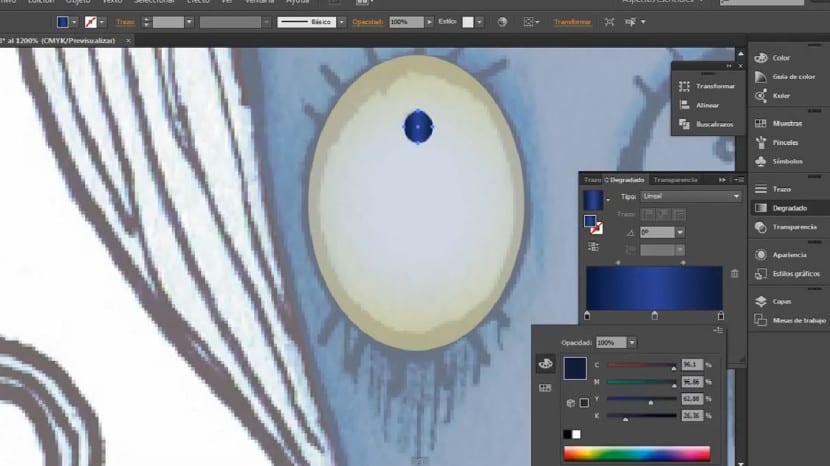
Once this is done, we will go back to the ellipse tool. We will create the iris and the pupil in the same piece. To do this we will create an ellipse and within it a new linear and vertical gradient. It will be composed of two extremes of a dark blue color and an interior of blue much lighter.
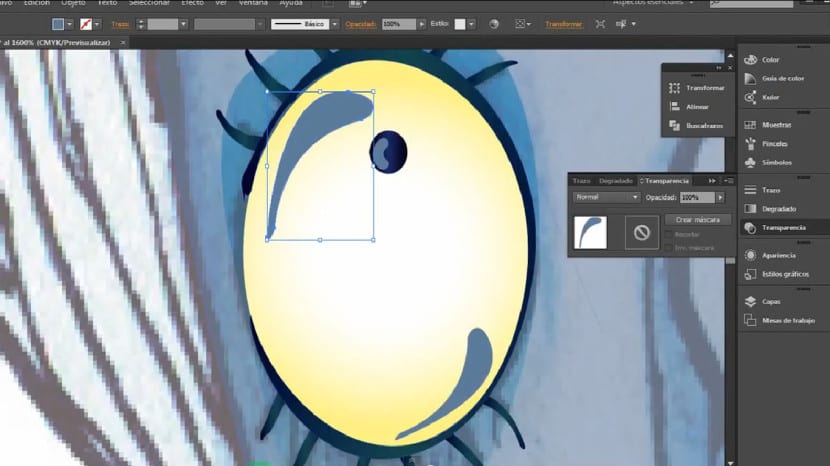
The next thing we will do is use the tool Smudge brush. We will begin to create the outline of that eye and the lashes. Once the lines have been made, we can modify them manually to give it a more rounded and smoothed style through the movement of the anchor points. We will then work the contour of the eye and each of the eyelashes. Then we will create a turquoise gradient on those strokes. This gradient will be composed of a turquoise tone, with the ends dominated by a darker tone and in the central area dominated by a lighter tone.

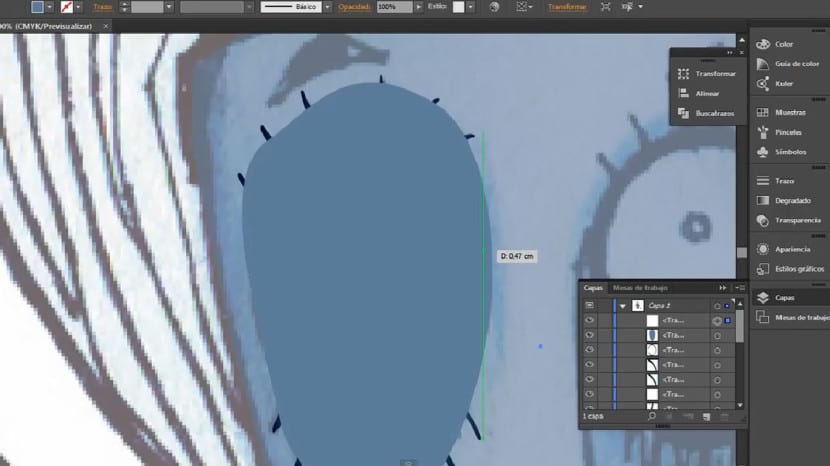
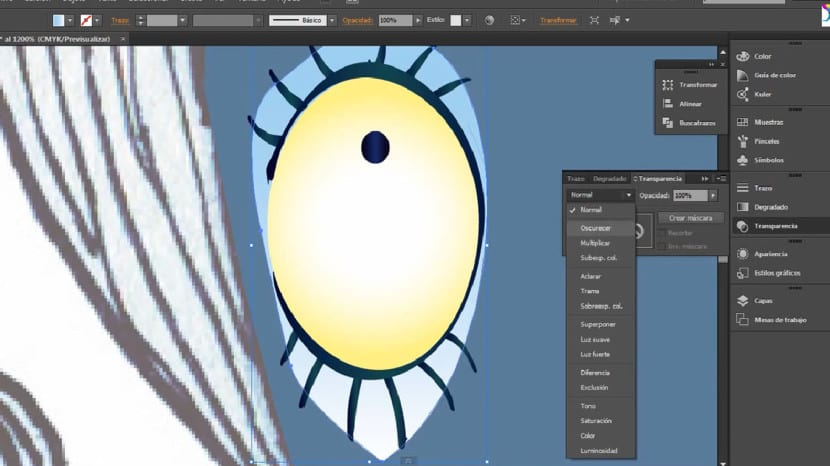
The next thing will be to create the eye shadow. For this we will go to pen and we will create a shape like the one you are seeing. We will follow the shadow that appears in the sketch itself. We will place this shape behind our eye and then create a degraded again. It will be of type linear and vertical. Our gradient will have colors similar to those that appear on the screen. Go to from a light blue shade to a white shadeand blending mode will be Multiply to adapt it and integrate it to the skin of the face.
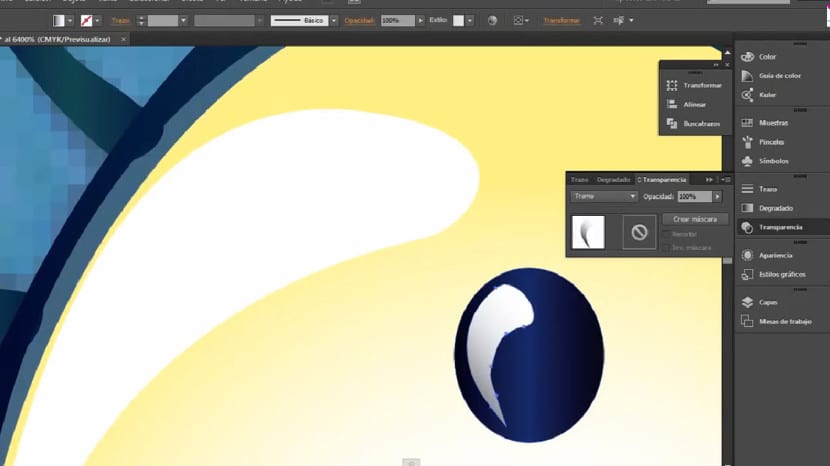
The next thing will be to enhance that volume and volume in the eye. We will create shine on both the sclera and the pupil and iris. We will create with the brush some shapes like the following, two in the eyeball and one in the iris. When we position, transform and place these shapes We will create a gradient within these that will be vertical and linear. That gradient will go from a white tone to a black tone, in addition to those strokes we will apply a raster blending mode this will integrate more easily with the surface below.