Photoshop is a great tool to edit your photos and give them an artistic touch. In this post I am going to teach you step by step how to make the watercolor effect in Photoshop. It is very simple and, although it works best with portraits, you can apply it to any type of photo to give it a super creative touch Test it!
Create a canvas in Photoshop

Let's start by creating the canvas on which we will simulate our watercolor. Click on "File> new" or on the home screen click on the "create new" button. We will opt for a 1000 x 1000 pixel document, RGB color mode.
Once you have it go to the "filter" tab, in the top menu, and click on "Filter gallery". A new window will open in which you will find different filters arranged in folders. Go to the folder "texture" and choose "texture". In the right panel, we will configure:
- Scale to 64%
- Relief 4
- Lower right light
When you have it, hit "ok" and you will have your canvas ready.
Prepare your photograph to turn it into a watercolor

Open the image that you want to transform into a separate document. We are going to remove background. Use the select subject tool to select the girl. When you have it, create a layer mask by clicking on the symbol indicated in the image above.
If the selection is not perfect, don't worry, with the watercolor effect it won't be too noticeable. Although if you want, with the black and white brush, you can paint over the layer mask to fix those flaws. Apply the mask. When you have it drag the girl to the document on the canvas. Type command + T (Mac) or ctrl + T (Windows), to move it and scale it, so you will make it adapt to the space that we have configured.
Apply artistic filter on layer 1
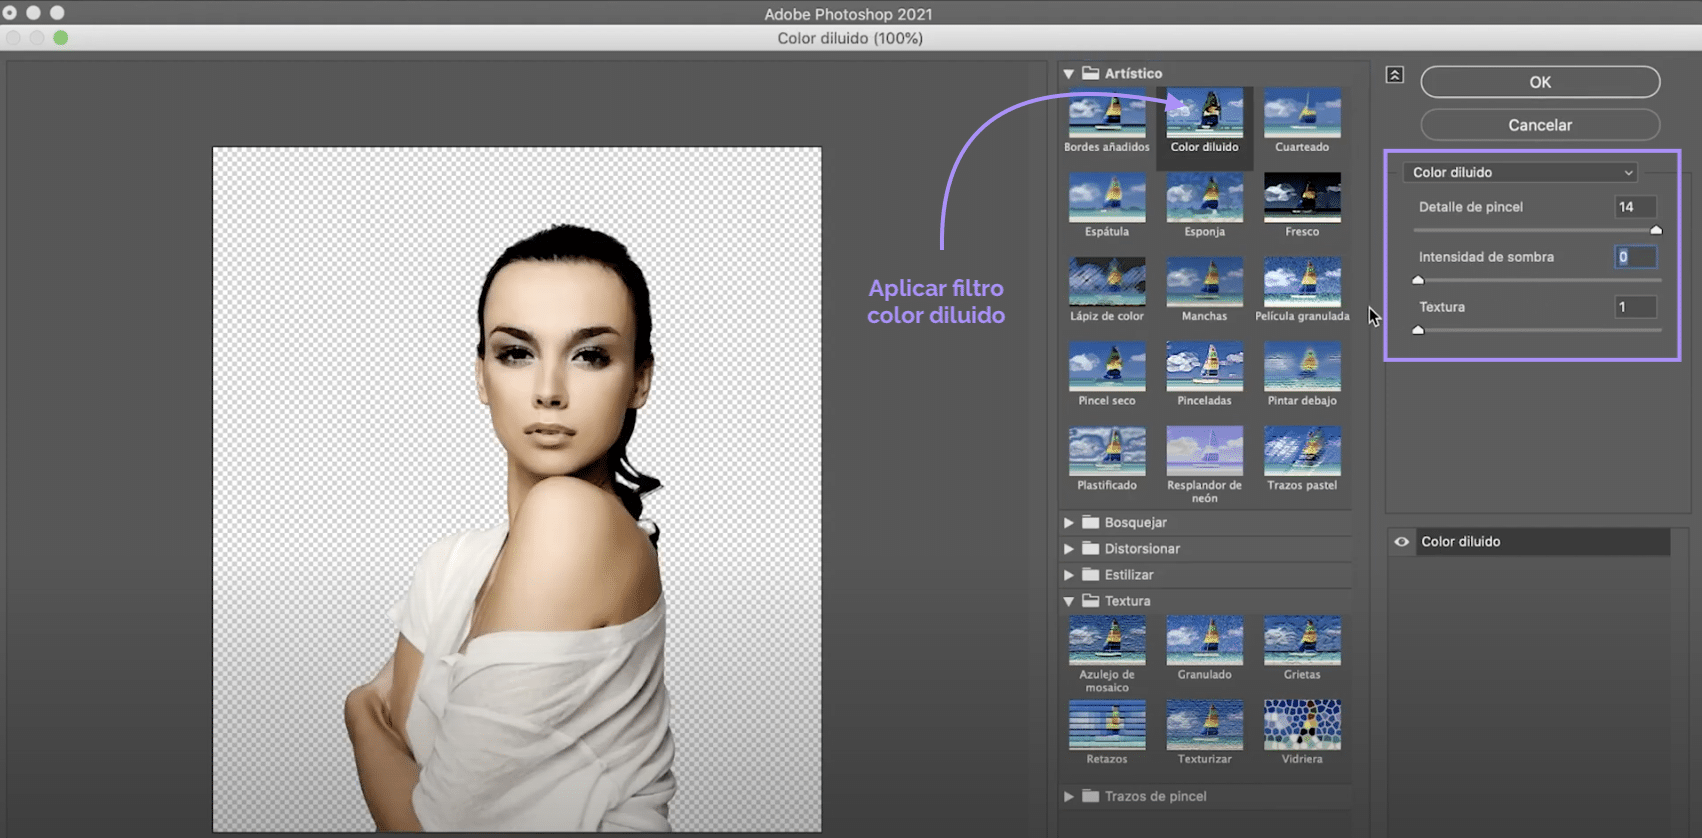
On layer 1 we will apply a filter. Go to the tab "Filter"> "filter gallery", in the new window, open the "artistic" folder and click on "diluted color". Next, in the panel on the right, we will configure:
- Brush detail 14
- Shadow intensity 0
- Texture 1
When you have it hit "ok".
Create two new adjustment layers and add them to layer 1

Let create a new adjustment layerTo create adjustment layers you have to click on the symbol that appears indicated in the image above. In this case, we will click on hue / saturation. To make the setting only apply to the cap below, Layer 1, type command + option + G (Mac) or control + alt + G (Windows). Now, lower the saturation to - 100. Create a new adjustment layer, this time for "brightness / contrast" and apply only on layer 1. Raise the shine to the maximum.
Create a new layer mask on layer 1 and draw
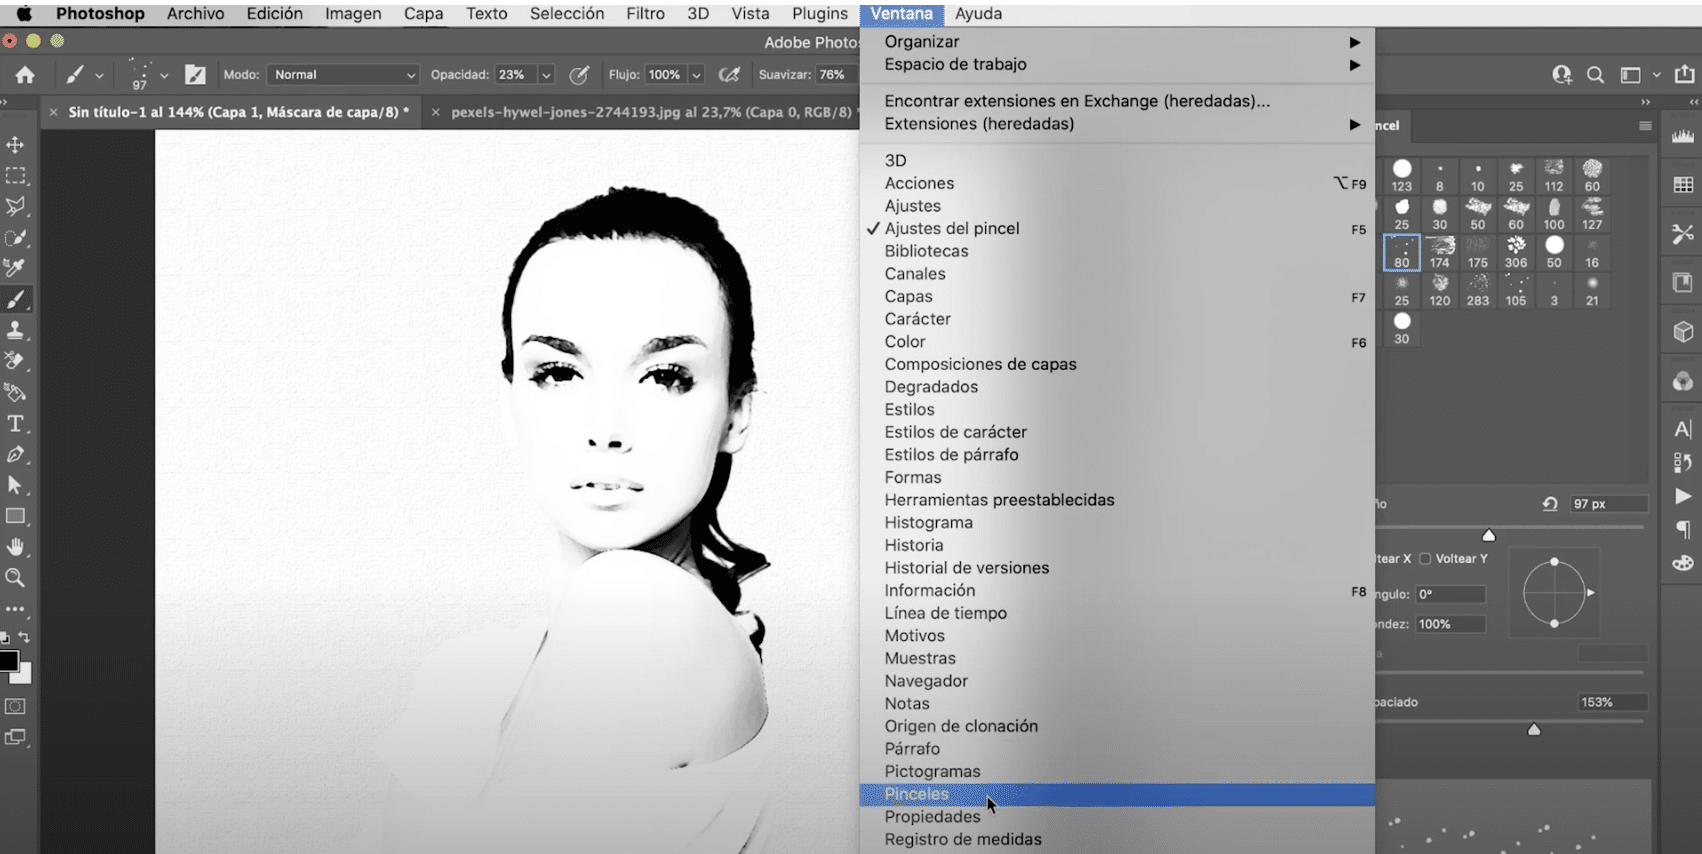
When you get to this point you will have everything ready to start creating your watercolor. Create a new layer mask for layer 1 and, with the black brush, you are going to paint over it, but you are not going to use just any type of brush!
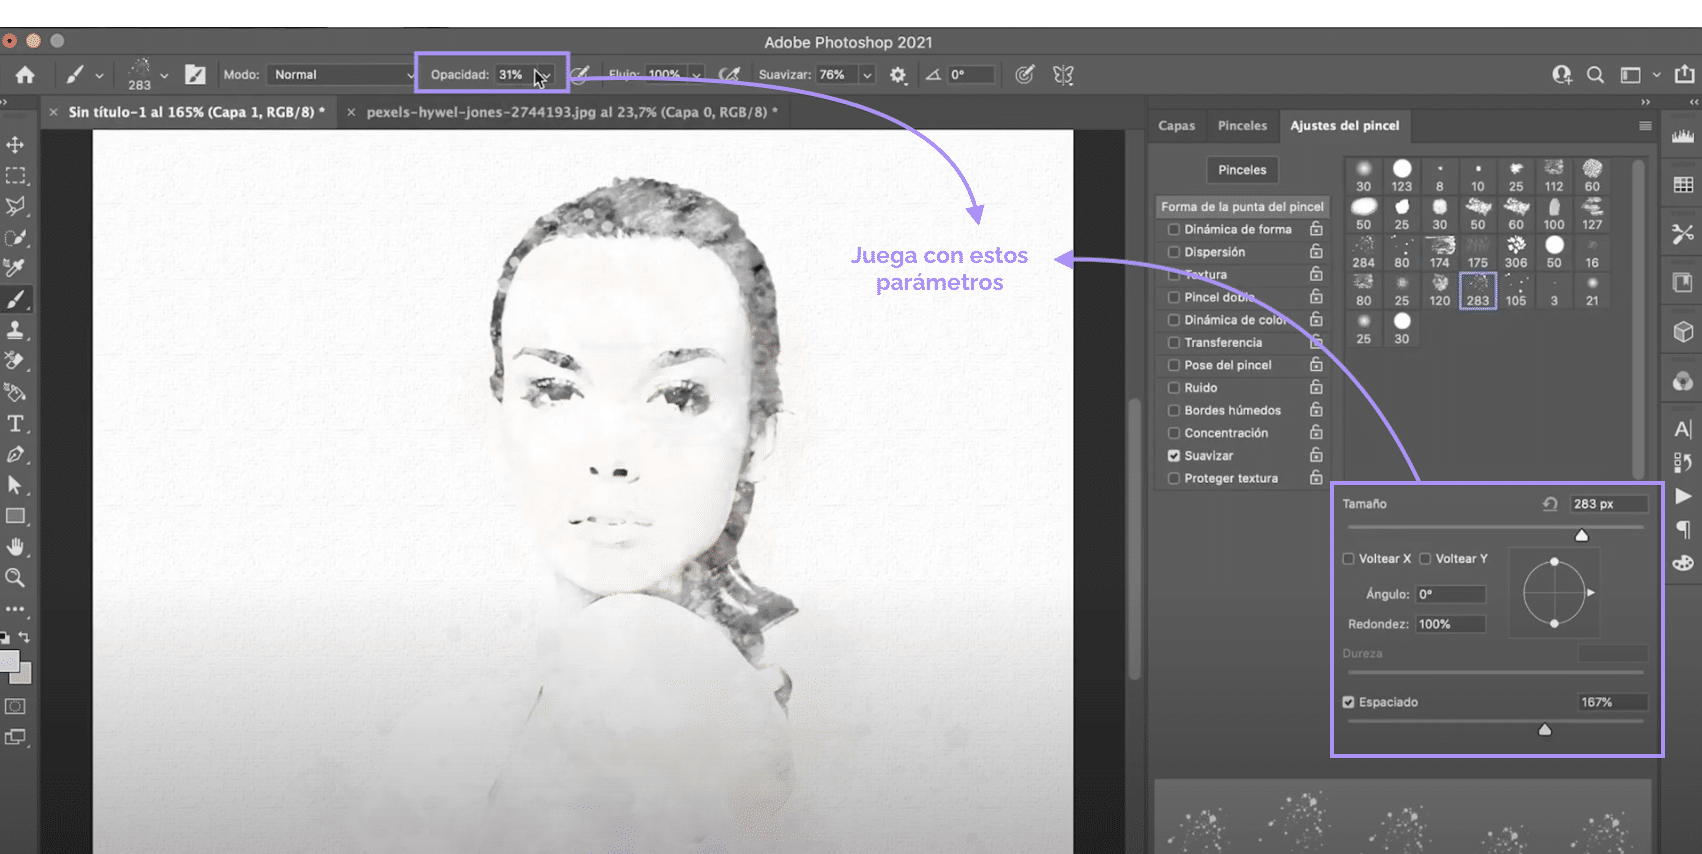
Go to window, brushes. A new panel will open. Under brush settings, you will find numerous art style brushes that you can customize and that will help you simulate paint strokes and stains. Play with size, opacity, shape, and space for more variety.
Color your watercolor in Photoshop
When you have your photograph with the black softened, with the edges somewhat blurred and with different types of "strokes" more or less visible. Apply color. Use the same brushes and the same technique, only this time instead of black you will use colors and instead of painting on a layer mask you will paint on a new layer that we will create and place on top.
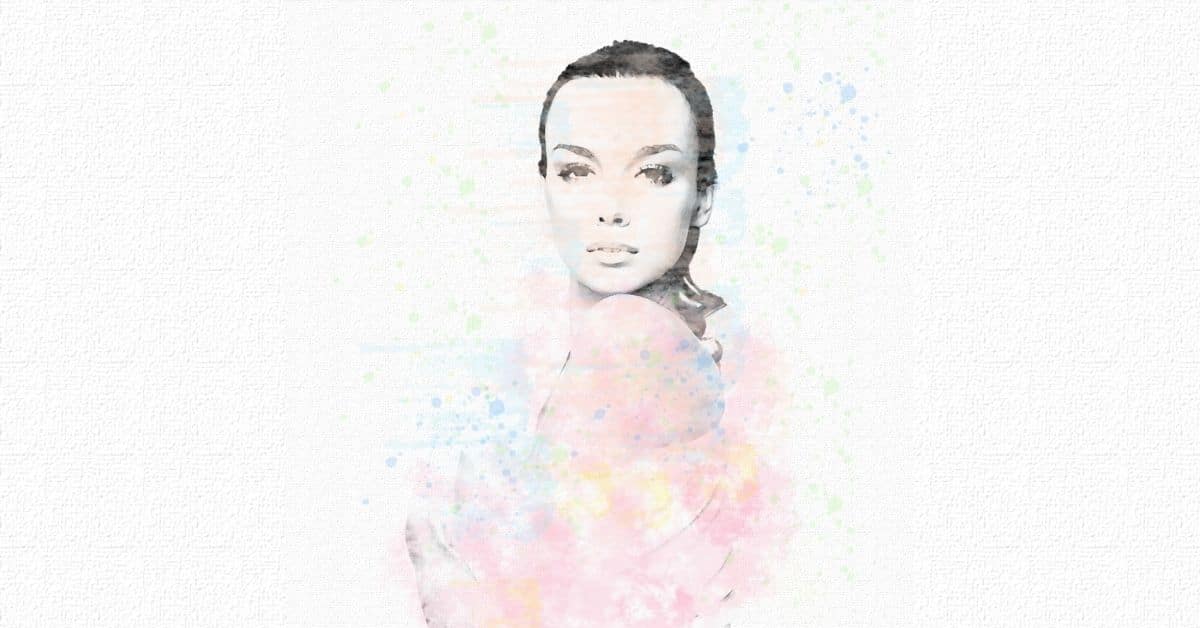
To create the layer, click on the symbol indicated in the image above. You can choose the color palette you want for this effect, I recommend that you try pastel colors.It looks great!