
WPB2D (or WordPress Backup to Dropbox) is a plugin that exists to make our lives easier and more enjoyable. He has made many of us stop hating backups, because they are so cumbersome to perform frequently. In order to use it we need:
- Have a Dropbox account. We can make it free (2GB) or premium (unlimited space). This service helps us to save files in the cloud: that is, instead of having them occupying space on our computer, they will be posted on a website that only we can access.
- PHP version higher than 5.2.16
Backup your WordPress
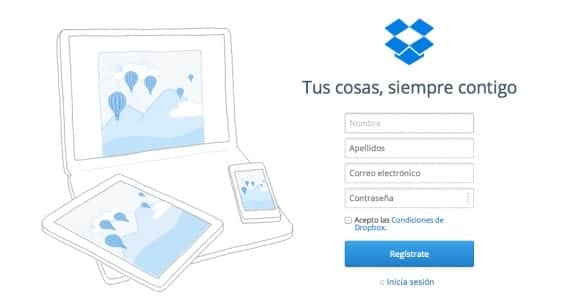
Step 1: create an account in Dropbox
If you already have it created, you can skip to the next step. To create a Dropbox account we will have to access www.dropbox.com and click on the button "Register”. Fill in the fields that are requested for your name, surname, email and password (remember these last two data). Check the box for 'I accept the Dropbox conditions”(After reading them), click on“Register"… And ready! You already have your account created.
It is important that you check your email inbox, in case they have sent an email to confirm your registration. If so, you will finish creating your account when you access the link that usually comes in these emails.
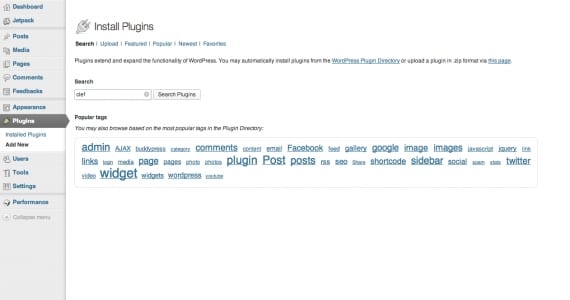
Step 2: install the plugin on your WordPress
For this you will have to access your website (http://tudominio.com/wp-login.php) as administrator and go to the section Plugins> Add New. In the search box that appears, paste the name of the plugin: WordPress Backup to Dropbox and look for it. When the results appear, check the one with the same name and click on Install Now.
In the window that opens, which will tell you that your plugin is already installed, remember to press “Activate Plugin".
Step 3: connecting the plugin with your Dropbox account
As soon as you have pressed Activate Plugin, in your panel on the left of WordPress the WPB2D plugin icon. Let's then click on it.
The first thing the plugin will ask you to do is to authorize it to connect with your Dropbox account (of course, otherwise you will not be able to transfer the information). So click on Authorize (Authorize).
Once you click on Authorize, you will be sent to the Dropbox main page, where you will have to Log In. Enter your username and password, and the web will inform you of this: the WordPress Backupt to Dropbox application wants to connect with your Dropbox. Click on the blue button at the end of the message that says Allow (or Allow). And ready! You have already linked your account with the plugin. Let's get to work!
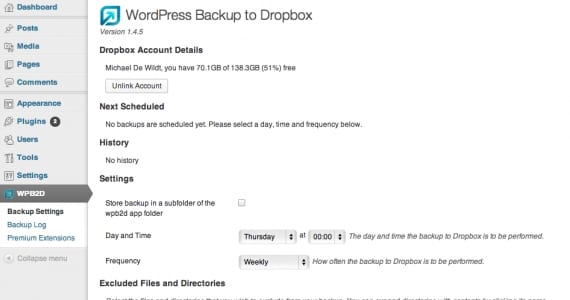
Step 4: setting up WordPress Backup to Dropbox
When you return to the WordPress page and click Continue, a key window will appear before you. Look at the bottom of the window, starting with the word Settings.
Check the first box: this will save your backups in a folder that will be inside the WPB2D application folder.
Day and date: stipulate the day and time you want the plugin to make an automatic copy of your site.
Frequency: order if you want to have a daily, weekly or monthly copy.
If you have already chosen the values of the previous fields, you would have already configured the plugin. That easy! We also find a section that will allow us to exclude files or files that we DO NOT want the plugin to copy, but I advise that by default we copy all of them and leave that section as it is.
Step 5: making our first backup
Select the option “Backup Log”From the plugin menu and click on the button that says Start backup (Start Backup). This action will take a few hours, depending on the size of your website ... So I advise you to take advantage of the time and do something in the meantime.
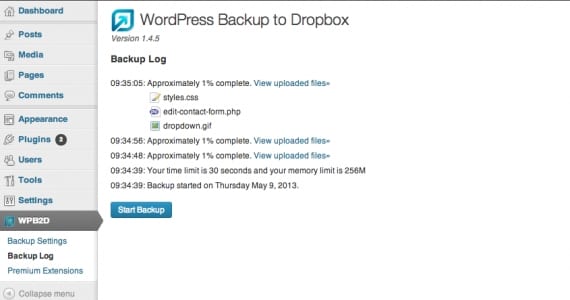
Once this screen tells you that the Backup has already been made, try entering your Dropbox and entering the App> WPB2D folder. Your site copy will appear here. !! Congratulations!!
Thank you!!!!! Excellent tutorial ... you don't know how good it has been for me. I had been reading about how to backup for days and it couldn't be easier.
Thank you very much!
regards