In this post I'm going to teach you how to blur the background of an image with Photoshop. It would be wonderful if when we took a photo they came out perfect the first time and that we mastered the depth of field so that they had the desired focus, but we all know that that does not always happen and sometimes we do not achieve the results that we would like. So… Write down this tip!
Open the image and duplicate the layer twice

The first thing we will do is open the image in Photoshop that we want to edit, and we will make two copies. To duplicate the layer, you just have to click on it and drag by pressing the option (Mac) or alt (Windows) key. You can also go to the layer tab> duplicate layer. It is important in this tutorial to know what each layer contains, so We will call the original "background layer", the first copy "blur" and the last "subject."
Select subject, save selection and create layer mask
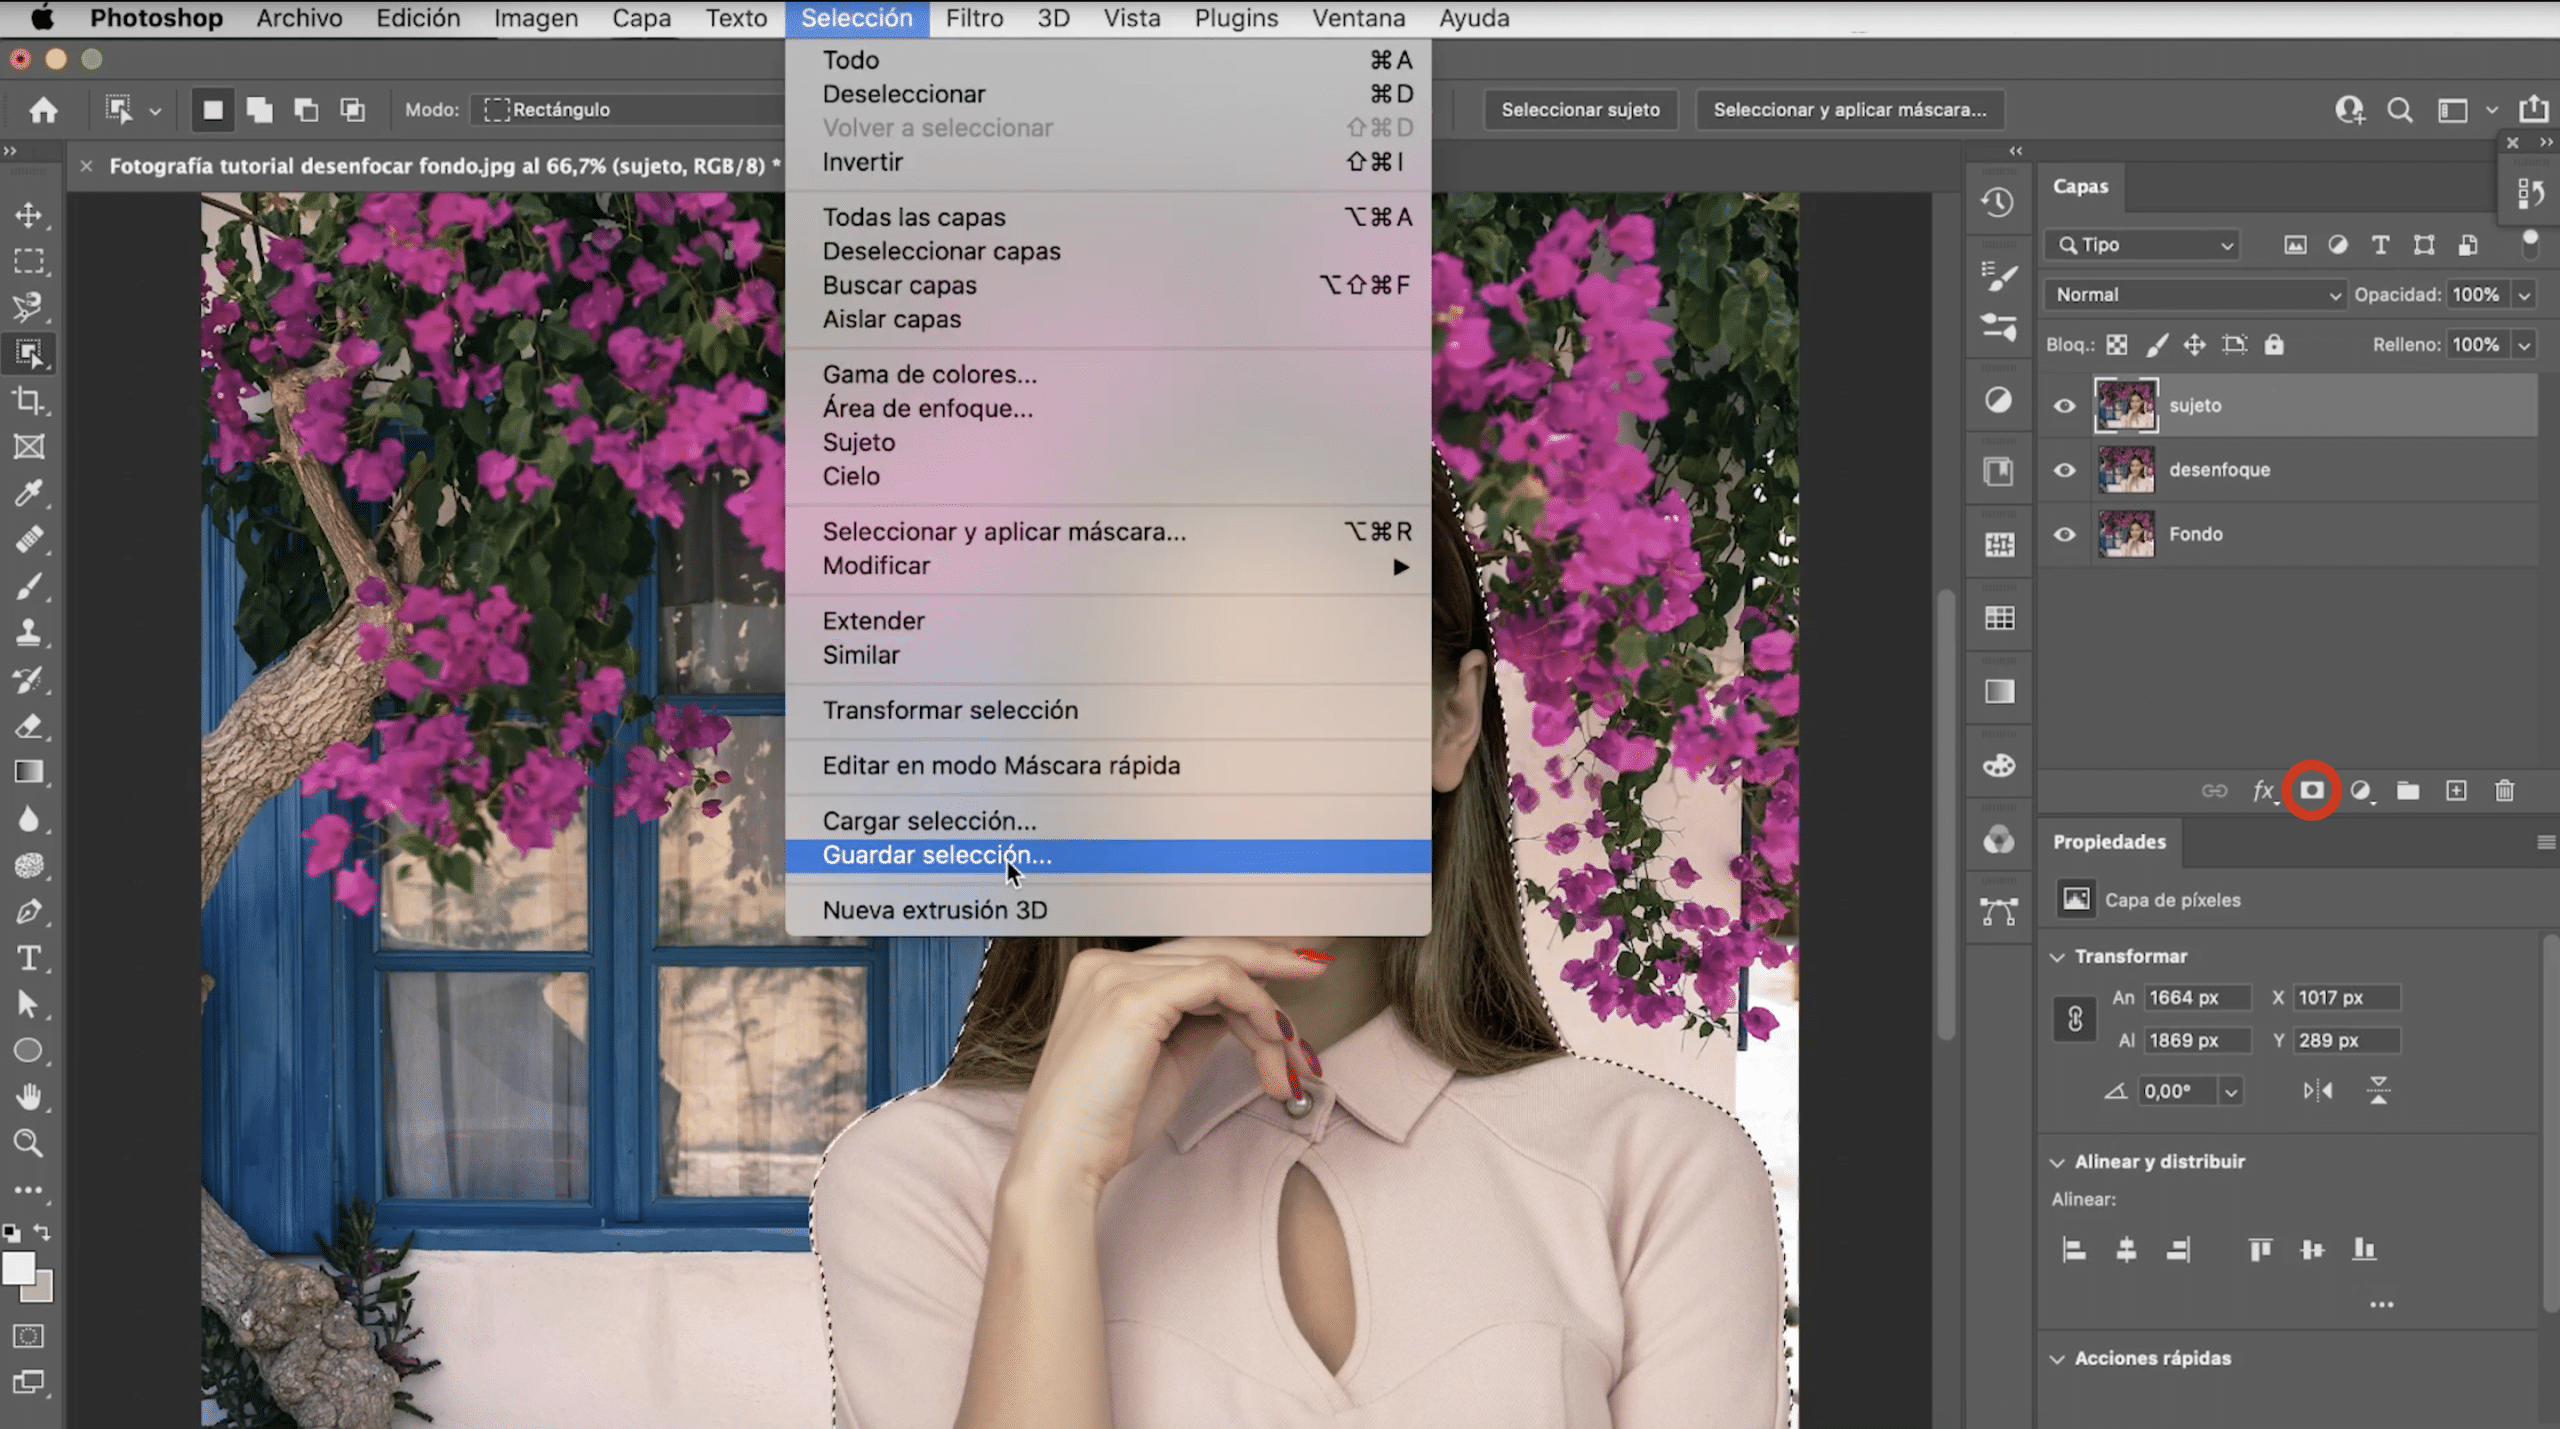
In the "subject layer" let's select the girl, I have used the select subject tool, make the selection well and use the layer mask to make it as perfect as possible. I leave you in this link a trick to make better selections. Save selection, because we will need it later. To do this, go to the selection tab> save selection. Finally, by clicking on the symbol that appears surrounded in the image above, we are going to create a layer mask.
Remove the subject from the blur layer

In the «blur layer», we will load selection that we had saved in the previous step. You just have to go to the selection tab> load selection, and it will automatically appear on the screen. Let's eliminate the girl, and we will do it by going to the edit tab> fill, in the window that will open choose "Fill in according to content". It will not be perfect, but do not worry because it will hardly be seen.

Apply field blur filter and correct edges

We are going to apply a filter to "blur" layer. Click on it, and go to filter tab> blur effect gallery> field blur. A panel will open in which you can adjust the blur to your liking, you can choose a more natural blur or a more noticeable blur.
Before providing the final result, zoom in and look at the edges, there may be some damage. To correct it, go to the selection mask and with the brush, using the white to leave visible and the black to cover, paint and fix those edges (in the video of our Youtube channel you can see in more detail how to do it).
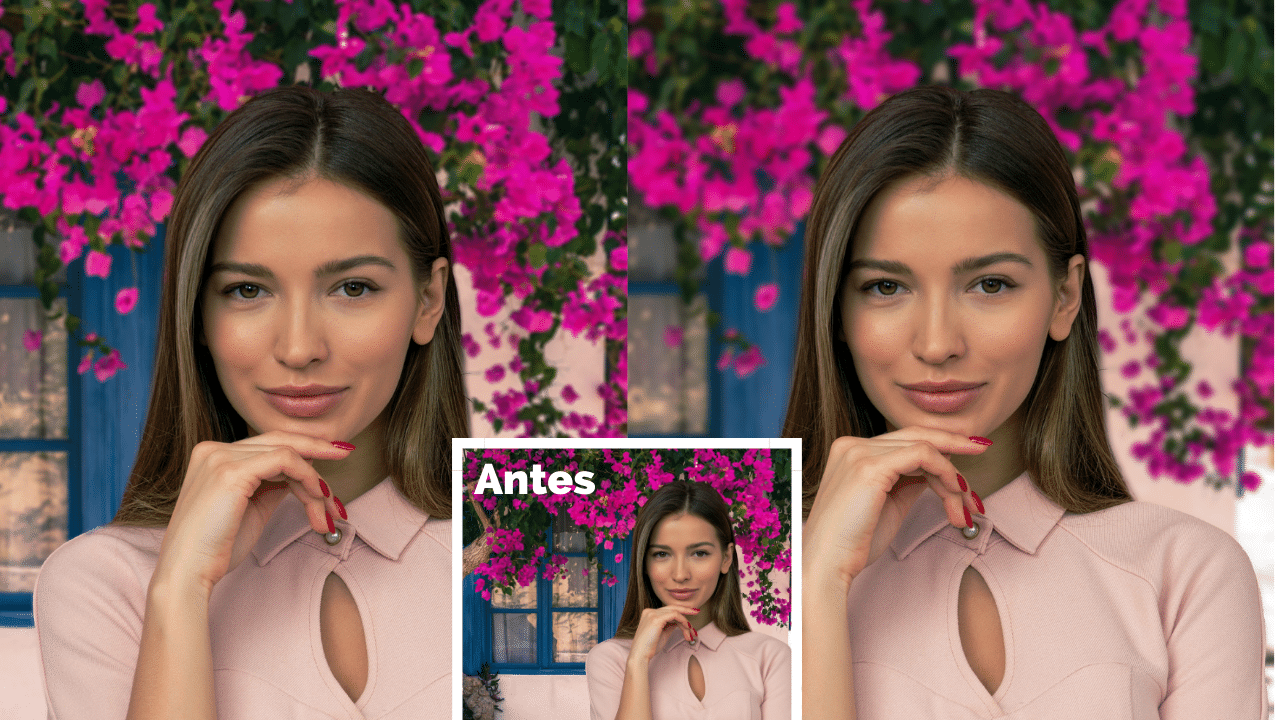
Here is the end result with different levels of focus!