First of all, clarify that this tutorial It has been made with Adobe Illustrator CS5 (in English), so the step-by-step images show the interface of that version. Even so, you can try it in any version you have, taking into account that it is likely that it will cost you a bit more to follow the tutorial.
This effect can be useful when performing a informal design in which the comic style accompanies what you want to communicate. Below we bring you a step-by-step tutorial so that you can achieve a comic text effect with Adobe Illustrator.
Comic text effect
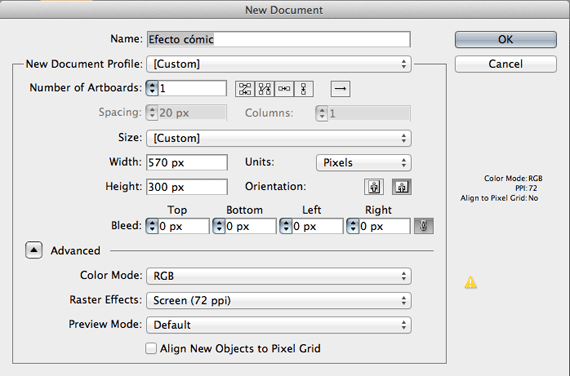
We open Adobe Illustrator and go to create a new document (Mac: Cmd + N Windows: Ctrl + N). We can name it whatever we want and choose the file size. In my case I have chosen 570 x 300 px, the format we use in Creativos Online to upload the images.
It is very important that, at the bottom of the (Advanced) dialog box, you make sure that you have marked as Color Mode the RGB, Raster Effects on Screen (72ppi) y Preview Mode Default. Once you have the chosen options, click on OK.
BACKGROUND
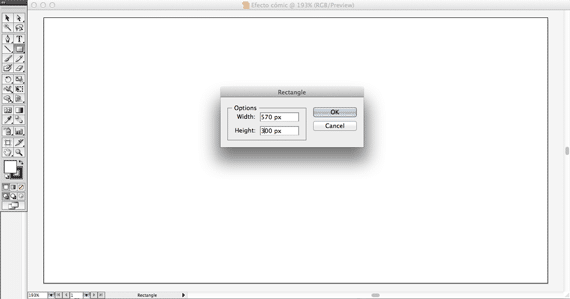
We are going to create the colored background that our text will wear. We select the rectangle tool (Rectangle Tool, M key) and click anywhere in our document. Then a small window will open that will allow us to enter the measurements of the rectangle: you will have to put the measurements of your document. In my case, 570 x 300px. Click on OK and the rectangle that we have just created will appear on the screen.
Now we will have to place it well. To do this, we will select the black arrow on the toolbar, (Selection Tool, V key). With it we will click on the border of the rectangle and, WITHOUT RELEASING, we will drag the border until it coincides with the edges of the document.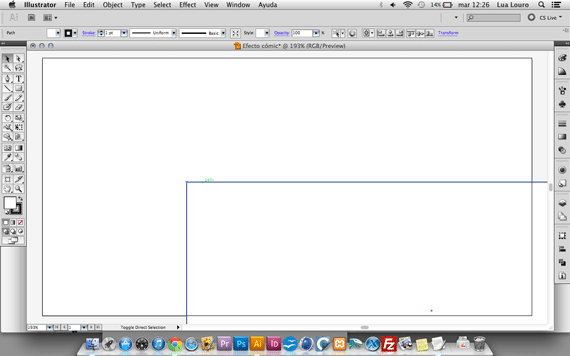

COLORING BACKGROUND
The background is already done, but by default we will see it white with a black border. Time to change this! With the black arrow selected as a tool (Selection Tool, V key), we click on the rectangle. We go to the two colored boxes at the bottom of the toolbar: the one in front corresponds to the fill color of our figure and, the one behind, refers to the TRAZO. By default we will have the white color filling and the border color black. We click on the fill box and the color selector (Color Picker). Now, you can select the color you want for your background. In my case it was a blue. Once chosen, click OK and you will have your colored rectangle. 
Now let's take the edge off. Click on the box on the edge of our toolbar. Now, just below that square, there is a tiny white square with a red diagonal. We click on it ... And that's it! This square tells Illustrator that we want the stroke without color. If we wanted the filling of the rectangle to be also without color, we would have to select the corresponding box and click on the empty box again. 
DEGRADED
The next step is to make a circular gradient on our background. To do this, we have to go to the Appearance window (if you don't see it on the right side of your screen, as I show in the image, go to the top menu of your Illustrator window and go to Window> Appareance). Here, by default, we will see the Fill option with the color that we have put in the rectangle and the Stroke option (stroke or contour), which will be with the Empty option. One last option is Opacity (opacity). At the bottom of that window, there are two small squares. One with a very wide black border and the other with a thin border. We select the fine one, to create a new fill (Fill). Now, in the color square of the new fill that we have created, we click. An arrow will appear on its right side and we will select, from among all the color samples that appear, the one corresponding to the circular black gradient.
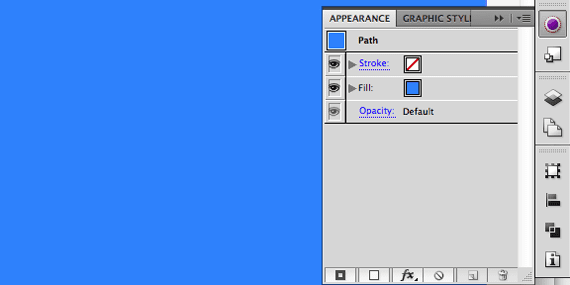
Appearance window
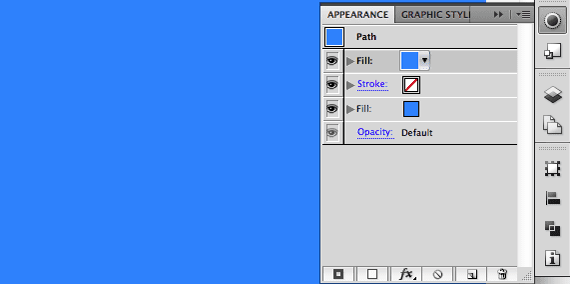
We create a new fill (Fill)
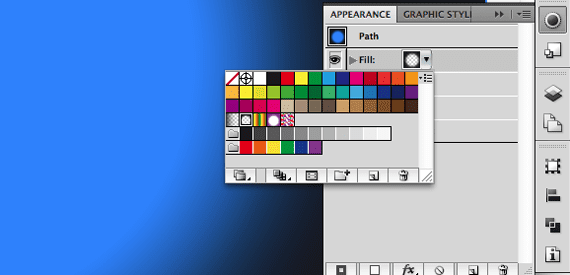
Selecting the circular gradient swatch
Now we open a new section by clicking on the arrow on the left side of Fill and click on the word Opacity, to change the way our fill layer will be applied. Once there, we select the option Overlay (Overlap).
CIRCLE
We are going to create a white circle in the center of our document. To do this, we select the tool Ellipse Tool, which will be "inside" the Rectangle Tool. To be able to choose it we have to do a long click, without releasing, waiting for the options to be displayed. Once they appear, WITHOUT RELEASING, we move our cursor over Ellipse Tool and release it.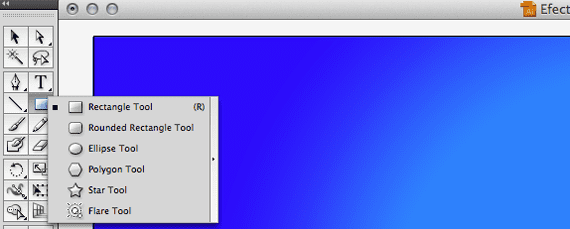
We create a perfect circumference (for this, we click and drag while holding down the Shift key on our keyboard). The normal thing is that the circumference comes out with the same parameters of the previous gradient that we did, so we will have to modify the value of the fill.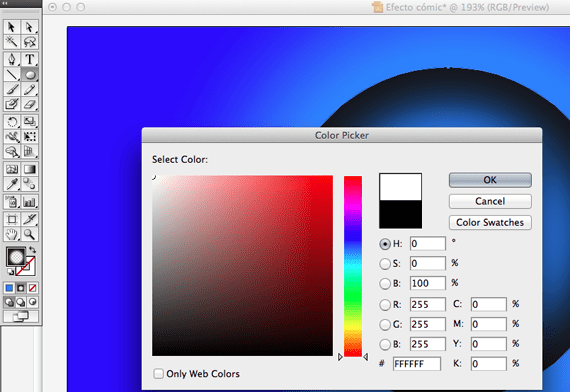
Now we are going to center it. Go to Window> Align and, WITH THE CIRCLE SELECTED, click on the options shown in the images. 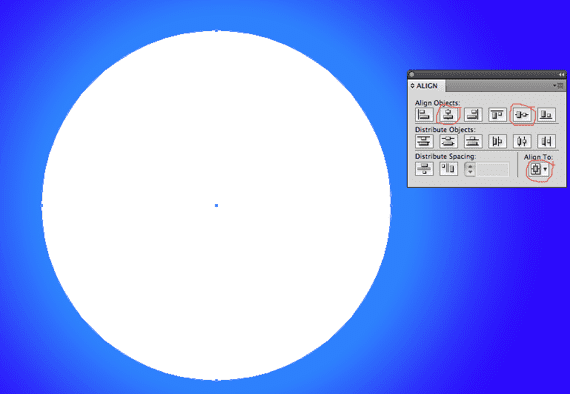
TEXT
We select the Text tool (TypeTool, key T) and we type the text we want. In our case we have chosen the font BadaBoom BB, which you can download from DaFont. 
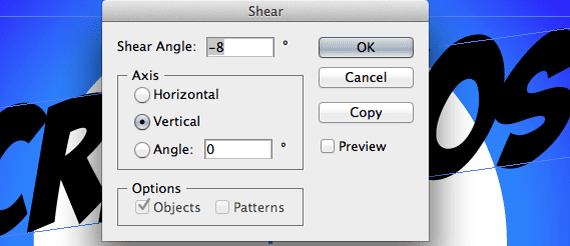
Now let's turn it around a bit. Right click on the text> Transform> shear. We introduce the value -8º in Vertical and click OK.
We center the text in the same way that we previously centered the white circle.
ADDING THE STYLE
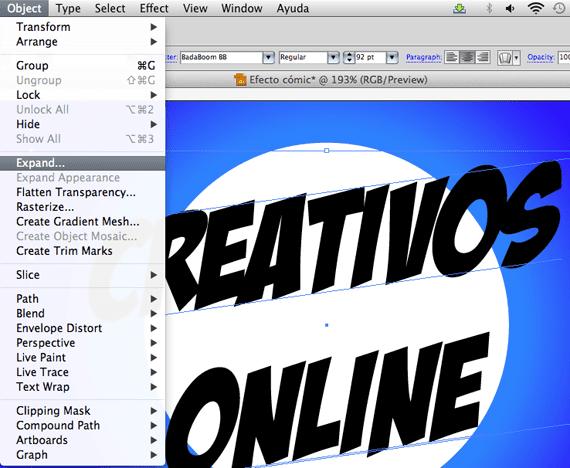
Object> Expand
With the text selected, we go to the option Object in the top menu and select Expand and, in the window that is displayed, Ok. Then do right click over the text and select ungroup (Ungroup).

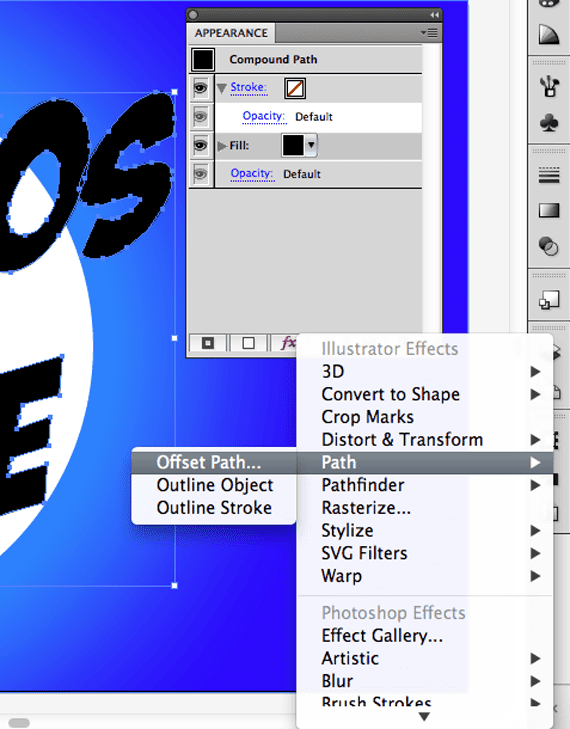
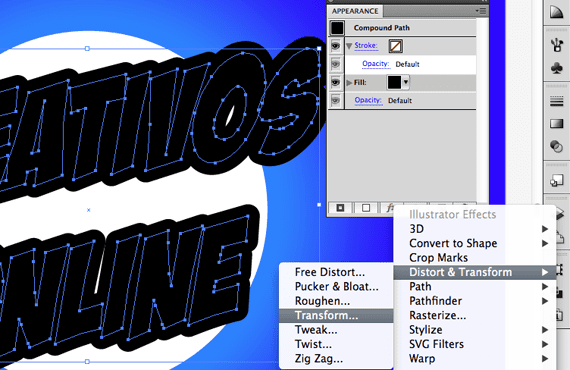
Let's go back to Appearance panel. Select the black fill and click on the icon 'fx' to choose Path> Offset Path. Enter, in Offset, 8px. In Joins, Round. And in Miter limit, 4.
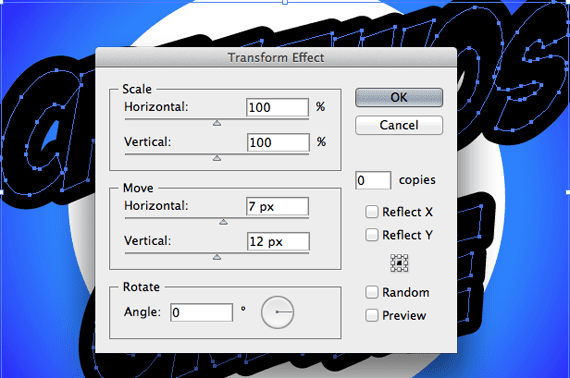
Now click on the 'fx' icon again and choose Distor & Transform> Transform and enter:
In Scale: horizontal> 100% vertical> 100%
In Move: horizontal> 7px vertical> 12px
Now let's add another filling. Tap the square icon on the thin border and select a light color. For example, white.

We add another filling. In our case, of orange. We are going to add a transform effect to it. Click on the icon again 'fx' and choose Distor & Transform> Transform and enter:
In Move: horizontal> 2px vertical> 2px
We are going to put the black outline on it. We select the black color in stroke and we give it 3px. Ready! Now to save file> save. To save it in .jpg, file> export (and there you select the format)