
Cropping an image in Photoshop is one of the most basic options that you learn when you start with this great image editing program. The only thing that happens is that we may go over and ignore some of its options so that cropping an image is easier.
This is why we are going to review the steps to crop an image to leave nothing in the pipeline and you can review with us some of the tricks that this tool has that may seem simpler than it really is. So let's move on to learn the ins and outs of cropping images in Photoshop.
How to crop an image in Photoshop
You can use the tutorial for an old version of Photoshop or a current one. In Photoshop CC and Photoshop CS6 the cropping tools are non-destructive, which means that you can choose to retain the cut pixels rather than removing them completely.
- We open an image any in Photoshop and select the panel crop tool (C key)
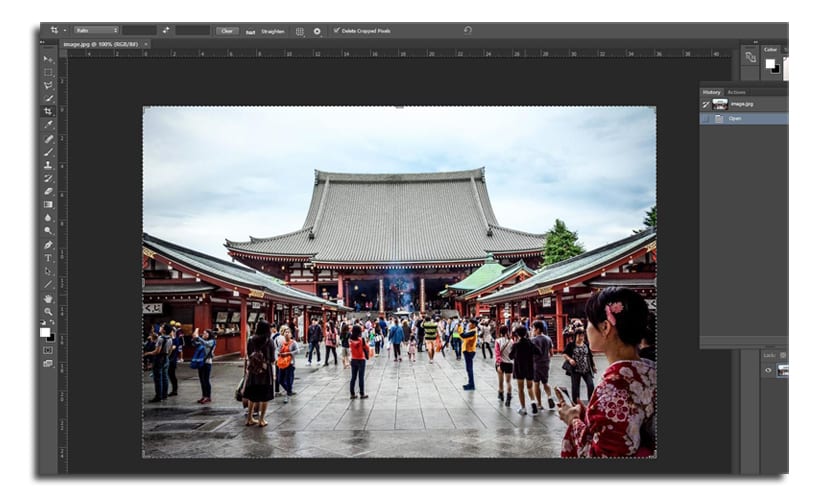
- You can both draw a new crop area, or grab some of the corners and sides to resize the cropping area
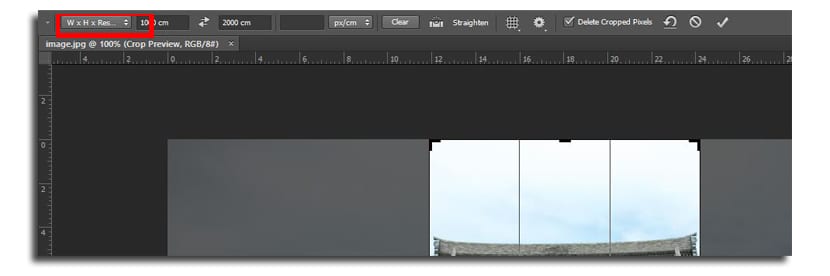
- In order to accurately specify the image, you can use the control bar at the top of the program

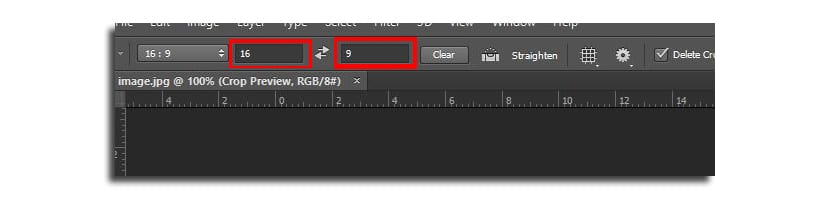
- You can choose the crop ratio to have a 16: 9 format more cinematic
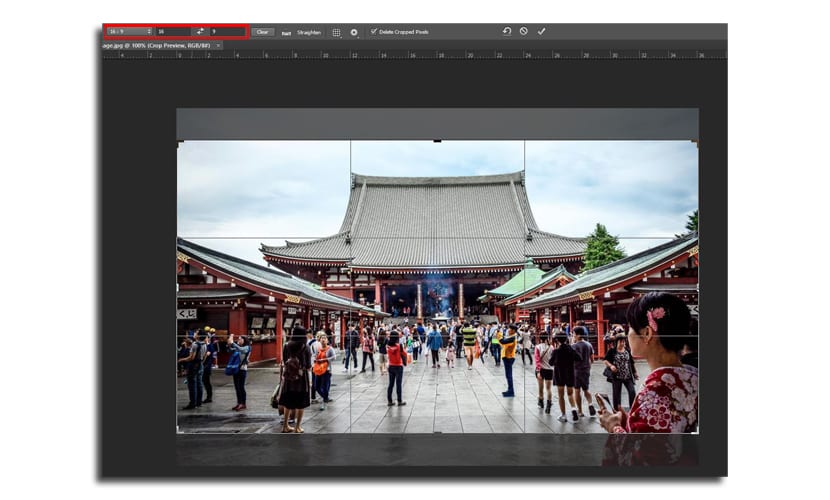
- You have the option of choose the ratio in the two fields right next to the option as the image indicates
- If you choose the option W x H x R, then you can type the values, but this time in three fields. The first is the width you want the image to be, and the second is the height. The third is for the resolution that can be marked in pixels or centimeters
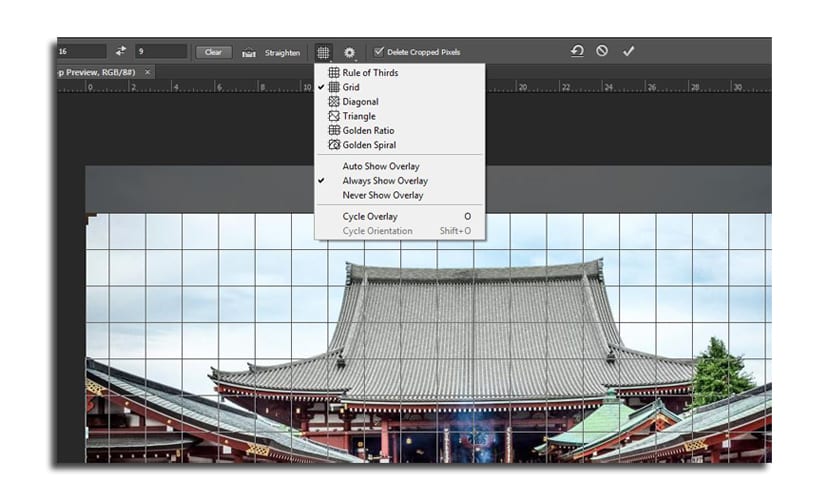
- The next step we are going to look at is choose a grid which will help you crop the image. From the button located to the right of the ratio, the one on the grid, we click and the different options will appear as shown in the image:
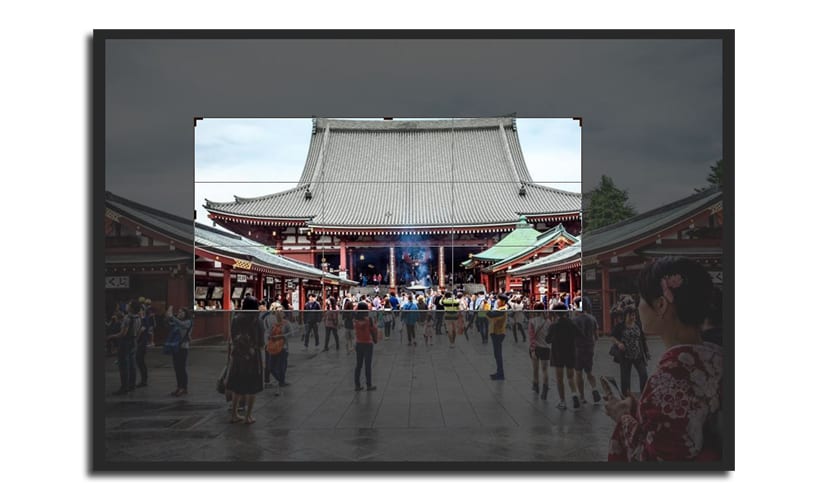
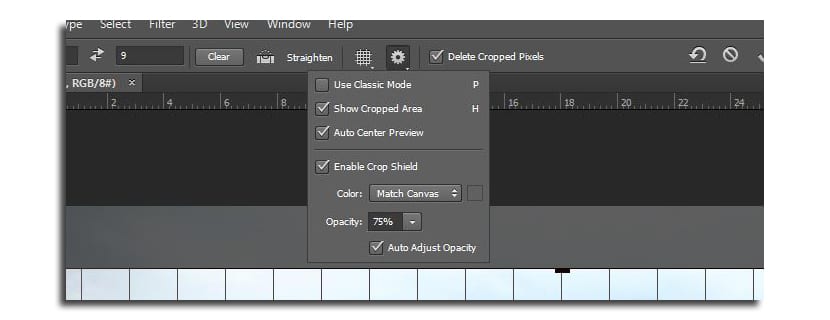
- Finally we go to the next gear wheel icon that allows us to choose between the usual classic Photoshop mode or choose not to see the part that is going to be discarded
- We press about enter and we will have the image cropped
Several observations before leaving. If you have the option "Delete cropped pixels" active, this means that everything outside the cropping area will disappear when the action is applied. If you don't have it active, Photoshop will keep "saved" areas so that in any case that you need to use them you can recover them.
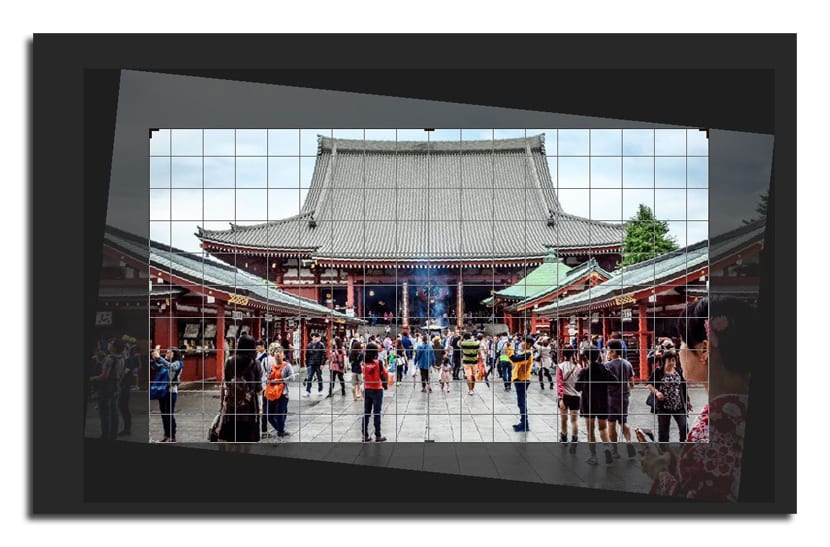
Finally we have the option of Straighten, which allows you to make a crop in an image in which the horizontal is slightly tilted to one side. It usually happens that sometimes we do not take pictures well, so this tool allows us to correct horizontality of the capture.
I leave you before the previous tutorial in which I teach you change the background of an image easily.
Manuel very interesting and useful your article, congratulations!
Greetings.