
Open photoshop, filter tab. The same that when we edit we exploit it without knowing very well how it will work for us and sometimes we give up because we do not get the desired effect well. Until now, they have been able to go unnoticed and the capacity they could have was not taken into account. Especially if we talk about the Gallery. Discover how to use filters in photoshop in (Filters and Filter Gallery).
Filters allow you to apply effects of various styles such as artistic, lighting distortion, to images, etc. And not only from the default ones, we can also import them from external modules. These filters can be applied to an entire document, to a specific area or to a layer. Of course, it must have pixels, it cannot be an empty layer.
If you are one of those who dared to use them but did not see a great result, it may also be because of their configuration. Some filters are directly perceived in the preview just select them but others you will have to configure as desired to make an appreciation of the change.
Before entering the gallery, where we will find many different effects, we are going to go to the options that come a little further down and that complete this tutorial.
To see the result make sure that the options 'Preview' and 'Show restrictions' are checked.
Filter> Adaptive Wide Angle
This filter is designed to rectify flaws in shooting photos for wide angle lenses. Repair some of them in general. The most important novelty of the new versions of photoshop (If you don't have CS6 or CC, you won't have it) is that you can work on specific parts of the image and correct the deformations manually. Thus, if the defect is only in a specific area, you will not have to modify anything other than that area.
If you work, for example, on the option: 'perspective'and we are modifying, we will have several effects that we will give to the image. If you use it like crazy, you can see how the image is distorted in an exaggerated way. But, if you need to curve or zoom in, just tap on certain criteria like crop factor or focal length. Here is an example of how you will see the real image and how it will become by retouching the criteria a bit in: Scale: 103, Focal length: 3,01 and Crop factor: 8,52.
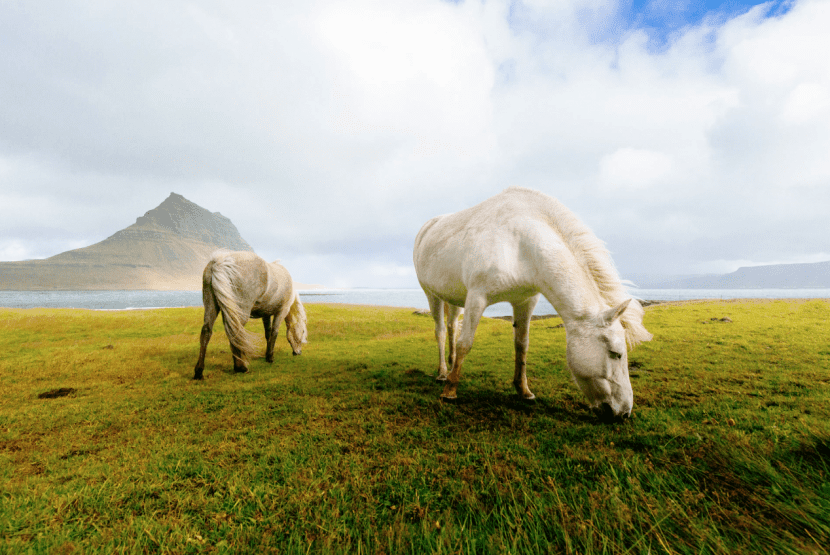
The original image has a distance from the main object, which in this case is the horses. Now we will see one with the Adaptive Wide Angle.
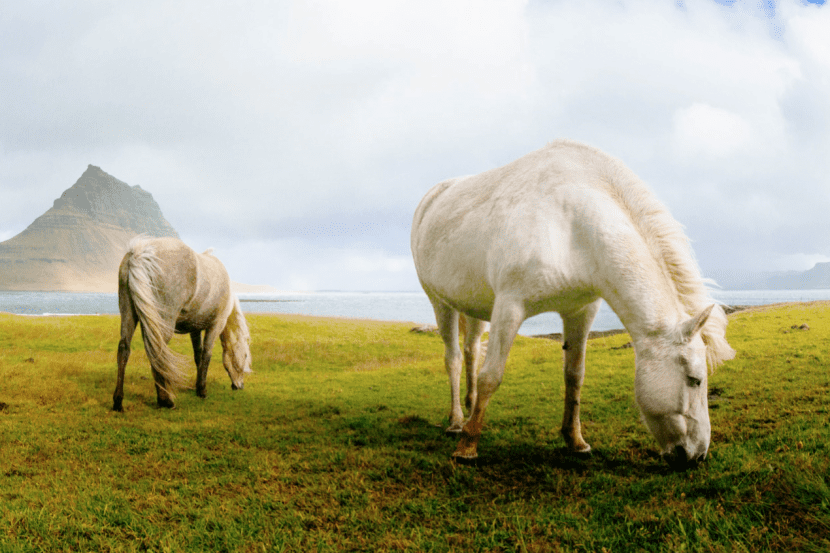
Do you see the change? How has the image been brought closer to us and cropped? This is a simple example. Made about the perspective option. There is also the fisheye, automatic or full sphere correction. The Fisheye option can be very complete as I say for wide angles, give that slightly distorted effect of photography and spaciousness. Drawing a more curved line than the image taken with our camera.
Restriction options
The options on the left will make you have more manageability in the photoBy crossing a horizontal line with the restriction tool, you will see how it adapts to the curve of your image as if it were magnetized. When you release the mouse the filter will straighten the curve. Clearly, the image will be distorted, especially by the outline, which will "remove" part of the image. If you don't like how it looks good, you can adjust it, click on Ctrl + Z (In the case of Mac Cmd + Z) to go back or eliminate this action by pressing the ALT key plus left mouse click.
This is an example of an image with restrictions:
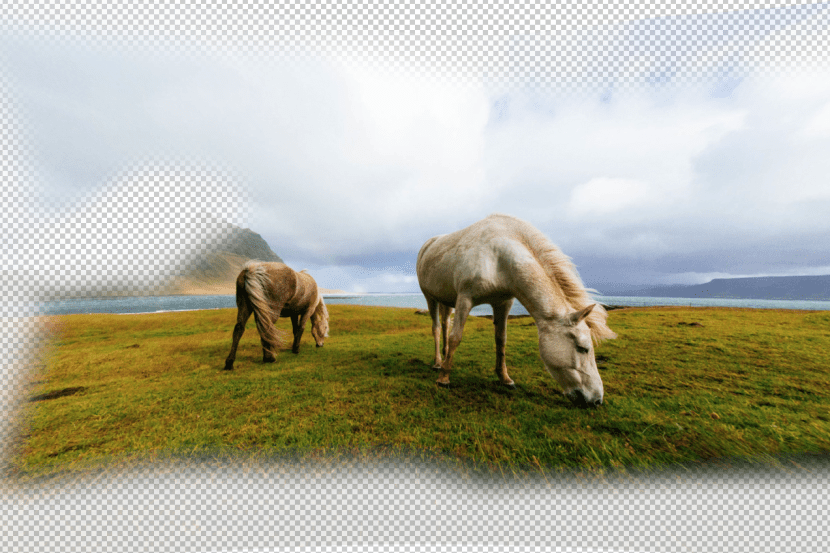
It doesn't seem very attractive, does it?. Now place it under the original image and subtract opacity or eliminate certain areas that you prefer from the original image through the brushes or with the blending modes, which you will already know what it is about with the previous tutorial. This is an example:
If we see before the original image shown above, we will notice the change that there is with respect to this with restrictions. The grass, the mountain and the sky are notable parts of the change.
Lens correction
In the same way now we go to filter> Lens correction, this option will allow us to correct the aberrations in the taking of views by means of several preset parameters and powerful adjustments.
If your camera is not a high-end, low-end or low-mid range, like a canon 1200D, you can apply some quick adjustments with this tool. In this case, you will be able to choose the make and model of the camera with which you took the photograph in the search criteria. This way you will see the established improvements in real time.
If you want to apply more versatile measurements, for example, to recover fisheye or wide angle perspectives, we are going to opt for 'Custom'. We have adjusted the geometric distortion, vertical and horizontal perspective, angle and scale for our photography. The following images will give us the provided result. Each one in particular will require certain and not fixed settings.
Try it yourself and comment on your results so that we can assess them, surely they come out better than me. This is a tutorial, so we have not stopped to give a more specific result because we could spend a lot of time for each of the examples.
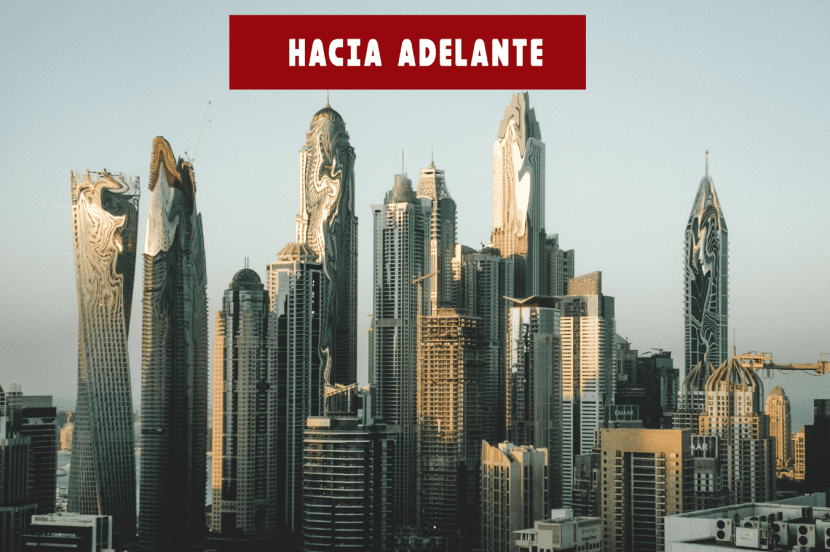
Option to liquefy
This filter allows us to deform to a greater or lesser extent a part of the image applying different transformations to it. In both 8 bits and 16 bits per channel. Select first the layer you are going to liquefy, if you are wrong as always, ctrl + z (cmd + z on Mac). Go to Filter> Liquify or type ctrl + shift + X (cmd in case of Mac).
If you have Photoshop CS6 you will have to press the option 'Advanced mode' to show all the possibilities. In case it is CC, there will be no problem because you will have the options already marked by default.
Let's first show the mod / warp tools from the left panel. Some tools like the handheld or zoom will already be familiar to you. They are not exactly where we will stop. We start with the first one, warp forward: Push pixels forward as the tool is dragged across the image.
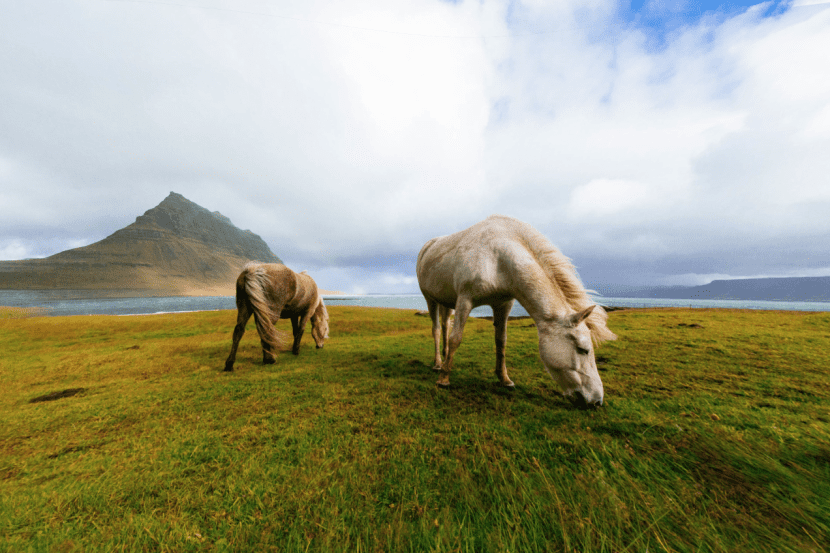
Thus, the image does not look good, apply a blending mode to it like soft light.
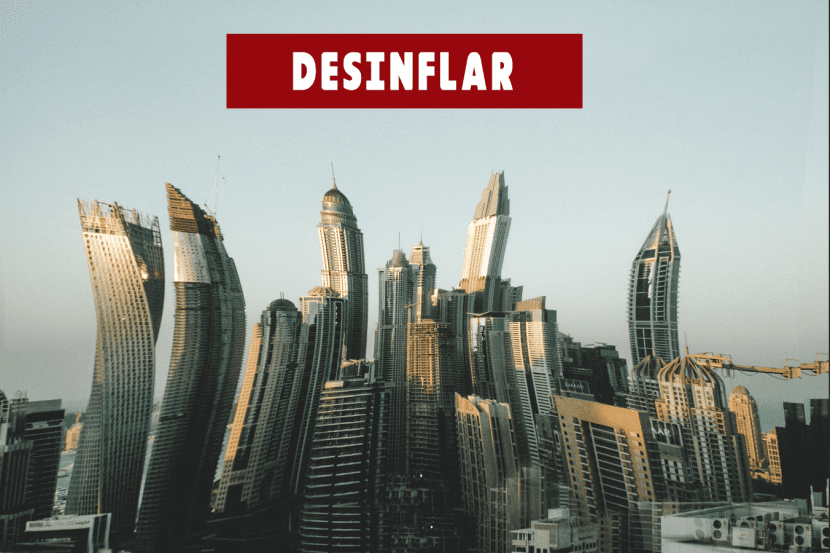
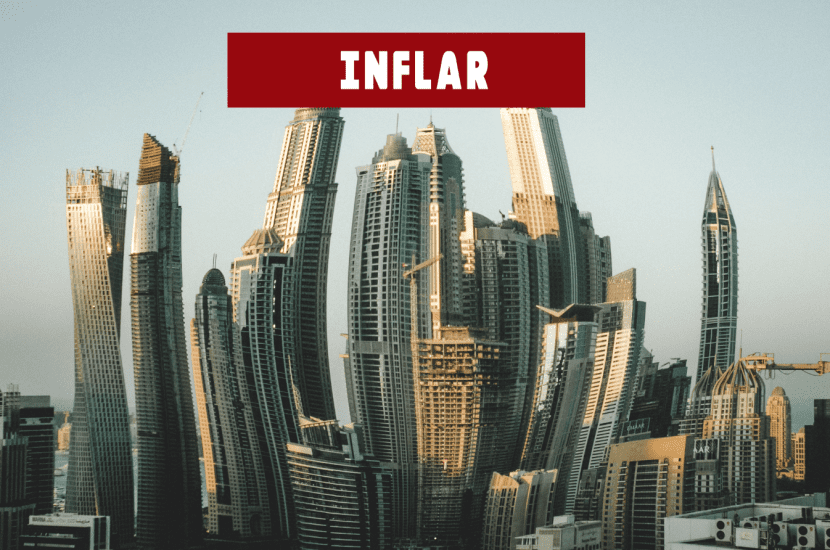
Pinwheel to the right: Performs a rotation of the pixels in a clockwise direction. If you press Alt (on both PC and Mac) you reverse the rotation. Deflate: As its name suggests, it deflates. That is, it moves the pixels toward the center. This makes the image centered and appears to be zooming out. Inflate: Rather, it pushes them out by pixels.
Push left: Moves pixels to the left of the traced area when the tool is dragged up the image. If you prefer to reverse the direction, press Alt.
Vanishing Point
This function allows you to define perspective planes in an image to make changes and retouching. These changes are made in a specific area respecting its perspective. Keep three things in mind to keep it running smoothly. If the adjustment is partial, select the part of the image you want to correct. Of course, duplicate the layer in case you have any error, to reverse it and if the transformation increases the image size, expand your work area.
Use the 'Create Plane' tool to define the four angles of the perspective plane. You click on each vertex to place the points. If the blue grid appears then it is ok. In yellow if the points are not valid. So watch out for it, because you won't be able to edit.
Make the plane grid finer by entering a value in the 'Grid size' field. To select and modify the plane, choose edit plane and click on the plane by dragging it.
Modify and transform the image
In the vanishing point window you can duplicate the image or areas of it. Wet, paint or apply the transformation. To duplicate zones, use the stamp tool. Adjust the tool options: Diameter, hardness (defines the smoothing). Opacity and correct. Disabled: There will be no blending between the outlines and the colors, shadows and textures of the following pixels. Luminance: Blending the contours with the brightness of the pixels. Enabled: Fusion of contours with colors, shadows and textures.
Filter Gallery
To begin, select the layer that you are going to use to apply the different filters of the image. Go as we said before to Filter Gallery. In the pop-up window you can select any of them in an instant, also in the preview you can zoom to get a better view of what you are changing.
In the document icon below you can see how to add new filters to overlap between several or eliminate if one is not useful to you. As well as you can hide some if at that moment you don't want a preview on the eye icon. I'll add an image so you can get an idea.

These you can see in real time and they are easy to see. They will not need much configuration and will make you have multiple effects in your photography. Making a comparison, it is something like a mobile application with simple configuration that will give another touch to photography. A simple tweak in the image settings can also simulate the touch of apps.