Would you love to know how to make textile prints from your illustrations? Not sure where to start?
A rapport is a basic module of repetition of a design for creating a pattern, pattern or pattern, which can be applied to a multitude of product surfaces, the most common being printing on fabric (textile design).
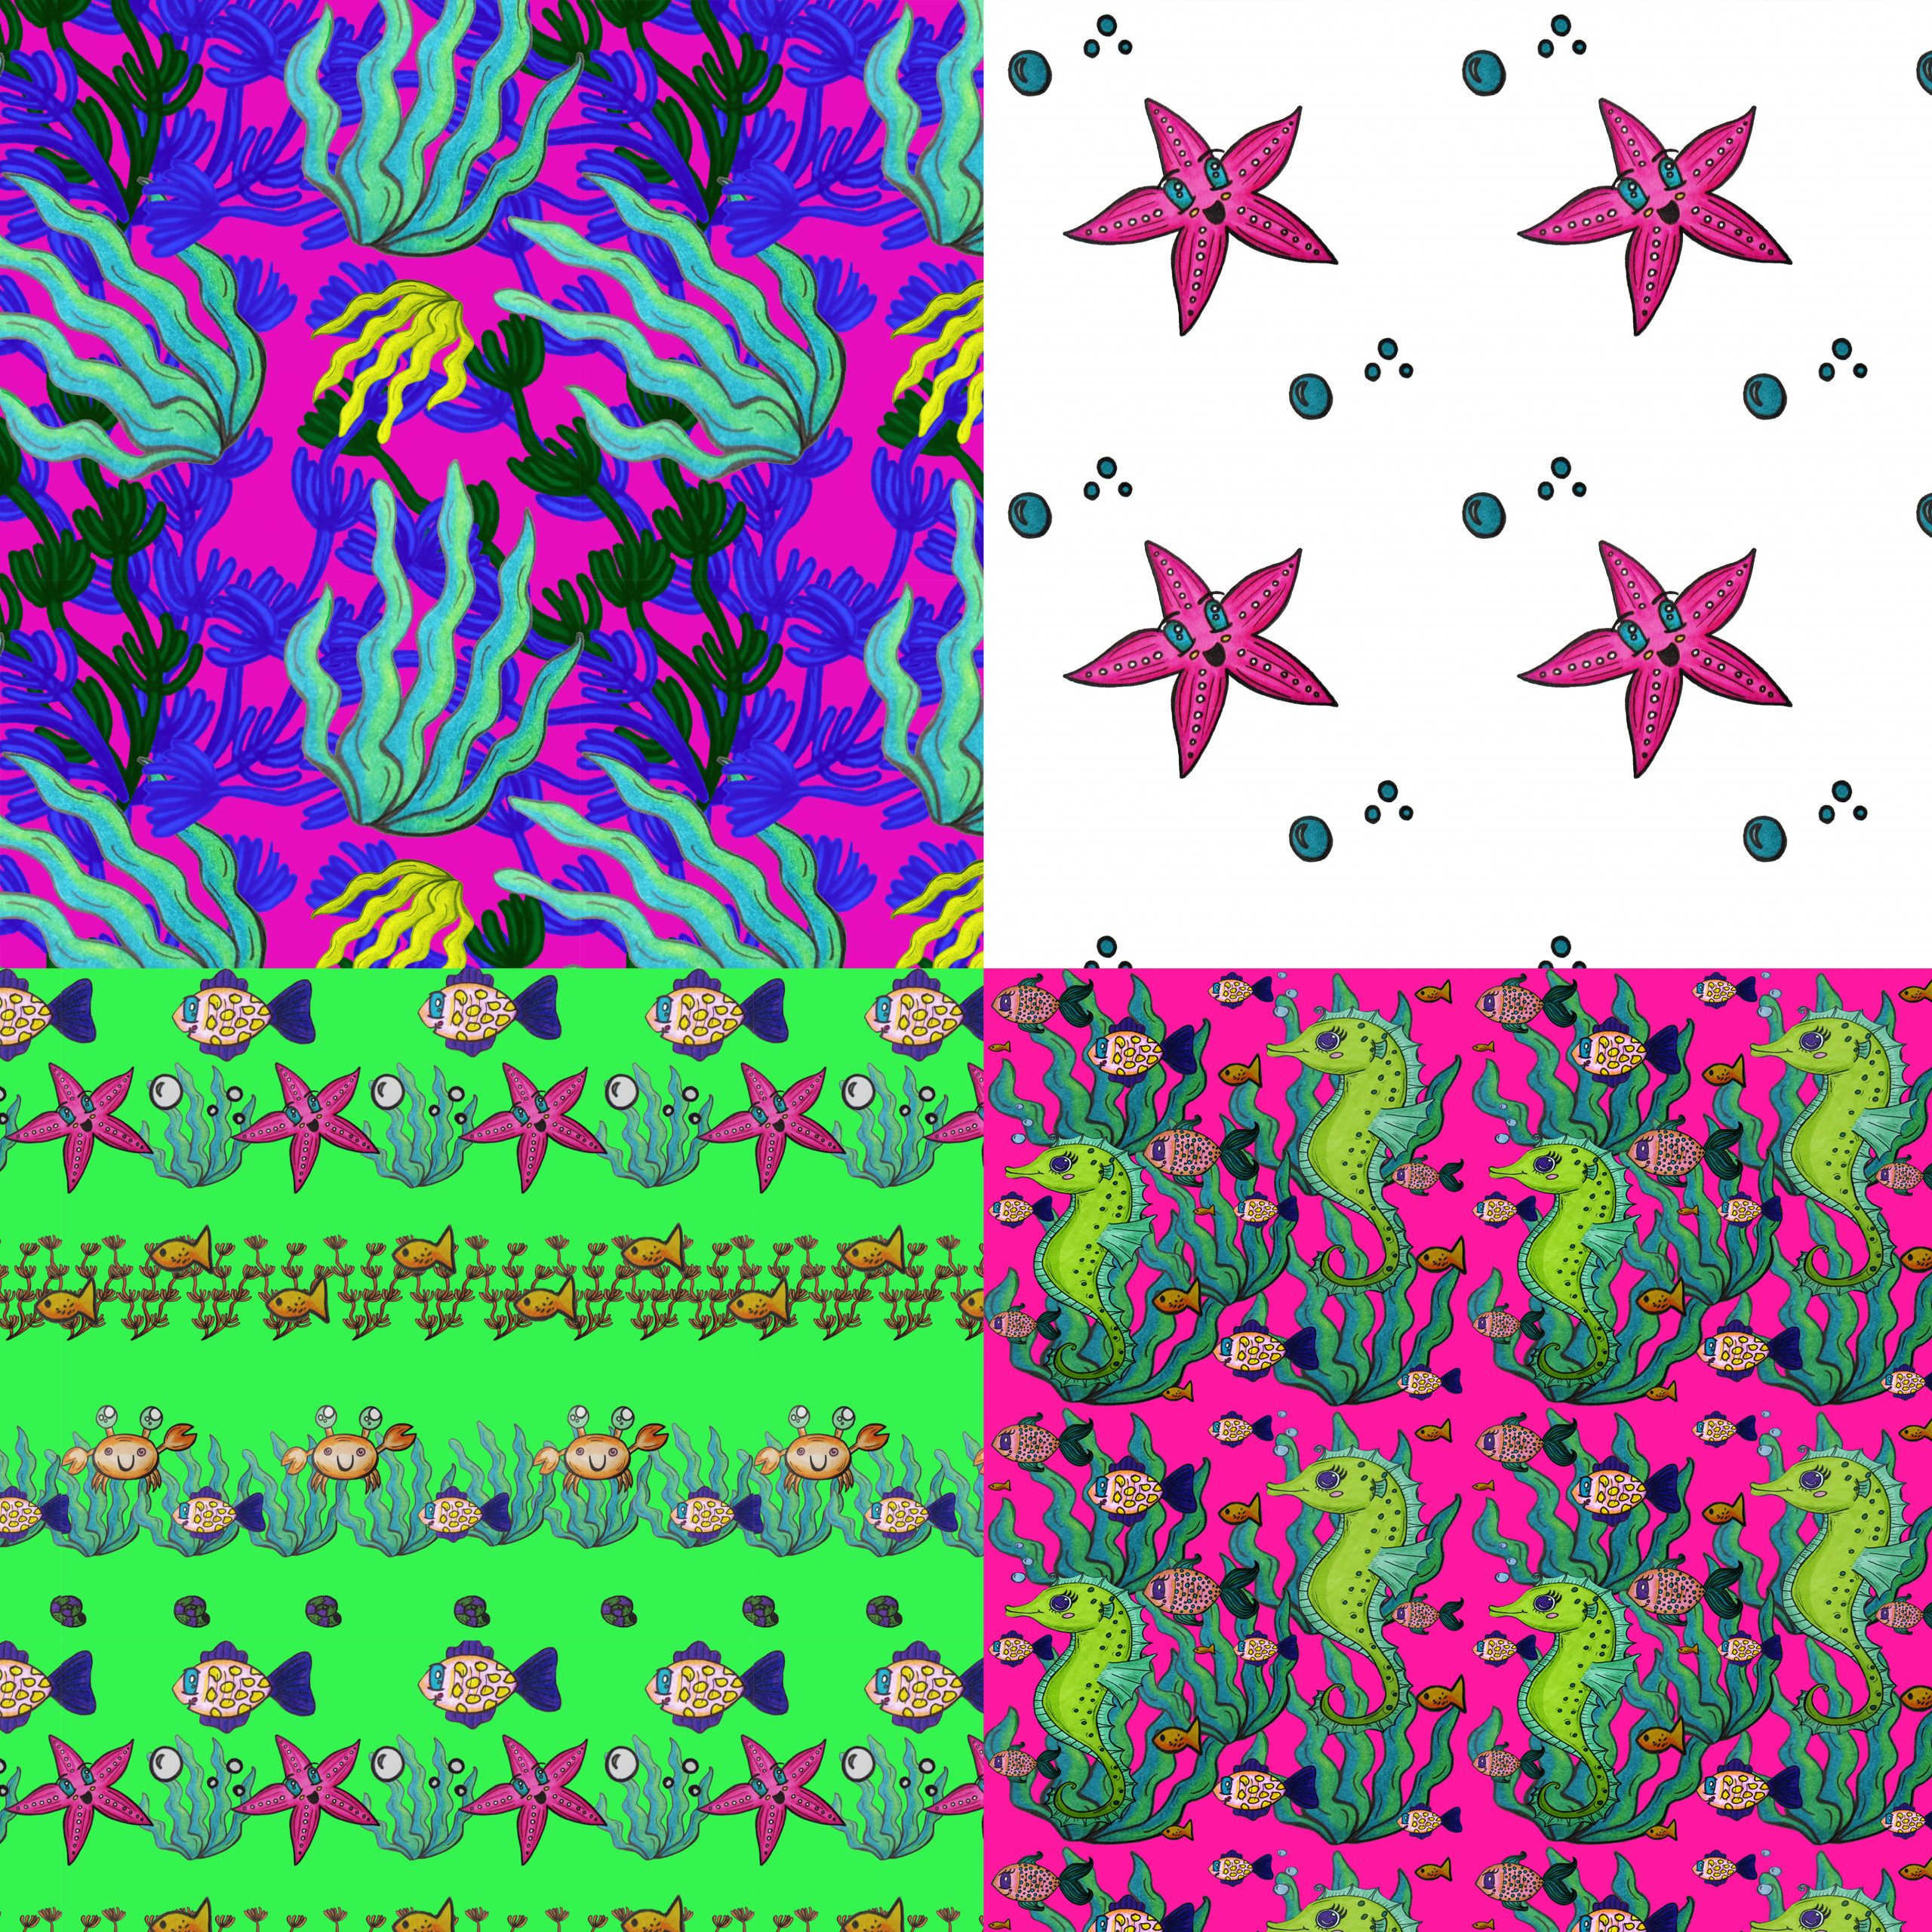
We can start from various forms of rapport (square, round, fan-shaped ...). The important thing in it will be its operation with other basic units, that is, the overall operation, when the pattern is created. In turn, they exist different forms of patterns, depending on how we have arranged the rapport. Thus, we can generate patterns in grid, brick, superimposed, with foot, without foot and a long etcetera. Pattern example:

In this post we are going to explain how to design this basic form, rapport.
First of all, it is important that you have a Photoshop document where you have arranged the illustrations that you are going to use in the process. In this previous post, I explain it to you in detail.
Then we create a new document in Photoshop (File> New). We can start by generating a square design, as it will be easier to use when we want to mount the pattern later. Thus, we will put 30 × 30 cm for example, and we will raise the resolution to 450 dpi. Using this high resolution, we will make our design can be expanded later without problem, without looking pixelated or blurry.
Once the document is created, we will choose a colored background that we like and that goes well with the set of illustrations that we have chosen for the pattern. We will click on the Color picker and we will fill the background with the Paint pot.
We now return to the document where we have our drawings, which we have previously cleaned and retouched. We click on the layer that contains the drawing that we want to transfer to the rapport. To be able to cut it out, we will select the tool Polygonal lasso and we will include the drawing (the background, when going in a separate layer, will not come out, so it is not necessary to be precise in the clipping). We now give Edit> Copy. We open the new document and click Edit> Paste. We do the same for the different illustrations that we want to put in the rapport.

It is important to distribute the different elements evenly so that the whole looks harmonious, without voids or gaps, or elements that stand out especially. The color distribution should also work, changing the colors of what is out of tune (I also explain how to do it in my previous post).
It is essential to follow an order. So, we can paste the main illustrations first and then the secondary illustrations further back so that they create context. To superimpose illustrations we must click on the layer of the object that we want to move and transfer it (holding down the mouse) above or below the other layers.

We can increase, decrease, rotate or deform our original illustrations so that they acquire dynamism. To increase, decrease or rotate them, we will press the tool MOVER (the arrow), by clicking on the box "Show transform controls on selected layers”. To deform an image, we have to enter Edit> Transform, where we will find multiple ways to change our illustration.
Finally, we are going to make the rapport ready to use it in a pattern in the future. It is important that this rapport can be modified later (and not be saved as a whole), for this we will follow the following steps:
- Group the layers visible. We click on a random layer and we give the right button of the mouse. We select option Combinar visible. All visible layers of our design will be merged into one. If we saved the rapport now, we couldn't modify it.
- Next it is important to convert it to Inteligent object. To do this, click on the grouped layers with the right button and click Convert to smart object.
We can now save our image without problems for later use. We go to File> Save As and save it as a Photoshop document (.PSD).
We have already created our repeating unit!