
The inking process with Adobe Photoshop It is something very comfortable and fun once you work with it, having the experience that makes you use keyboard shortcuts or programming actions, in order to work more comfortably within a more fluid and dynamic work system. Upon completion of this series of tutorials on inking and coloring with Adobe Photoshop, I will develop another series explaining the most logical workflow to work with the inking and coloring of various drawings.
Today we will learn some more characteristics of the powerful combination that the tools establish Brush and Pen, learning for example to fill in closed figures or keyboard shortcuts that will help us work more comfortably. We will also begin to prepare the drawing for later coloring using the channel selections. Do not miss it. I leave you with him tutorial How to ink and color our drawings with Adobe Photoshop (4th part).
Finishing inking
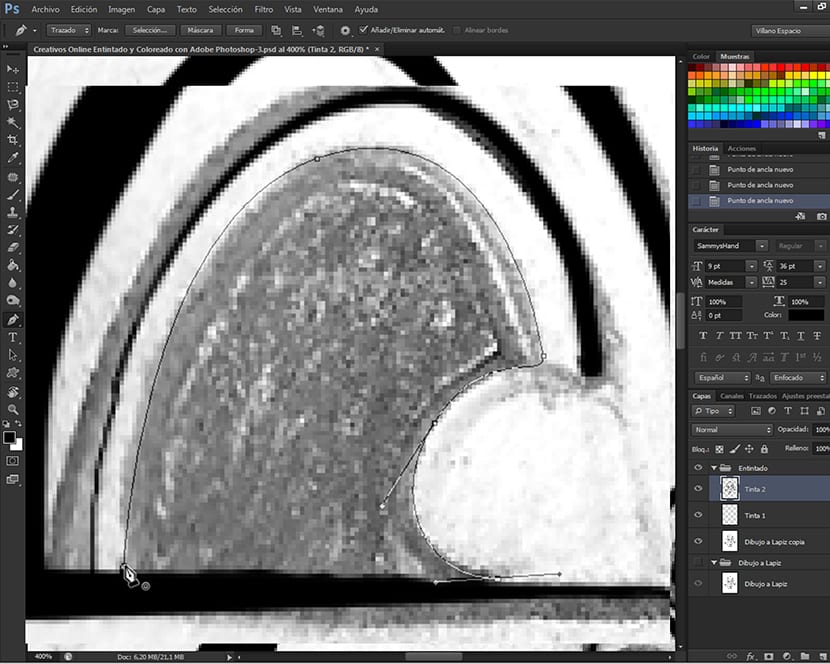
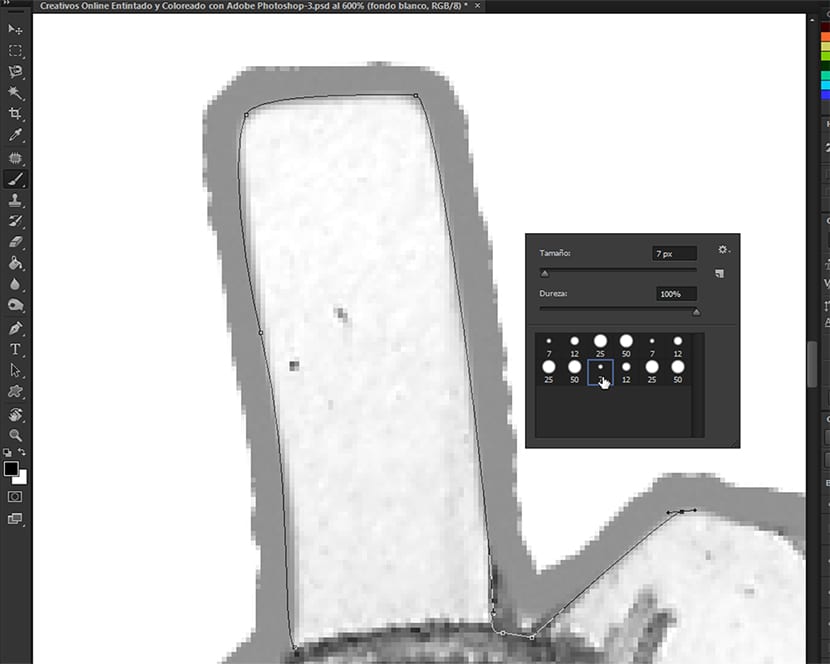
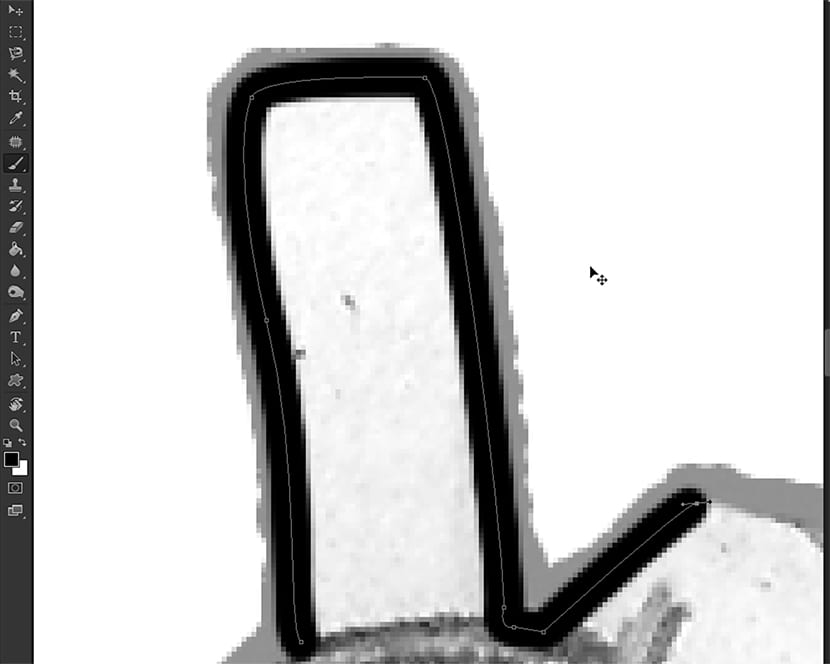
As we already saw in How to ink and color our drawings with Adobe Photoshop (3rd part), combining the Brush and the Pen, we can achieve great control over how and where we ink, having various types of brushes according to our needs. To fill a shape within our drawing, we just have to use the pen, and by means of lines and handles, outline the figure that we want to fill and once it is closed (the cursor in the form of Feather will inform us by means of a circle that will appear next to it) and right click on the tracing or figure. Here the tool options dialog box will appear Feather, among which we will find Fill Path.
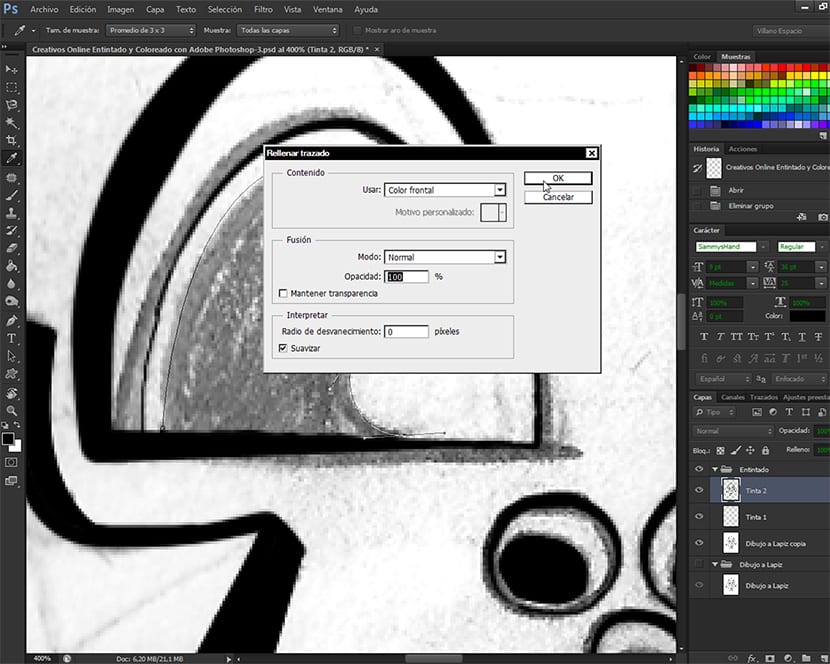
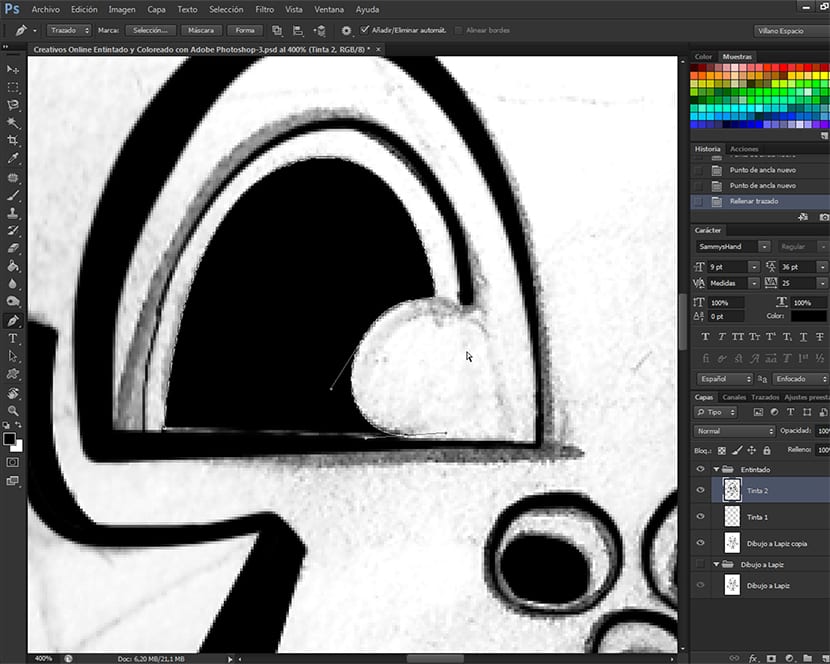
When doing this, a dialog box will appear that is very similar to that of the tool Fill (Edit-Fill or Shift + F5), where we can choose between several options that I recommend that you explore freely. I always recommend when I speak I explain the ins and outs of a tool that we do all kinds of tests with it before starting to work directly on a project. It is positive in order to experience successes and mistakes that will give us a mastery of the tool that allows us to later include it in the creation of our projects. From this dialog box we fill the outlined figure with black with the tool Feather de Adobe Photoshop and then we will press the key Intro to make the created path disappear. Whenever we finish a path we must make the previous path that we have inked disappear. To do this, just press the key Intro.
Practicing keyboard shortcuts
Once we know how to handle the inking process relying on the tool menus that are displayed by right clicking that correspond to each (totally different) of the printing tools. Adobe Photoshop what we are using, the Brush and the Pen. Once we have the measure to the action of ink, right click, outline path, right click, delete path, we can start using the shortcuts or keyboard shortcuts that we have at our disposal to work with the program. These shortcuts will help us to streamline our projects in an effective and logical way. The workflow between the shortcuts of these two tools would be as follows.
- Draw
We make the path we want to ink a figure with the tool Feather. To select the tool Feather using a shortcut key, press P.
- Inked
Once we have the path to ink, we choose the tool Brush using one of the keyboard shortcuts included Adobe Photoshop in your programming and press the key B. Once we are in the tool, we select the brush we want by right-clicking, and that will be the one we work with. We place the cursor on the brush to choose and press the key Intro a first time to exit the tool options dialog box with the selected brush chosen, click a second time for the brush to fill the path, and a third time to highlight that fill.
- Delete path already inked
After we have finished inking to our liking, we have, as I said before, to make the previous path disappear in order to continue drawing and inking our drawing without problems. To do this, nothing is easier than pressing the keyboard shortcut to select the Pen tool (P) and press the Intro and it will disappear.
- Start again
With this path finished, we just have to trace again and continue with the inking of the drawing until we have finished it.
Getting ready to color
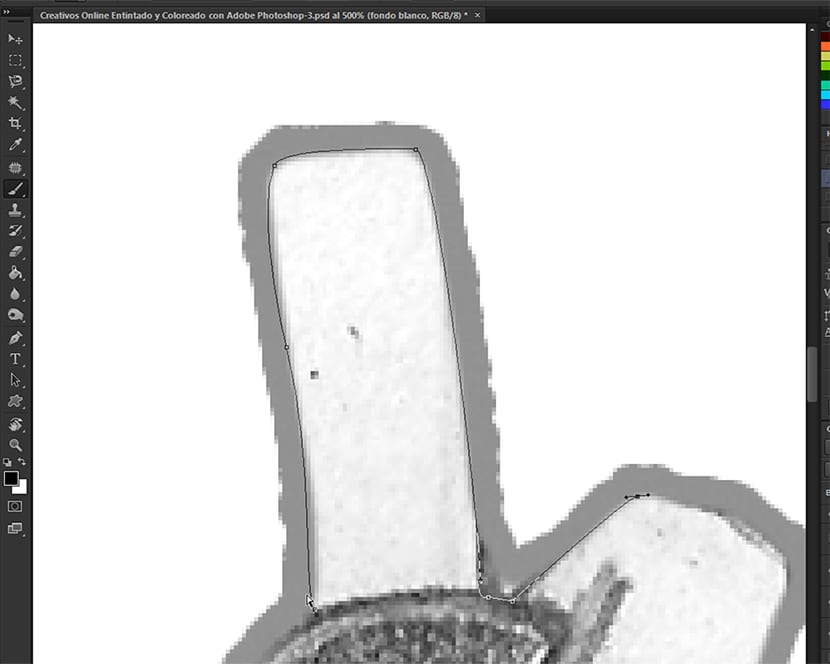
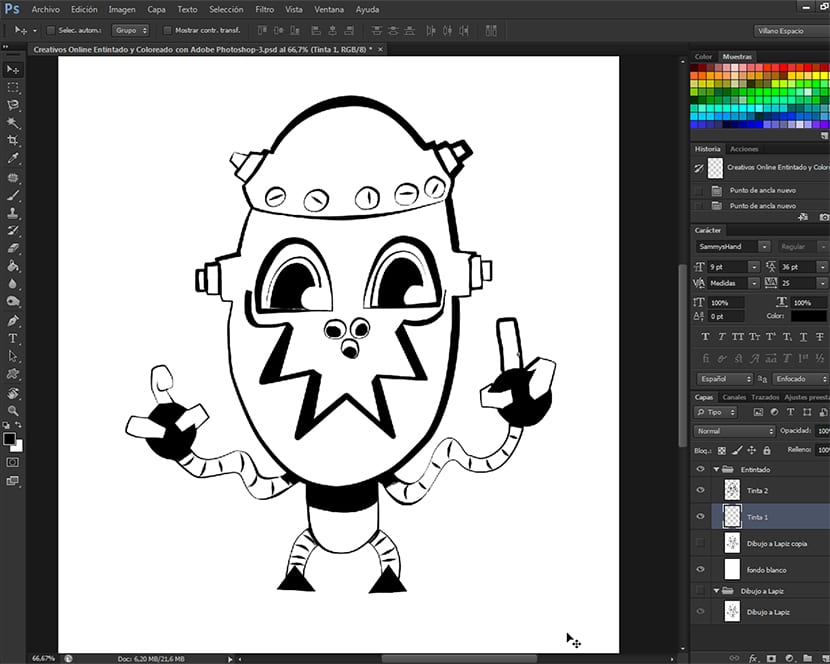
With the inking finished, we begin to prepare the coloring of our drawing. We create within the group Inked, a background layer just below the layer containing the pencil drawing. Then we will turn off the display of the layer that contains the pencil drawing by pressing the eye that is in the layer thumbnail of the Layers Palette. This way we will see the final result of our inking and we can correct or feel satisfied, as our creativity tells us. Once finished we will leave only visible the layers that contain the white background of the group Inked and the layer that contains the inking itself. We turn to the palette options of the Layers Palette and once there we choose the option Merge Visible.
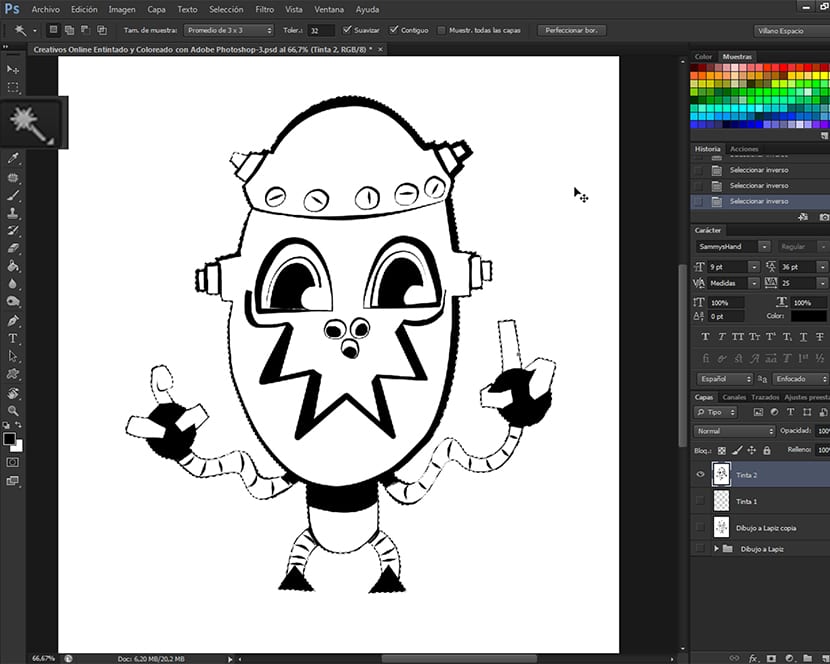
Then with the tool Magic wand We will pick anywhere in the white area of the drawing and the entire area will be selected without any drawing that outlines our drawing itself. We press the keys Shift + Ctrl + I to access the keyboard shortcut that takes us to the option Invest Selection, in order to invert the selection and that instead of the area that surrounds it, it is our drawing that becomes selected. Pressing the keyboard shortcut Ctrl + J, we will access the keyboard shortcut that belongs to the option Layer Via Copy, and we will have our drawing colored in white inside and ready to be colored. In the next part of this tutorial We will start with the coloring via channel selections. Do not miss it.