
Let's continue with the tutorial How to ink and color our drawings with Adobe Photoshop in its fifth part, having inked the entire drawing and eliminated all traces of our drawing, now we are going to start color using channel selections. We will use the Color Channels of Photoshop to make selections in them and start coloring, which is very useful and practical from a creative point of view, since you can get more control over the color and shading of the drawing. Let's get started.

The Color Channels are an old acquaintance of Adobe Photoshop. The Layers did not arrive until version 3 of the program, having to do everything with the Channels, which was much more difficult than doing the treatments that included any type of selection. In the next tutorial I am not going to touch on the differences that exist between Channels and Layers, since there are many and although it is very useful to know them to have more logical work dynamics, they would have to have a series of exclusive tutorials, however I will clarify a couple of thing before continuing.
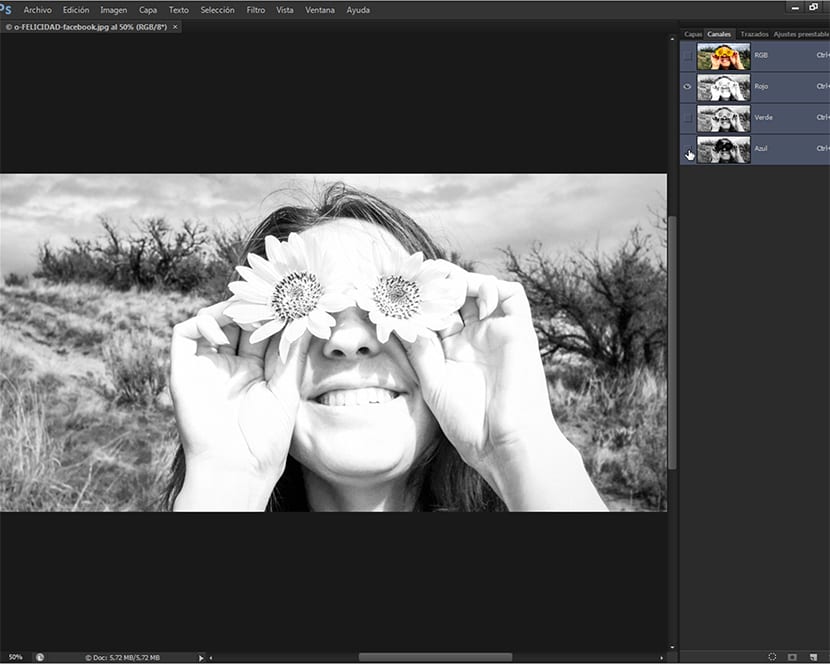
Color Channels differ mainly from Layers in that Channels directly affect the colors of the image, separating them by channels according to the color theorem used, these are RGB for natural light or devices with projected light screens (mobile phones, tablets, laptops, plasma screens) and CMYK to mix pigments and ultimately when printing.
The Color Channels contain all the information of the image divided into the different colors that form it, if it is RGB the color model chosen to work, the channels will be Red, Green and Blue (RGB is the acronym for Red, Green and Blue), and if it is CMYK, the channels represented will be Cyan, Magenta, Yellow and Black (CMYK is the acronym for Cían, Magenta Yellow and the K for Black).

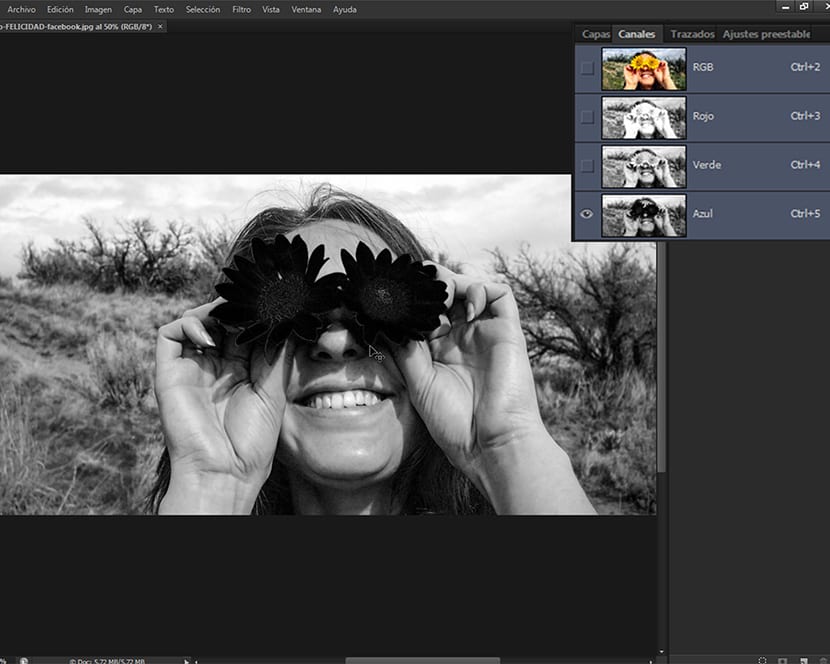
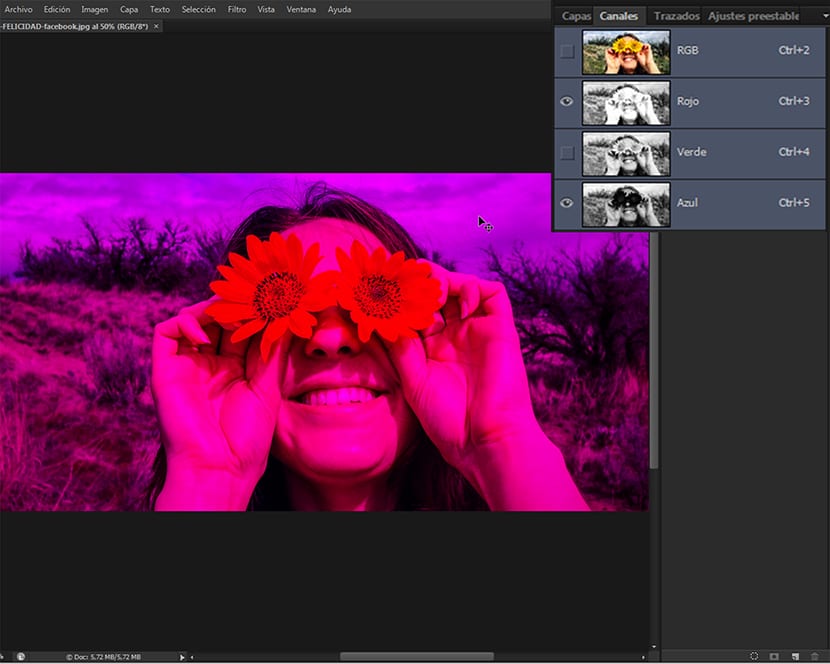
The visualization of the channels individually or in pairs will cause different effects in the images with which you work, being able to make selections in the channel itself according to the colors, or we can also make selections with the selection tools and save the information in a specific channel in the Channels Palette. These selections go over the color that the channel has, the image data having that color being selected, while the selections in the Layers go in the pixels of the layer that we have chosen in the Layers Palette.
The selections we make in the channel will give us a great number of possibilities in the task of coloring and shading our image, being something comfortable and intuitive once the technique that I am presenting is known. This technique is used by professional draftsmen and colorists for their works and is very adaptable for other types of work with photographs or other types of image to be developed. In the previous tutorial How to ink and color our drawings with Adobe Photoshop (part 4) We saw how the drawing was finished inking.
Starting the selection
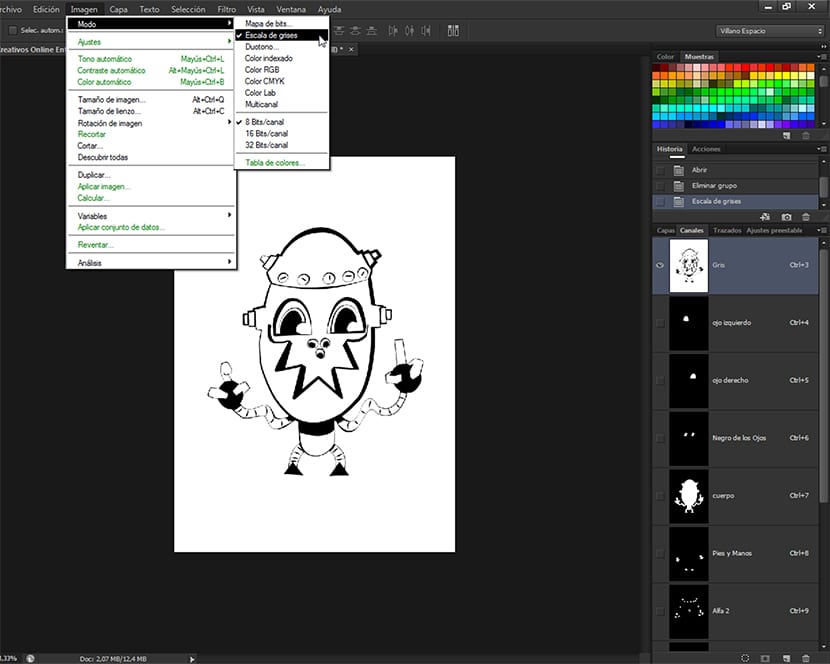
Making sure we have the figure a color Fill as we saw in the previous tutorial and that the color mode is in Grayscale, we go to the Channels Palette and select the Gray channel, which at that moment has all the information of the drawing. We choose the tool Magnetic Loop, which is one of the Selection Tools that we have in our toolbar, specifically one of the Links.
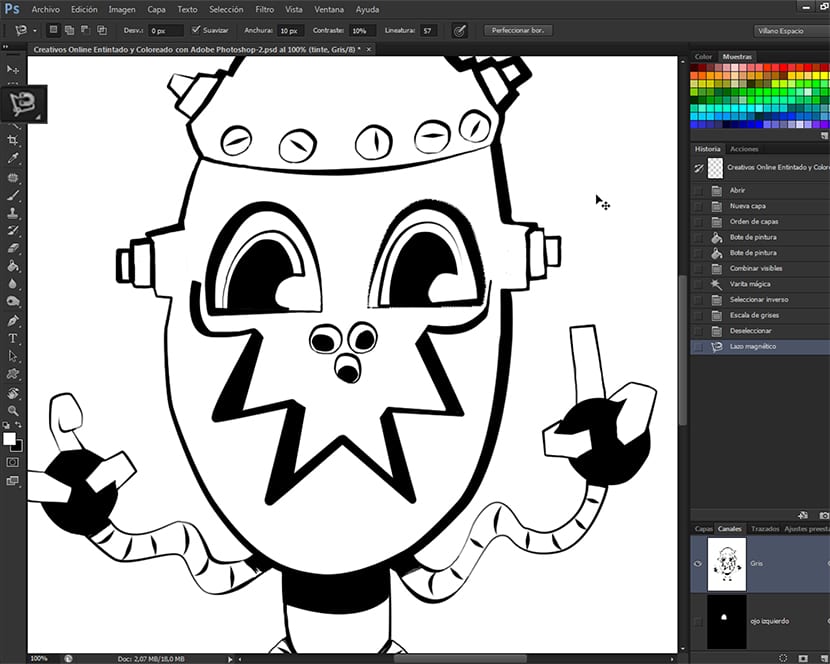
We begin to choose the different parts of the drawing color, I started with the right eye and we skirted it. Once we have the selection of the eye made, we go to the Channels Palette and in its lower right margin we will find several options.
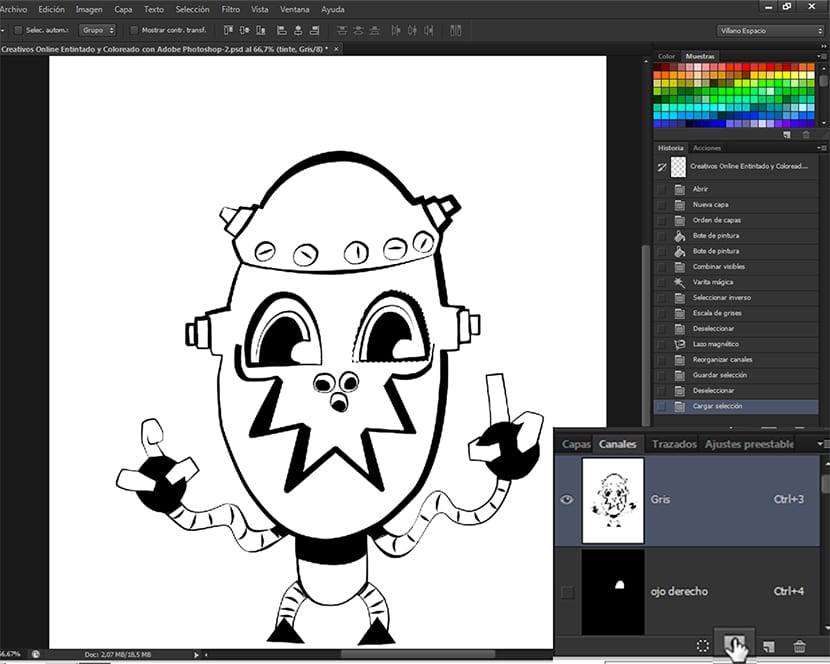
We click on Save selection as Channel, and it will generate a new channel that by default will name Alpha. We rename it and follow the operation with all the parts that we are going to color.
Other ways to select
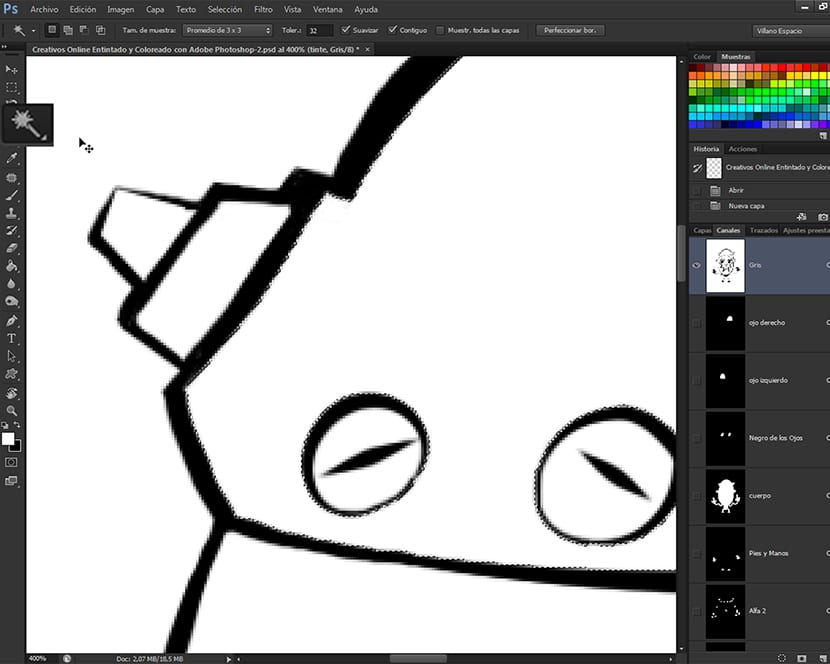
When we want to color interior surfaces, we just have to choose the Magic wand and click with it on the site where we want to make the channel selection that will lead us to color that area. If you do not know the functions of the Magic wand en Adobe Photoshop, You should bear in mind that it can only be used on closed surfaces, since that is the characteristic of the tool. In an upcoming tutorial by Photoshop It will be on the different selection tools of the image editing program of Adobe. The tool Wand Magical we will use it for color especially interiors of figures with flat colors. We can also apply it on very thick paths and thus have greater creative control over our drawing.
Before you start coloring
When we have all the channel selections made, before starting to color, we will go to the route RGB Image-Mode-Color, in order to start coloring our illustration, since before it was only in Grayscale and only had the Gray channel. In the next tutorial we will start coloring our drawing via the channel selections made. Do not miss it.