
To finish this line of Tutorials about How to ink and color our drawings with Adobe Photoshop, we are going to finish our digital drawing work, shading our favorite robot, giving it a higher degree of detail than if we left it only with flat colors.
Flat colors can serve us many times, as they are easier to reproduce on different supports while remaining the same, or to print on different graphic supports. Shading offers us the opportunity to give life to the drawing, depth, dimension. Let us begin.
To start working on the shading of our drawing, we are going to use the channel selections that we have made, and we will shading from there. In the previous entry belonging to this line of Tutorials, How to ink and color our drawings with Adobe Photoshop (6th part) we work with color from the different tools that Adobe Photoshop leaves us for it. Now we are going to start shading our work, and as in the aforementioned entry, I am going to teach you two different techniques for this.
Well-made shadows add a lot of life to a drawing, adding lighting effects, which can mean the success or failure of an image. In the world of comics for example, we have cartoonists like Scott McCloud or Mike Allred, which hardly use shading within their drawings, and others such as Mike Mignola or Scott MacDaniels, who use shadows to give their drawings a lot of personality, being one of their reference points for fans. Specifically the good of Pinkie He made it his hallmarks.
Before you start shading, tell you that I have left you another set of Shading Brushes in the downloadable that accompanies the end of this tutorial, along with a PSD with all the information on how the techniques of the tutorial. I leave you all the information available so that your learning experience is as enriching as possible. Let's start shading.
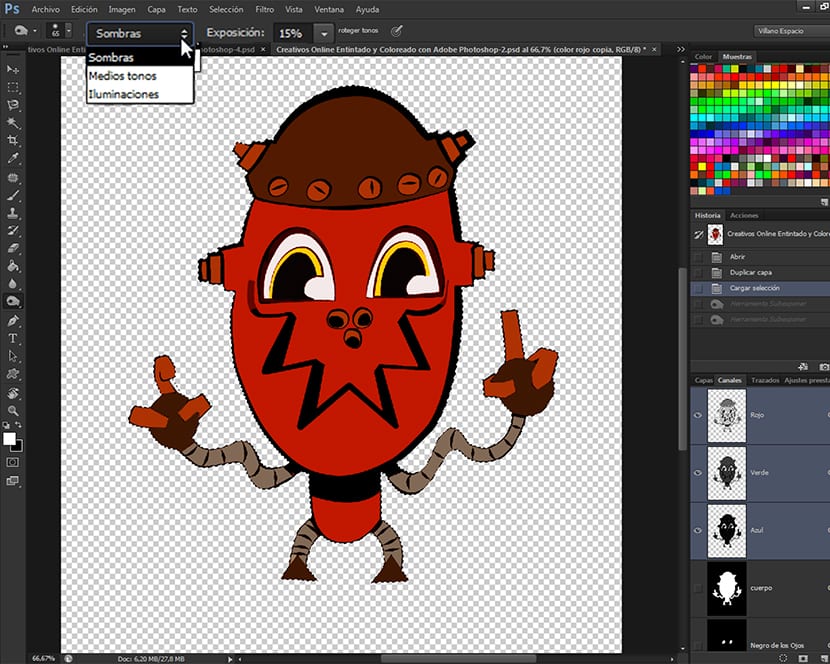
Choosing the tool
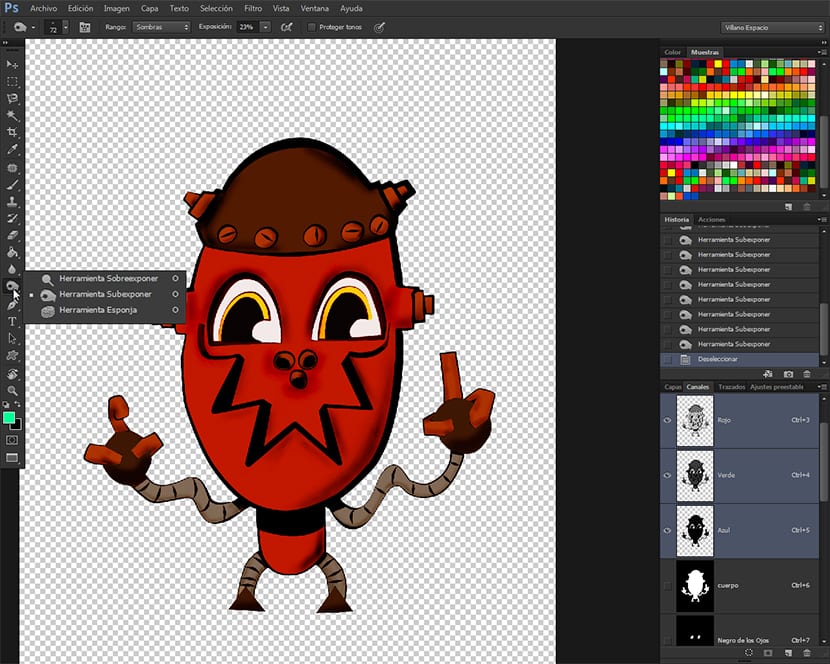
We will head to the toolbar and we will choose the tool Underexpose, found together with the tool Overexpose and the tool Sponge. This group of tools will be very useful to us to finish the drawings, however, they must be applied with great care or it may fall into excesses or bad applications of tools.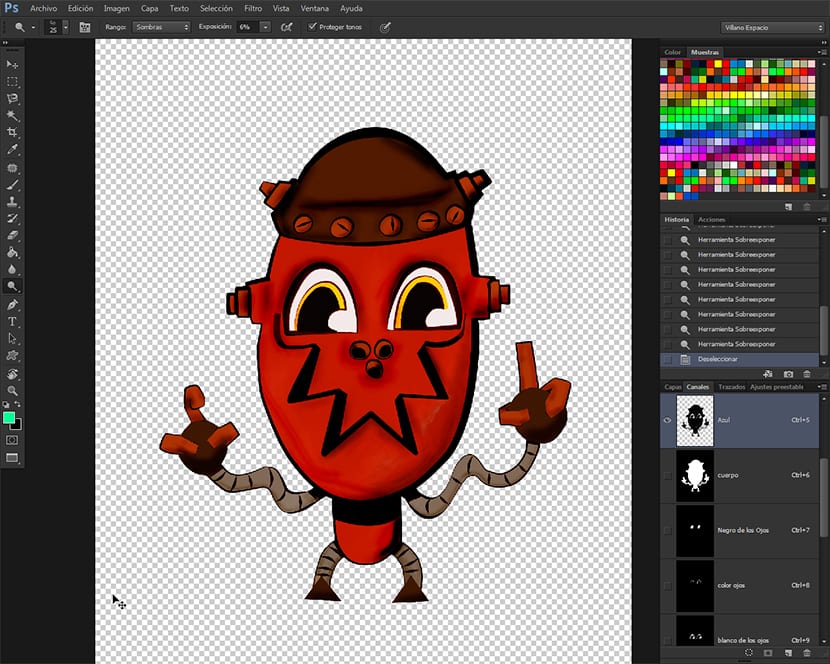
We will choose the tool Underexpose and in the tool options bar that comes out just from the main options menu, we will lower the exposure to 15% and the range of Shades. We will also make sure that the option box is chosen Protect tones. We will be shading very carefully and always testing at the beginning, which will lead us to a localized shading, based more on the darkening of the base color tone, which has the application of blacks and gradients on the drawing.

We will also use different brushes according to the texture we want to achieve, since with the brushes we also texture the drawing, although we must be very careful with this issue, since badly applied textures can create negative effects in the final set of the illustration, creating over-processed areas, which will give the illustration a bad appearance.
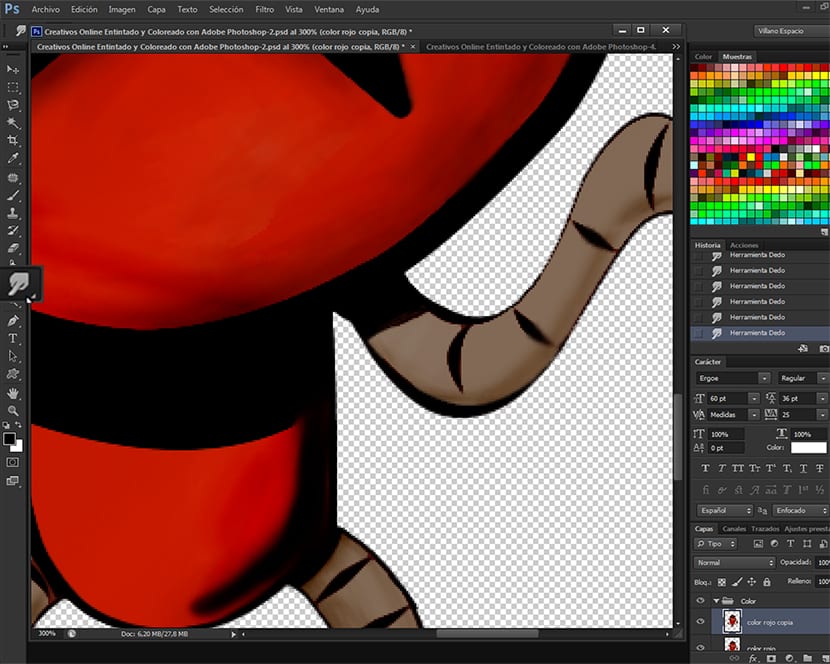
Once we have finished applying the shadows, I recommend if we want to soften the result, choose the tool Blur for the Toolbar and apply it on all the shadows, in order to make the color transitions smoother, achieving better finishes.
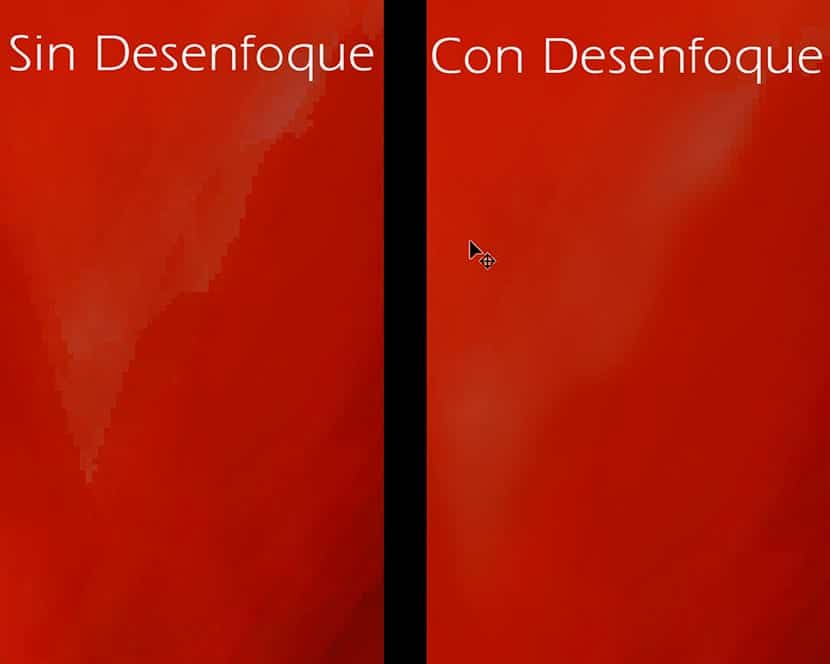
In the image you can see the difference between a finished image without blur or with blur. The blur like the Exposure tools, it is advisable to use it with control and measure.
Shading with the Gradient tool
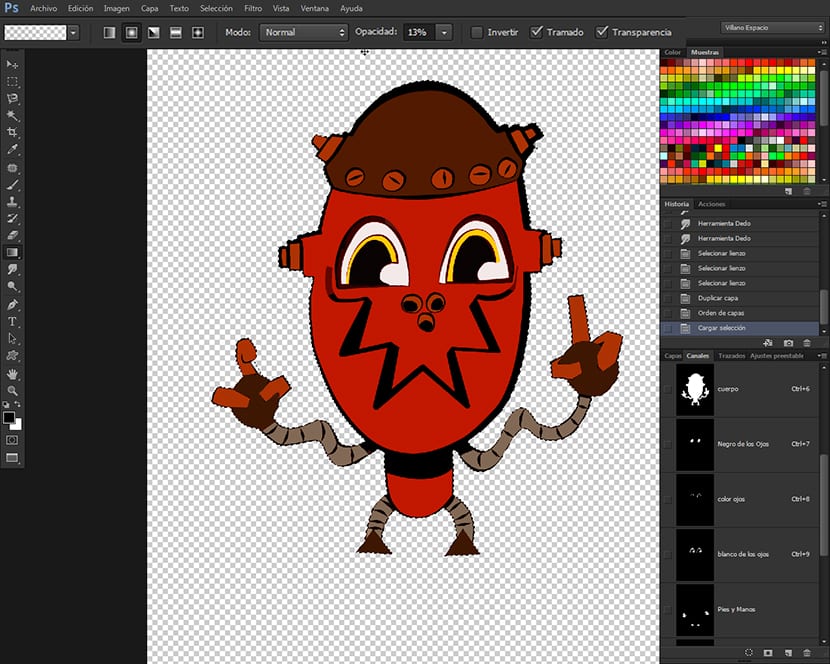
This technique is much easier and faster to apply than the previous one, and it can achieve very natural shading by being able to use different types of lighting and shadows when used in combination with the channel selections that we have made, and that as you will be noticing, they are being tremendously useful when working on the drawing, allowing us to have total control over the different parts to color of a drawing, without having to resort to the resource of doing it via groups of layers, which apart from loading a lot the weight of the file as is obvious, also makes it difficult for us to workflow. In this way we only have to duplicate the layer of the drawing, go to the channels and we will once again have full control over the colorable elements of the drawing. A luxury come on. To start shading with the tool Degraded, we will go to the channel selections and choose the channel that we have called The Body, and then with the tool already chosen, we will go to the upper tool options bar and click on the window for choosing the colors of Degraded to choose whatever Front Color + Transparent. For this we must have the color located Wall the color black, in order to create fades that go from darker to transparent. We will also lower the Opacity at 10%, since if we want darker we just have to give it a couple more passes or whatever we want until we get the color we want. In the type thumbnails Degraded located in the Barray of tool options superior, we choose in Linear Gradient, and now we go into the selection that we have chosen and we start shading with the new tool. To shade using the tool Degraded We just have to choose one of the channel selections and then click inside the selection and drag somewhere, in order to understand how the tool works. We will choose a type of Degraded and opacity according to our personal criteria.

Combination of techniques
What I propose here is that you experiment. Once you have done the tutorial and you are beginning to take the hand of the group of Exposure tools and the tool Degraded de Adobe PhotoshopYou can combine the two techniques in the same illustration, having total control over what has been inked.
Recapping
In this tutorial of 7 parts, we have learned to Scan our pencil or hand-inked drawing the right way, to clean the drawing, to ink it using the tools Brush and Pen, Draw un line art, to use the tool Magic wand, some of the differences between Channels and Layers, to do Channel Selections, to use those Selections to color and shade, to use the Tool Magnetic Loop, to use the Image adjustment tool Hue / Saturation, to use the Fill tool, to use the Adobe Kuler to get gamuts and color schemes, to download color gamuts from Kuler, to load gamuts downloaded from Adobe Kuler on the Palette Samples, to be shaded using the tool group of Exhibition from the toolbar of Adobe Photoshop or with the tool Degraded.
I hope you liked it and if you have any kind of doubt or problem, let me know, as well as if you like it or not, if you would improve something or what you want to talk to me about. If you would like me to create a tutorial you just have to say it. In future posts, he will do a monograph only on the Selection Tools of Adobe Photoshop.
Here you have the downloadable RAR file: https://www.mediafire.com/?8ed044o84kj3mpm
What is the name of that drawing, please help me and tell me