
A while ago we taught you to make a gif in Photoshop, more specifically using Illustrator, which is the program that allows you to create moving images. And, this time, we want to do the same teaching you how to make a gif in GIMP.
If you don't have Photoshop and you want to use a program that is up to the task, or that, for many, even surpasses it, such as GIMP, here are the steps you must take to achieve it.
What is GIMP
![]()
GIMP is actually a image editing program which, for many, is similar and just as professional as Photoshop. It can be used by both beginner users, with medium knowledge and professionals who are dedicated to graphic design.
But the best part is that GIMP is a free program, which is what has made it catapult to fame and that many end up installing it and messing with their images to create their own designs.
Now, in terms of its operation, it becomes somewhat more complicated than Photoshop, since it is not so intuitive, but if you master it, you can do the same things as with Photoshop, and even in better quality.
The creators of GIMP were two students, Spencer Kimball and Peter Mattis, who, as a semester exercise that they had to present in the computer club of the University of Berkeley, created this program, a free application for both "home" and professional users.
In addition, the program outperforms Photoshop in certain respects, like the one that leads us to this article, how to make a gif in GIMP, because with the other we need its attached program, Illustrator, to be able to do it. On the other hand, in GIMP no external program is necessary but we can do it in it.
How to make a gif in GIMP step by step
After knowing a little more about GIMP and why you should install it on your computer, we are going to give you the keys to create a gif with this program and have good results. Of course, before we get down to work it is necessary that you have everything you need on hand, in this case it would be:
- The GIMP program installed on your computer. It doesn't matter whether you use Windows, Linux or Mac, it is available for all three operating systems, and even many others. In addition, it has several languages.
- The image or images that you are going to convert into a gif. You can do something simple, with a single image, or you can use several of them to change it, a kind of banner, which can be something very requested among customers. Keep in mind that the images you work with are from free image banks, or that you pay for them. Don't just pick up from the internet as they might be copyrighted.
Now that you have it all, let's get started
Open the GIMP program
The first thing to do is open the GIMP program so that it runs on your computer. Once open, go to File / Open and select the image you are going to work with.
If this is the first time you are going to do a GIMP it is better use just one image and watch the full tutorial. Then you can do it with two or more images.
Select, edit and copy.
Once you have the image with which you are going to create the gif, you need to go to Select / All menu. What does this function do? You will have the entire indicated image, in such a way that it seems that you are going to make a cut out of it.
However, what you should do next is hit the Edit / Copy menu.
New layer
So far, the gif has yet to come to life. But from this moment on it will. And the next step you should take is to go to Layer menu and there select New Layer and, leaving the values that come out, accept.
Hitting
Do you remember the copy that we did in a previous step? This allowed us to copy the entire image, and now we need to "dump" it onto this new layer. In other words, you have to stick it.
To do this, you can use the Control + V keys to paste or go to the Edit / Paste menu. This will initially create a floating selection, meaning it won't be linked to the layer until you click on it and dock the layer.
Working with the new layer
The image now has two layers with the same image. However, it is with this second layer that we are going to work.
And what are we going to do? Go to Layer menu / Transform / Flip horizontally.
That is, what we will do is turn the image upside down. For example, if you have a photo of a child waving with his left hand, flipping it horizontally will make it appear that he is waving with his right hand.
Save animation
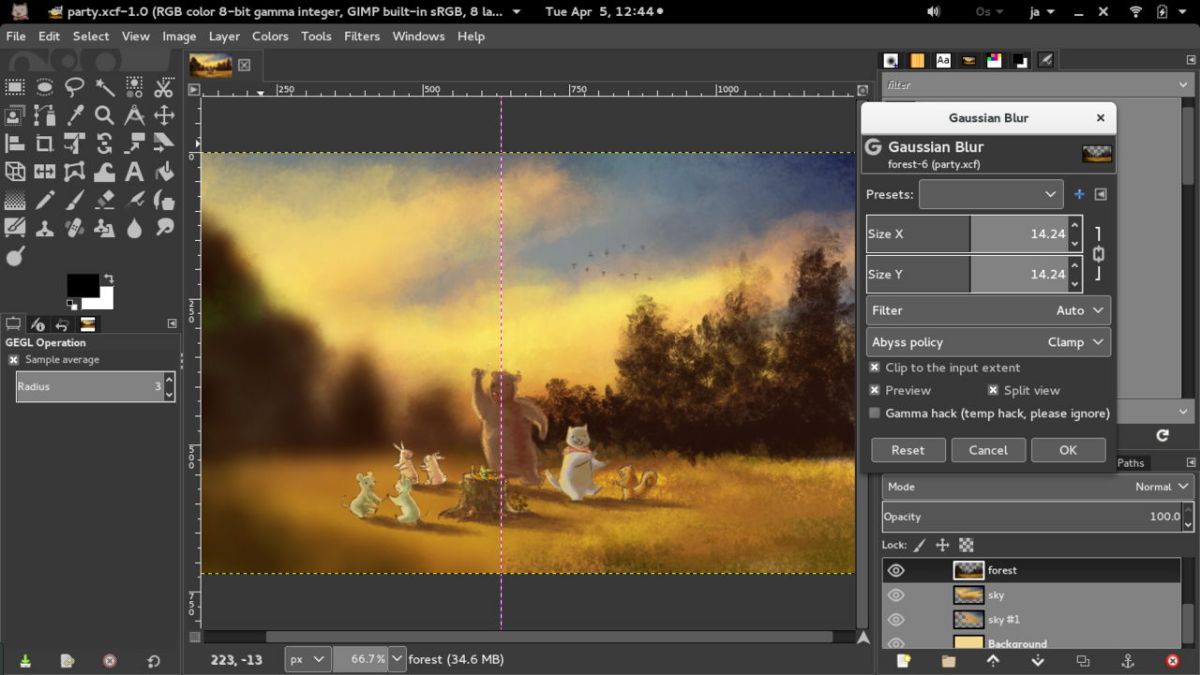
Source: Linux Lab
We are almost done, because all we have left is to save it. And you will think, what about animation? Quiet. To do this you have to go to File / Export as.
You have to give it a name and select the extension as you want to save it, which in this case would be gif.
On the screen that will appear next you must check the box «As animation» and put a delay between one layer and another of at least 250 milliseconds. You can change the time at will and according to the design you want to create.
Finally, you just have to press save and it will be done. You will only have to see it to give the go-ahead or retouch it (that is why it is important that you do not close the image or the program until you have reviewed it).
An extra trick to make gif with GIMP
Before leaving the subject (although if you have doubts you can leave us in comments your questions and we will try to answer them) we want to give you an extra trick. And it is that, when you make an animation you might only want it to move once. Or let it be over and over again.
If it is this second option, you have to check the box "perpetual loop", since it is the one that will keep repeating itself over and over again. Otherwise, it would do the movement once and it would remain static (and for it to move again, you would have to close the image and reopen it or refresh the screen).
This would be the most basic way to create a gif with GIMP but it is not the only one. In fact, when you have mastered this, you could try creating a gif of an image by making elements disappear (for example, an image with a solid background and several figures on it). And, even more advanced, create a gif with several images. Would you dare to continue?