Photoshop is a very useful program to make photomontages. There are many ways to make cutouts from different images blend together well. In this tutorial I teach you How to Color Match Two Photos in Adobe Photoshop with a Simple Trick and very effective.Don't miss it!
Open both images
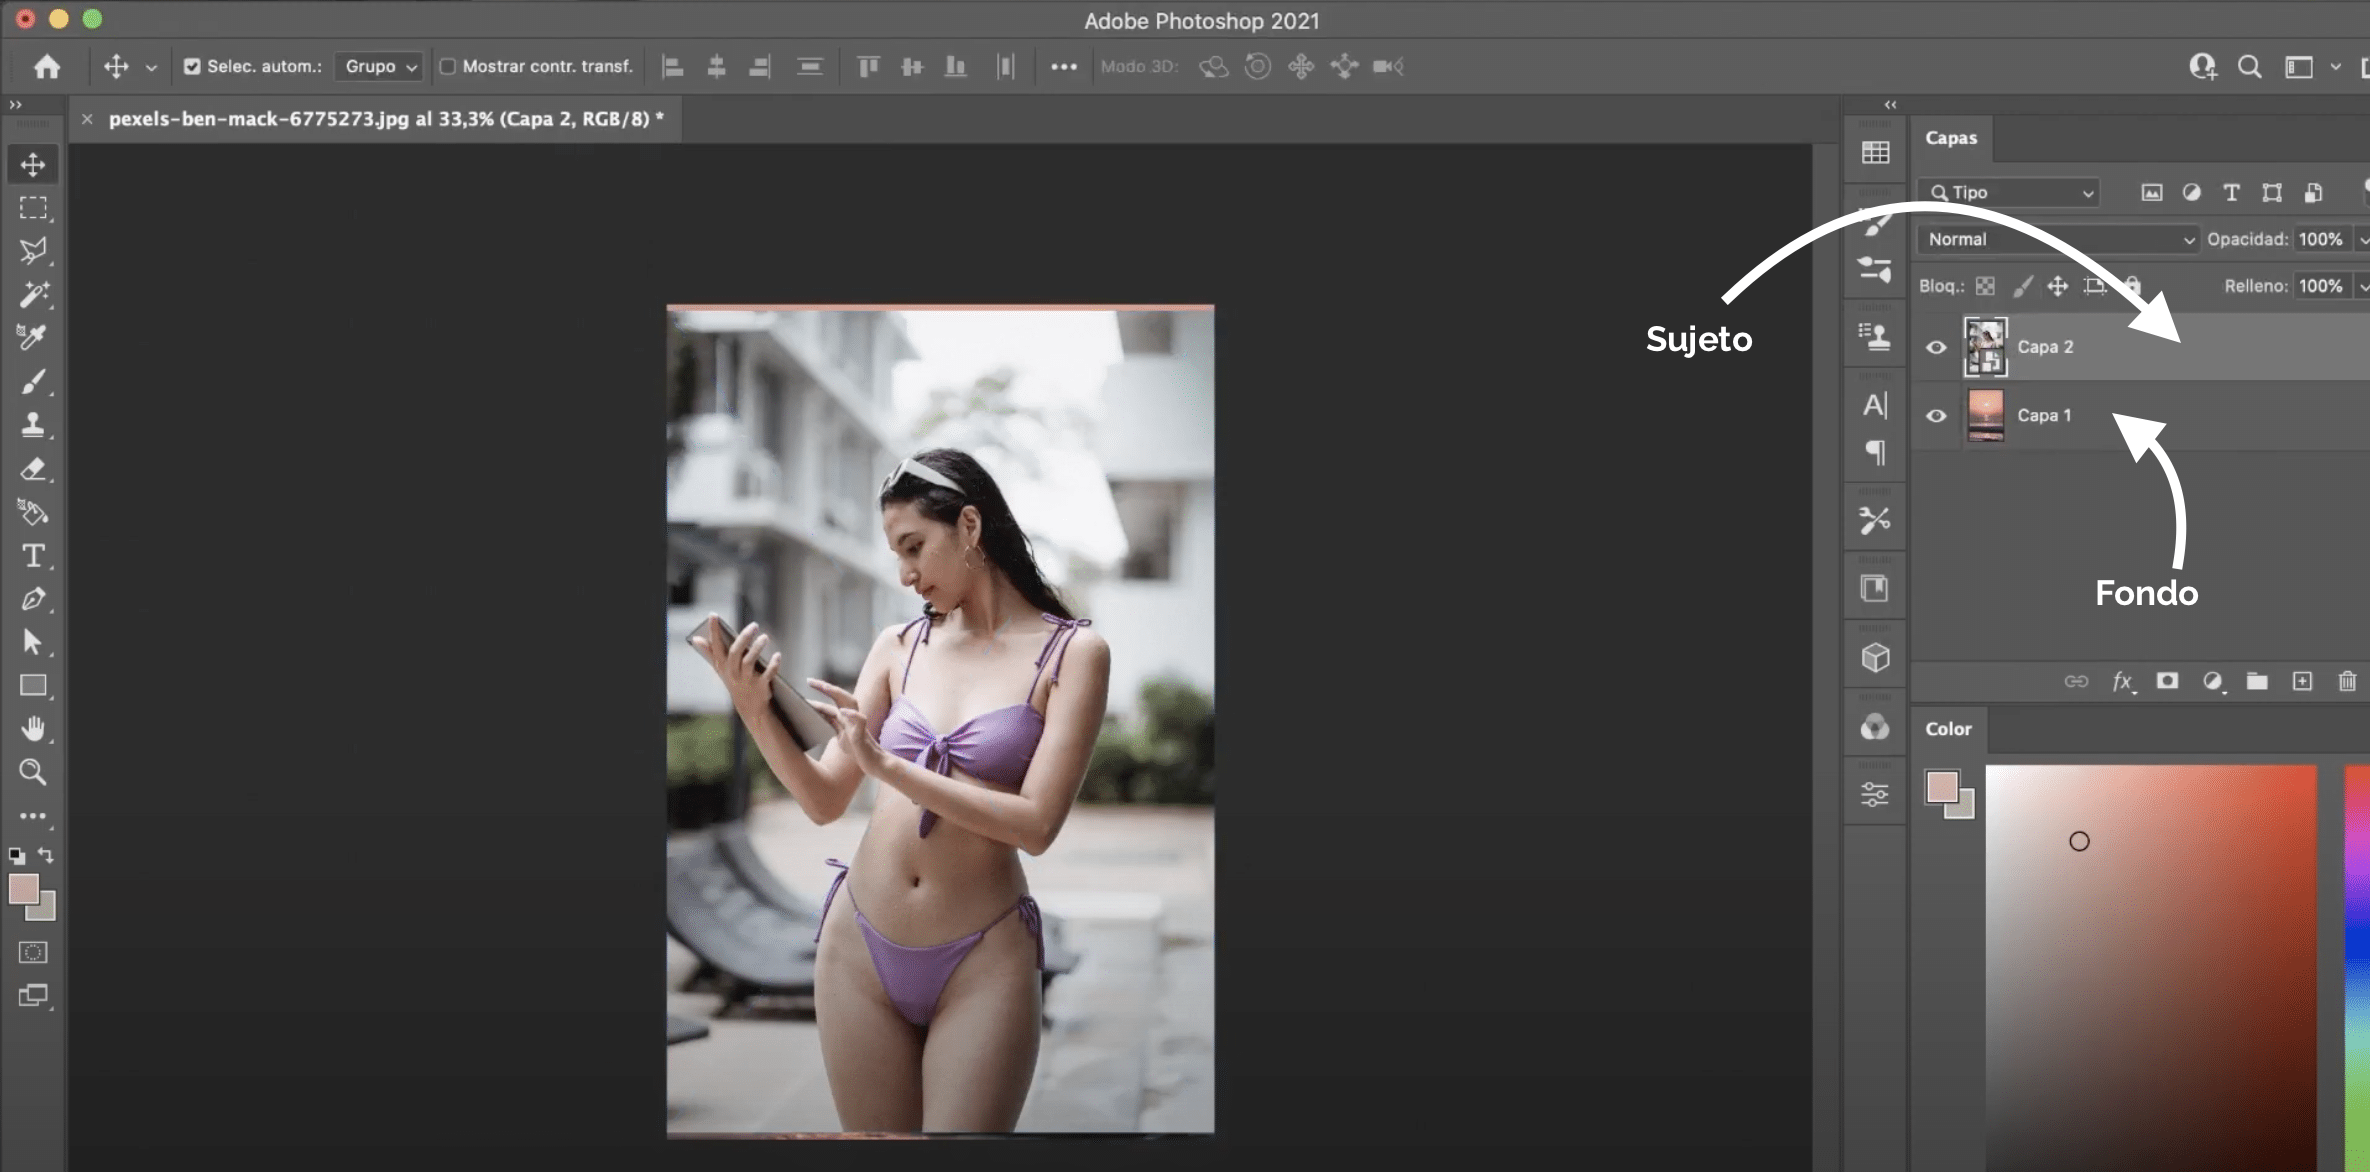
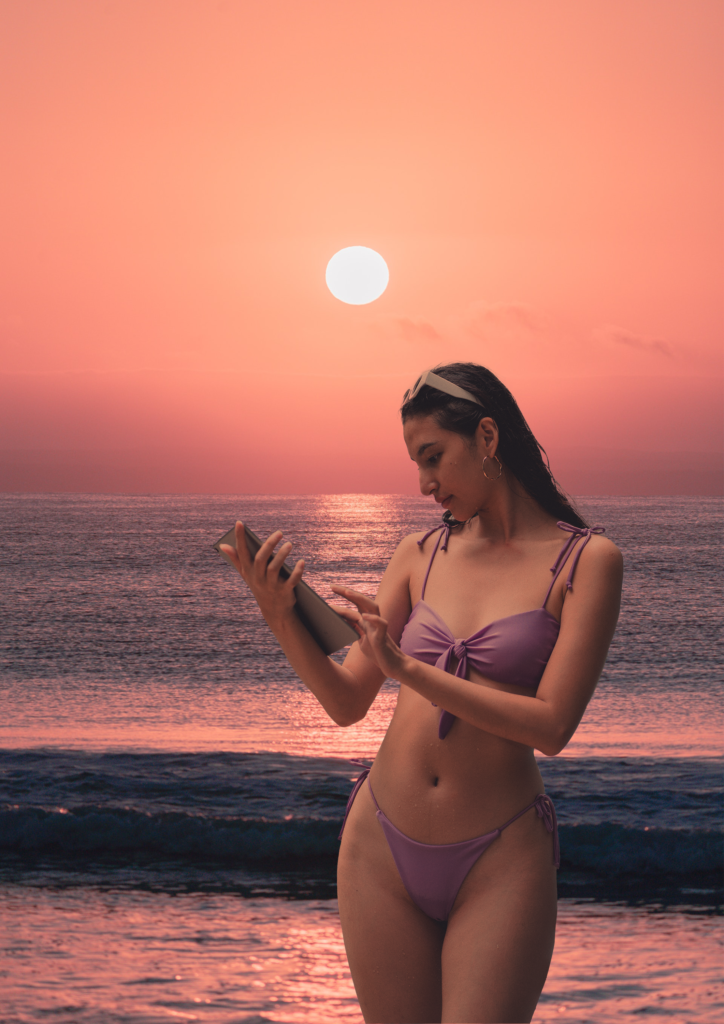
The first thing we will do is open in Photoshop the two images that we are going to use to make the photomontage. Take the opportunity to open them in order, first open the one you are going to use as the background and place the image containing the subject on top of it you want to include in that background. So that you can better follow the tutorial I have given names to the layers (layer 1, at the bottom and layer 2, the girl).
Select the subject and create a layer mask
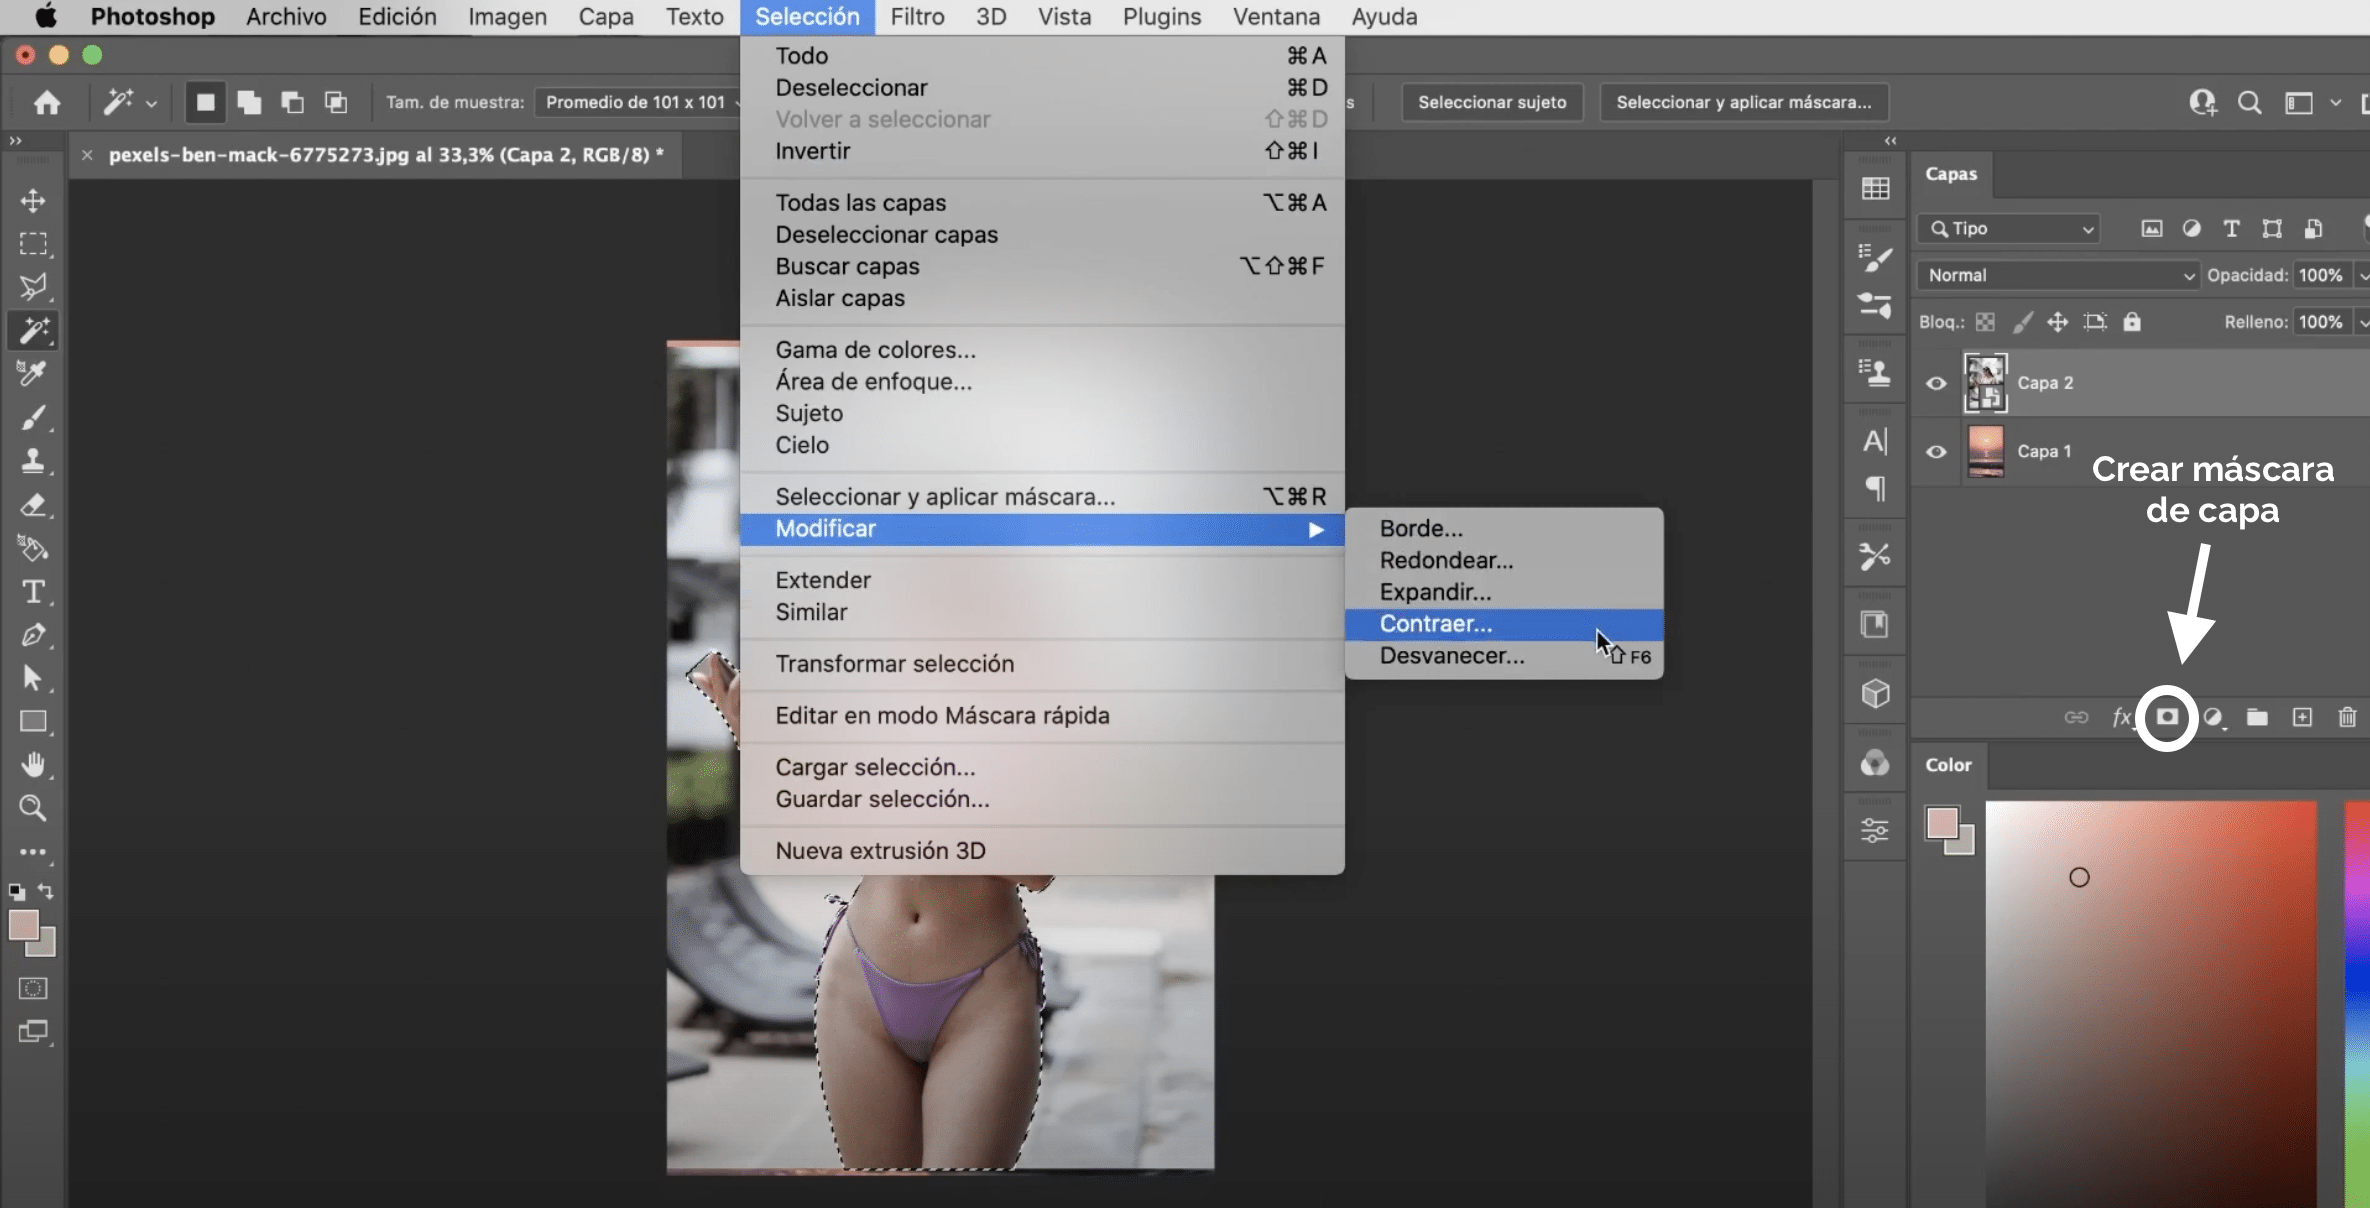
Now play make the subject selection. You can use the selection tool that you prefer, I am going to leave you here a tutorial where you can learn to use them and make better selections with them. Once you have the selection, we will go to modify, select, collapse and we will collapse a couple of pixels. Nothing happens if the selection is not perfect, pressing the symbol that appears marked in the image above we will create a layer mask and we can fix those bugs later.
With command + T (Mac) or control + T (Windows) transform and move the subject so that it has a size proportional to the background. Remember to hold down option (Mac) or alt (Windows) so it doesn't warp while zooming in or out.
Create a new adjustment layer and apply it to layer 2
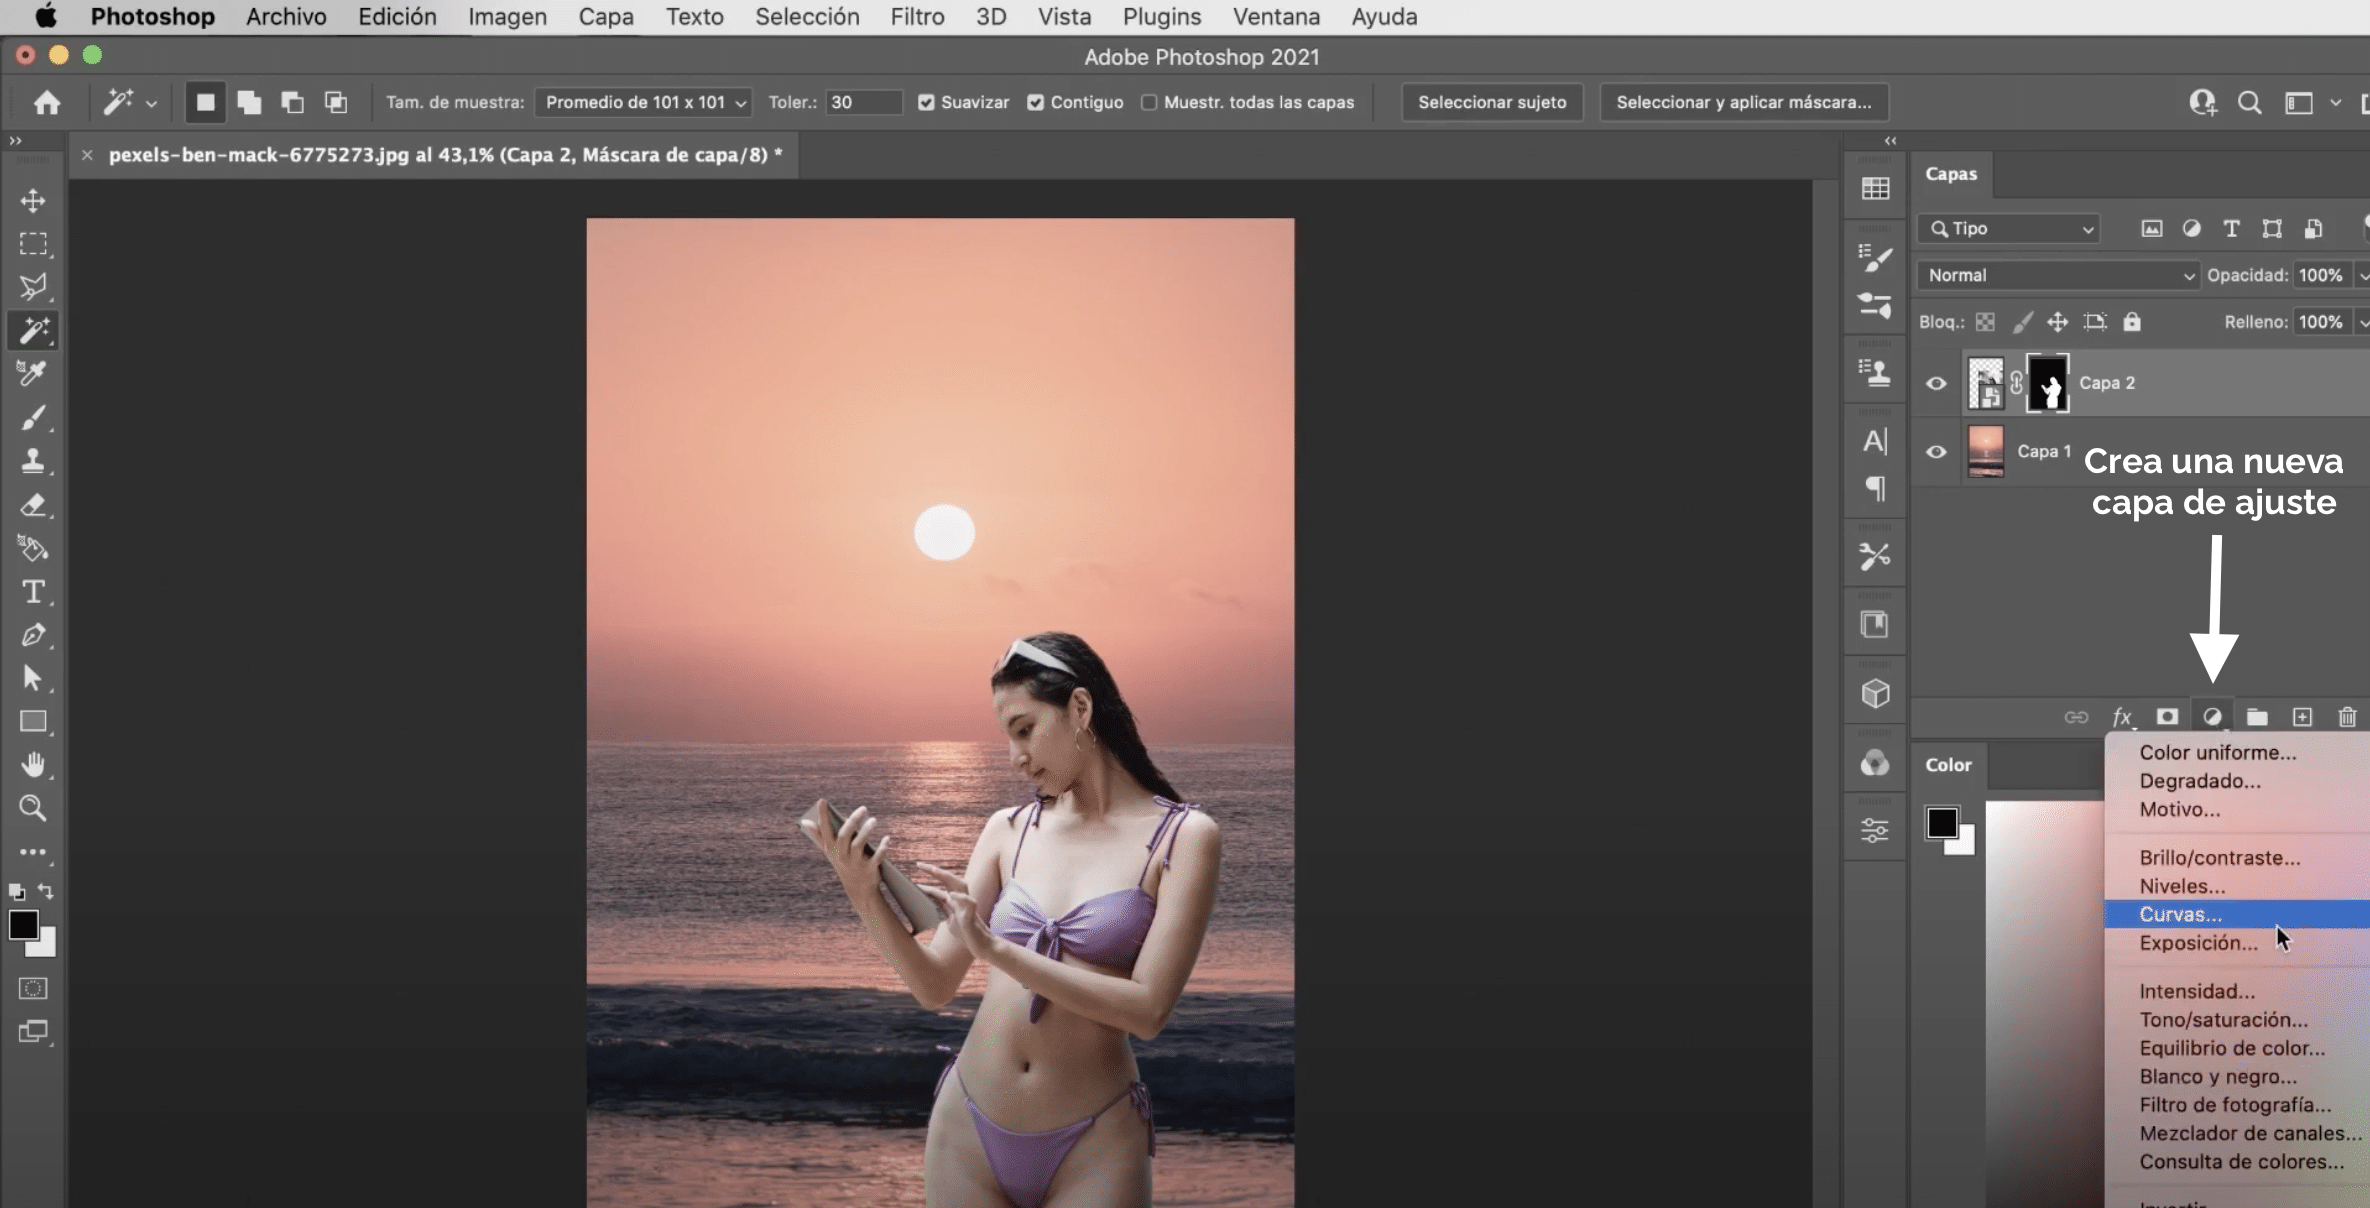
Click on the symbol that appears marked in the image above and click on «curves». An adjustment layer will now appear next to the layers. We need it to only apply to layer two, to the girl, because she is the one we are going to adjust the color to. So that it only applies to layer 2, make sure that it is located on top, and clicking on the adjustment layer, press on your computer keyboard command + option + G (Mac) or control + alt + G.
Make color corrections
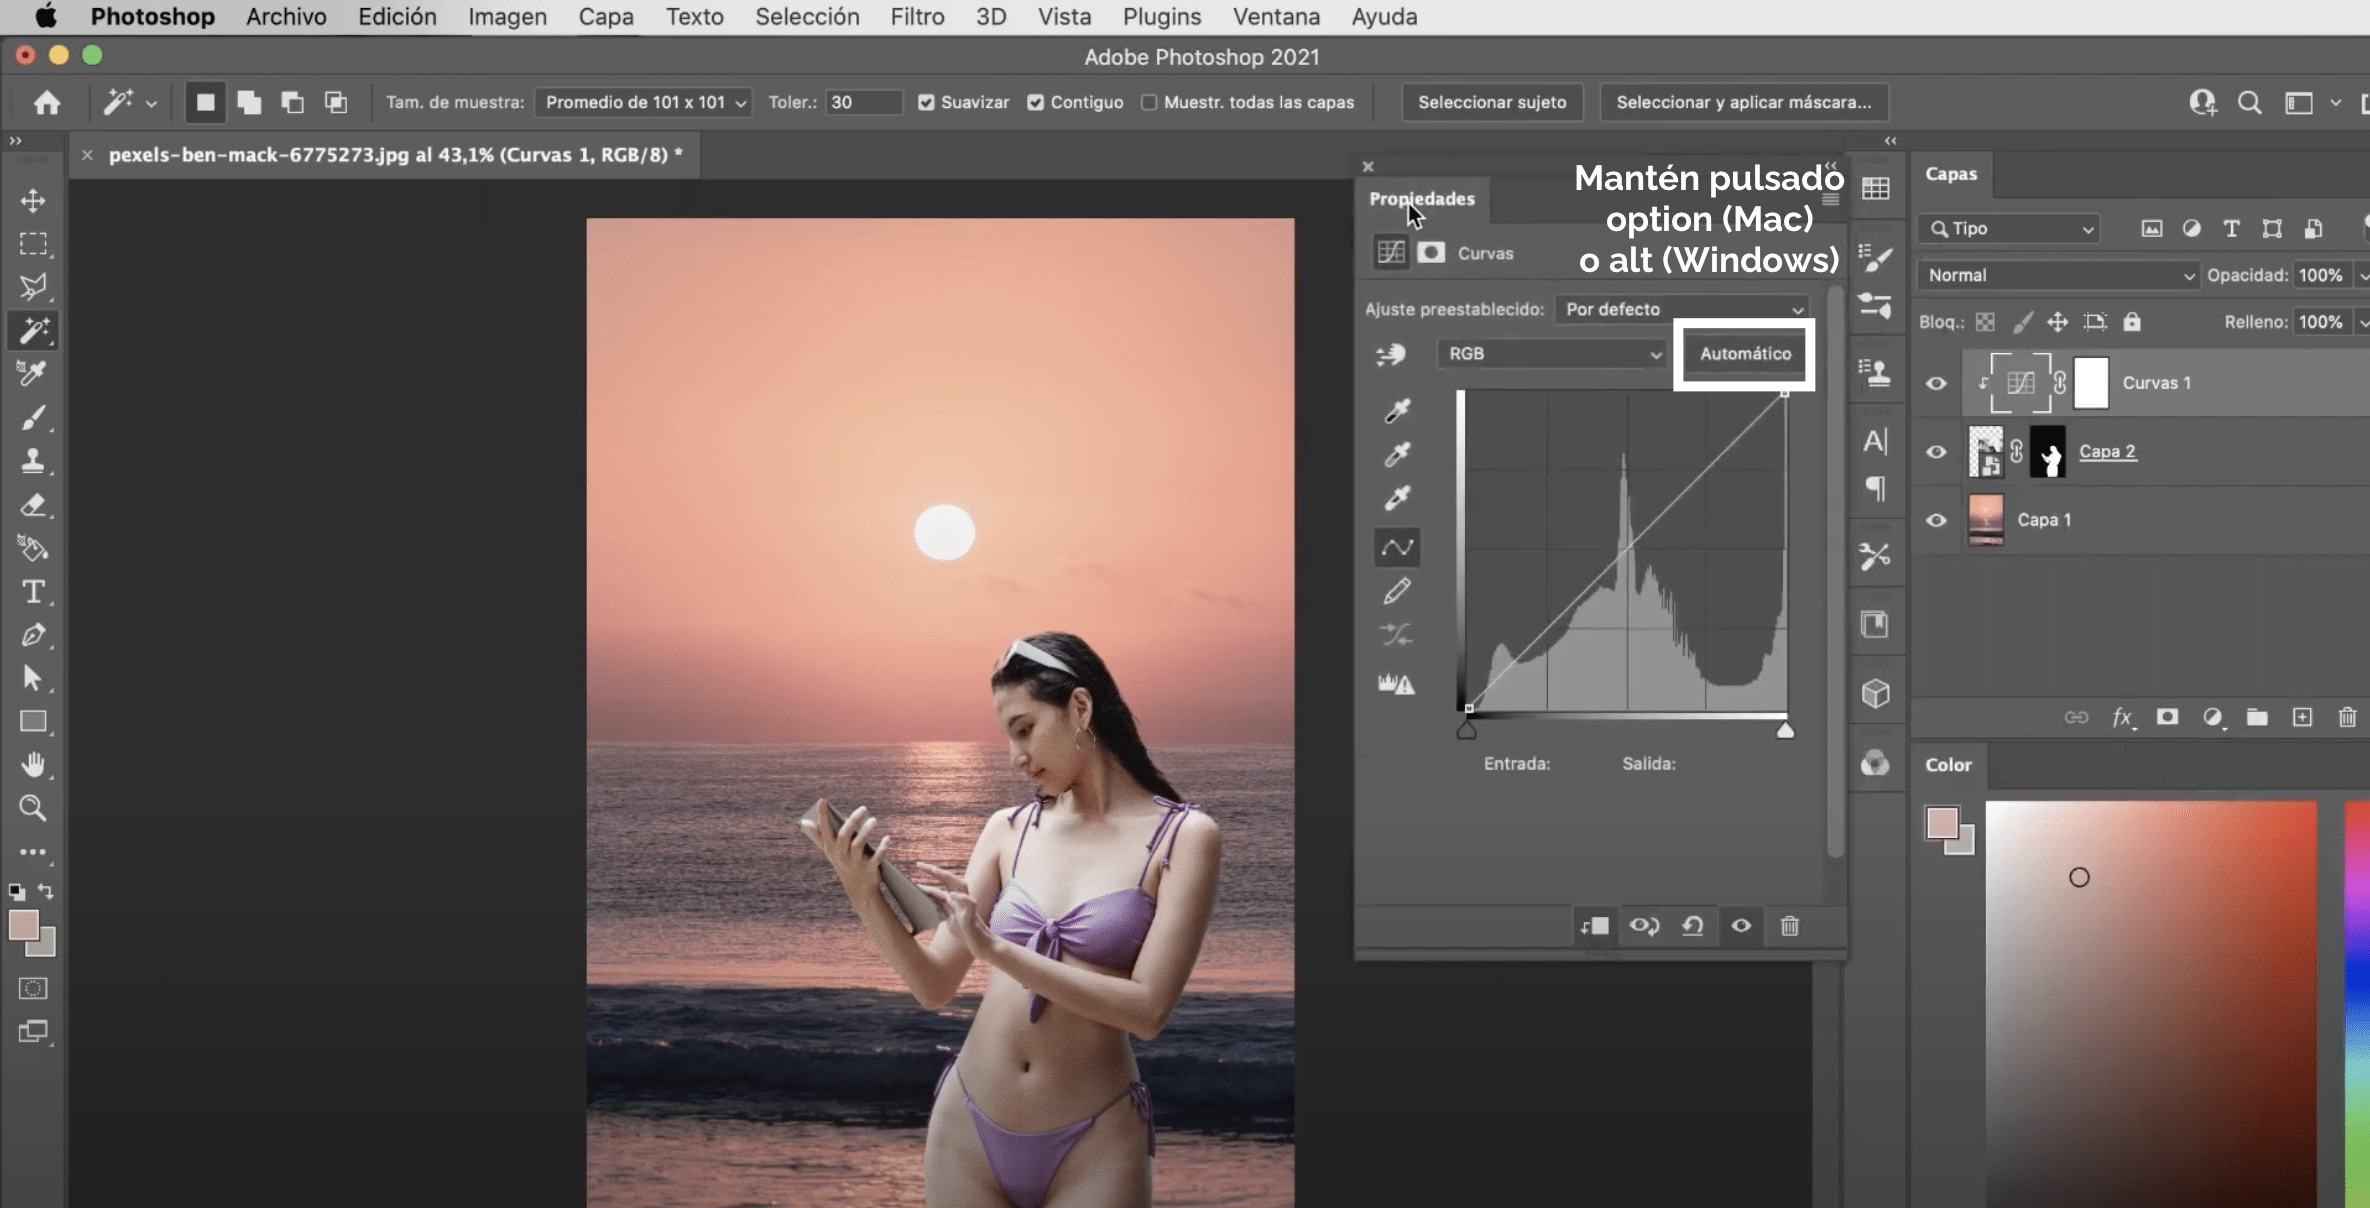
The next step will be locate the properties panel (I mark it above). Holding down the option key (Mac) or alt (Windows) we will click on «automatic». A window will open. Check the box "Look for dark and light colors" and make sure "Adjust Neutral Midtones is off".
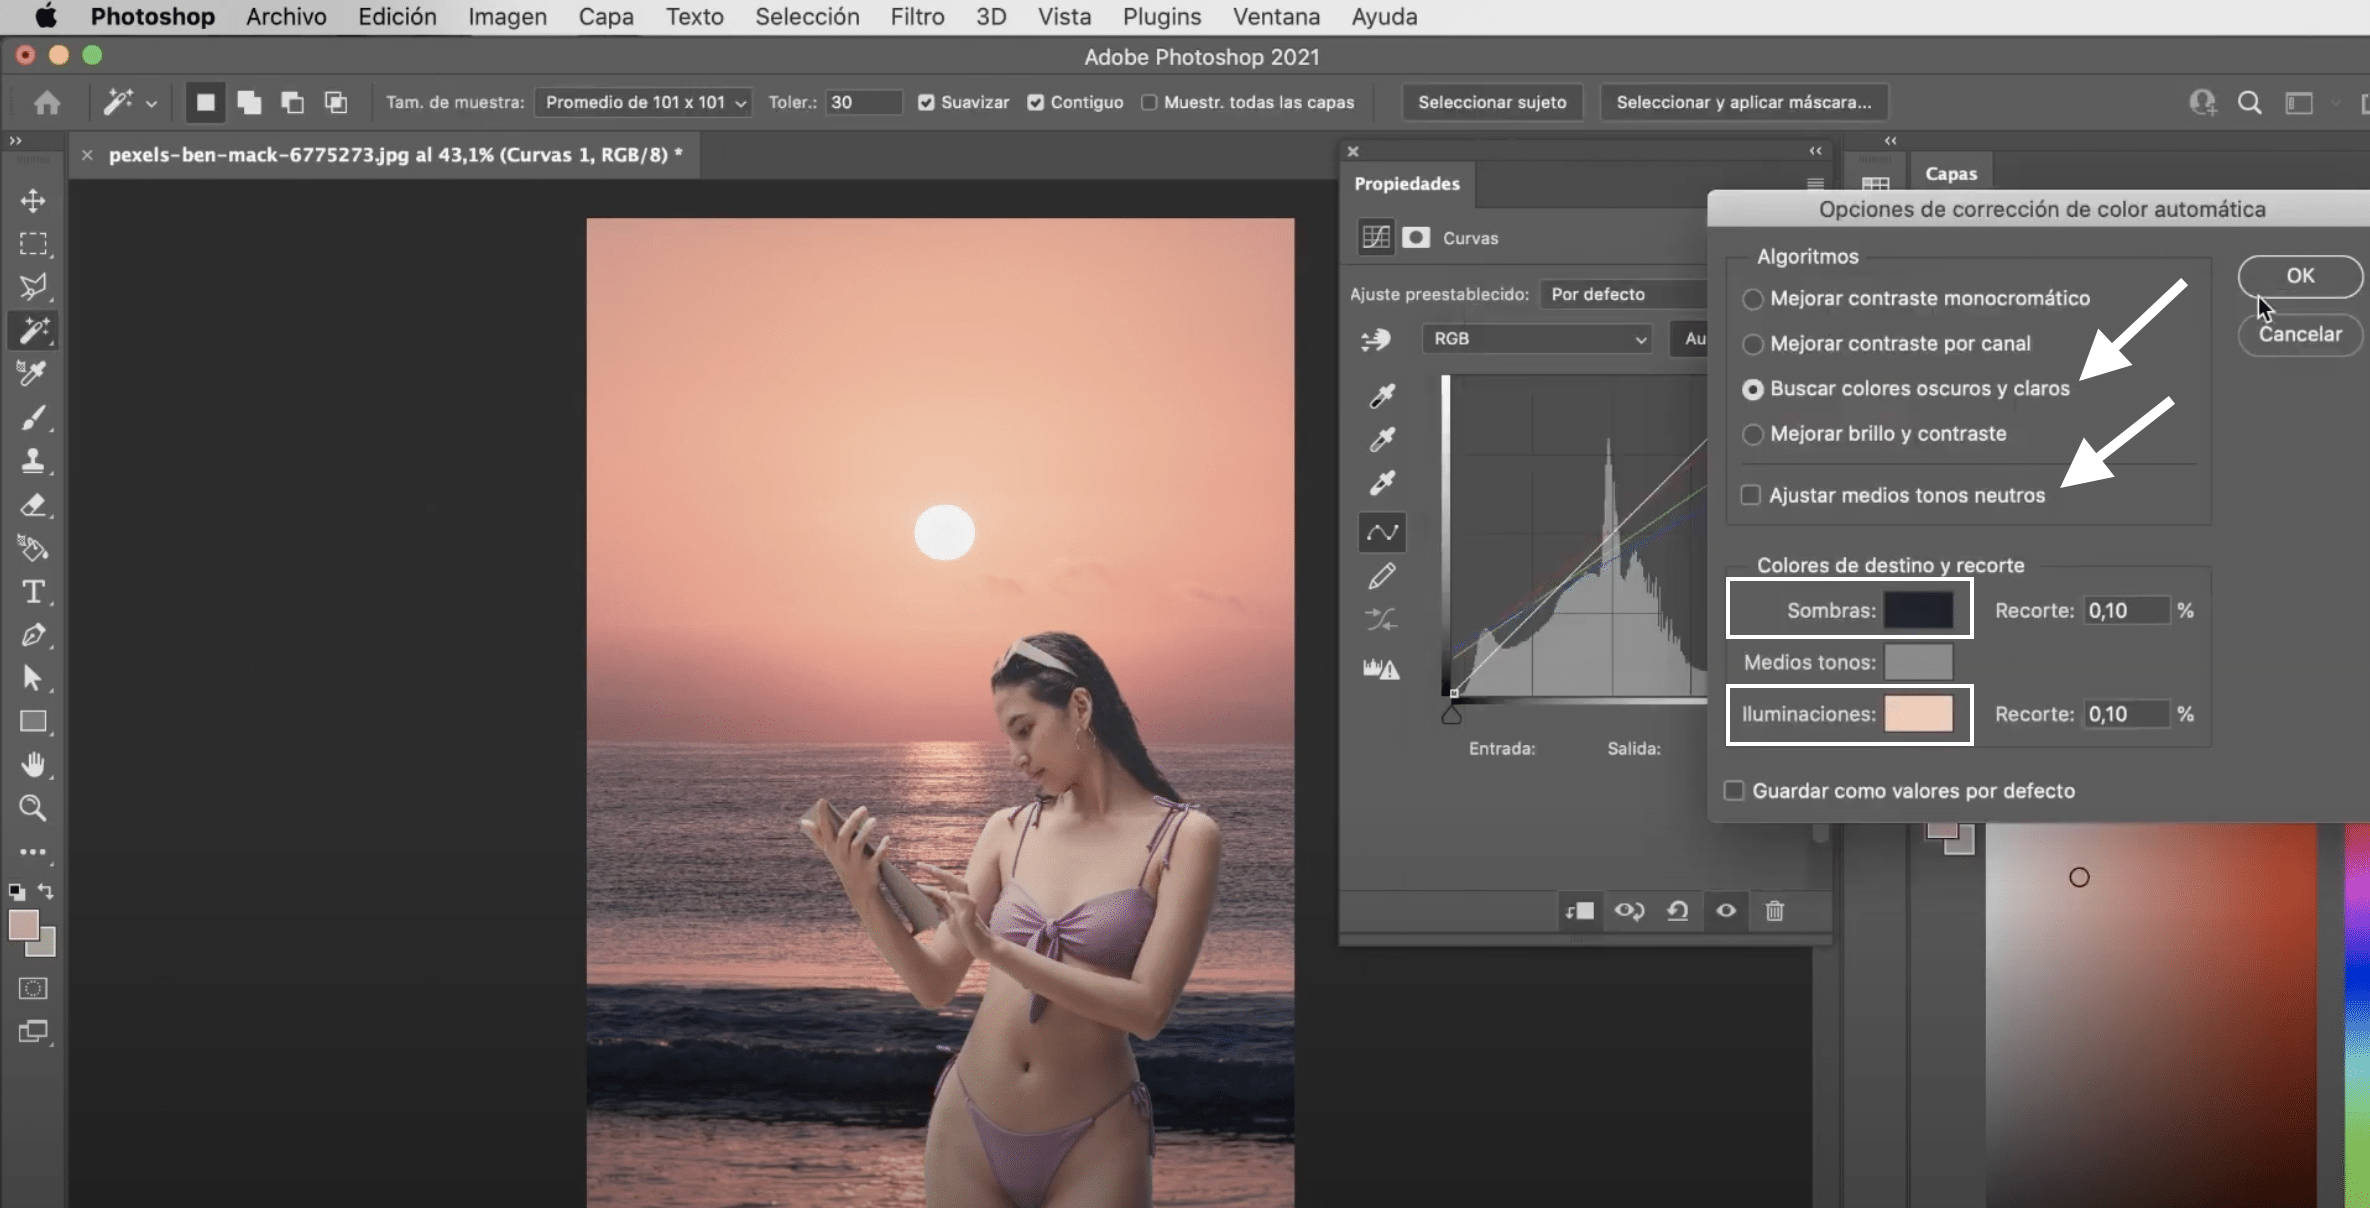
En Photoshop target and cropping colorsBy default, it assigns black to shadows and white to highlights. For best results modify those colors. Click on the shadows box and with the eyedropper sample in the dark area from image. In lighting we will take the sample in the light area. I have avoided doing it directly in the sun because it is almost white and we have already seen that, in these cases, it is better to work with other colors.
What we will get with that automatic adjustment will be pretty good already, but to refine the correction move different points on the curve until it is totally to your liking.
Corrects the flaws

Taking advantage of that we have a layer mask, wide to look at the edges and, with the brush, paint over the layer mask to correct any flaws that the selection might have. Remember that with the white color you leave part of the layer visible and with the black you hide it This is the final result!