The watermark is used to sign photographs, it protects your copyright, preventing others from using them without your permission. But it is true that sometimes we save the photograph with the watermark and lose the original version. Fortunately, There are ways to remove the watermark from an image with Photoshop Keep reading the post to learn how to do it step by step!
Open the image and locate the clone plug tool

The first thing we will do is open the photo in Photoshop With the watermark, you know you can open it just by dragging it. Next, in the toolbar, locate the clone plug (in the image above you have it marked).
Clone Plug Tool
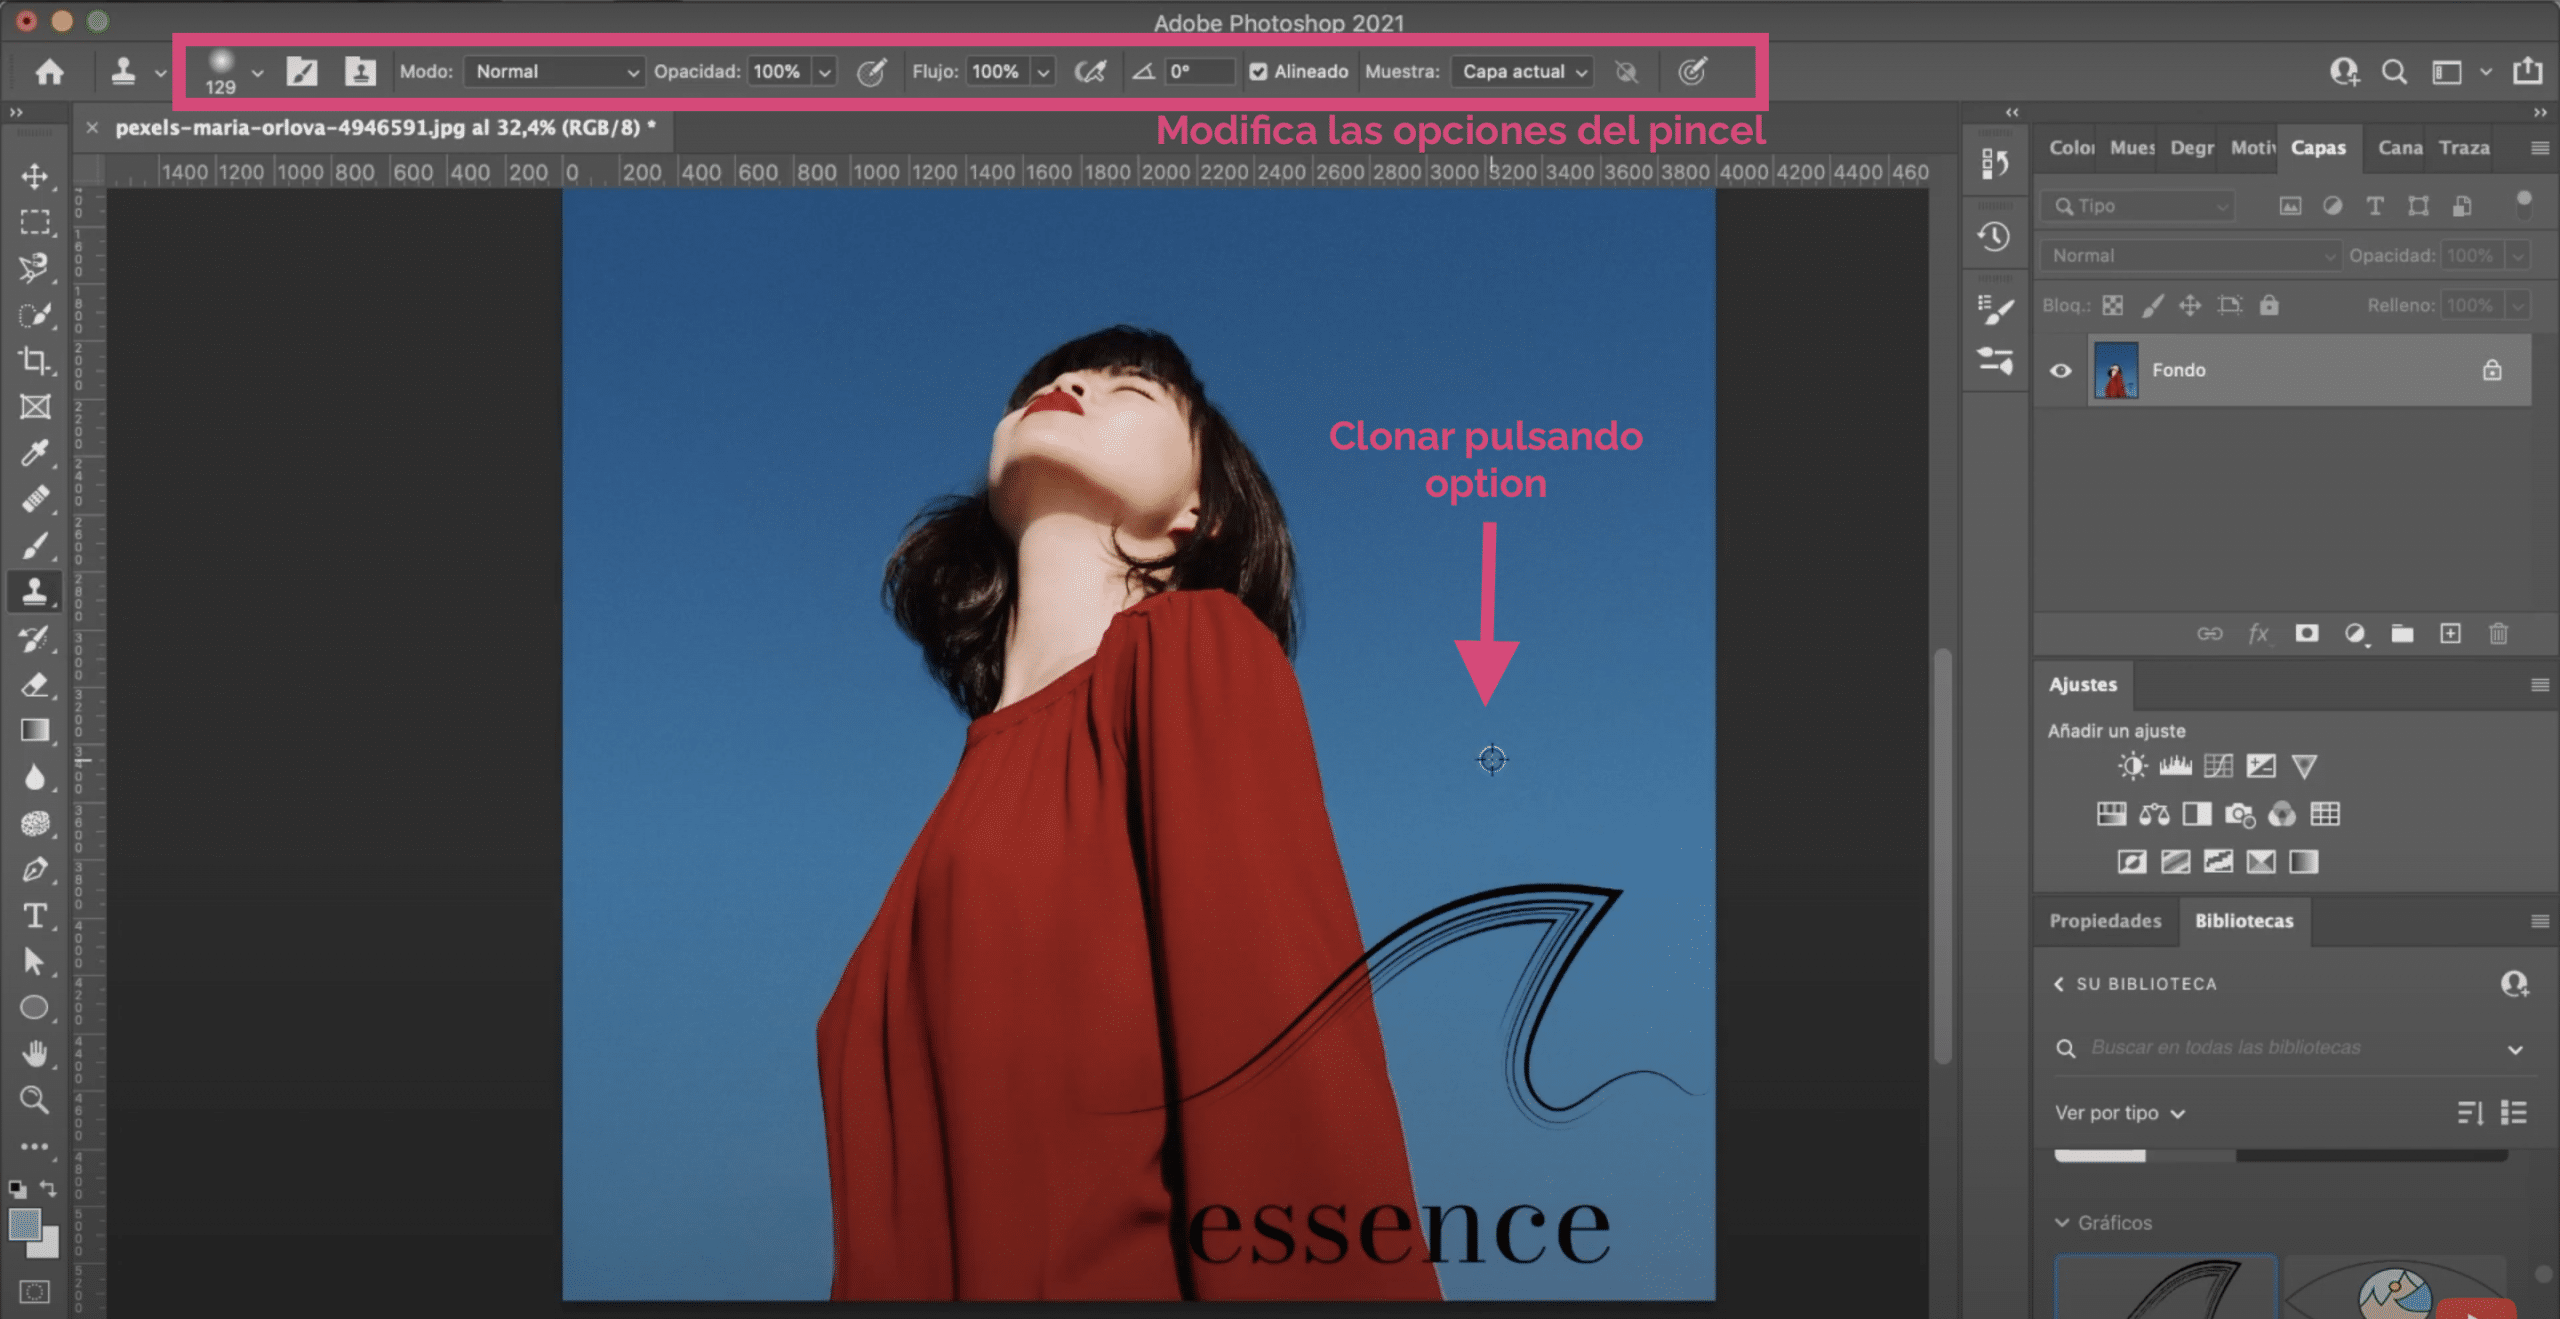
With clone plug tool you are the one who tells Photoshop in which part of the image you want it to be fixed to "copy". Pressing the key option, if you work with Mac, o or, if you work with Windows, we will select which area of the image we need to clone. We will repeat this process, and we will paint the brand of water until it disappears.
Tips to improve results when removing the watermark from the image
Clone Successfully
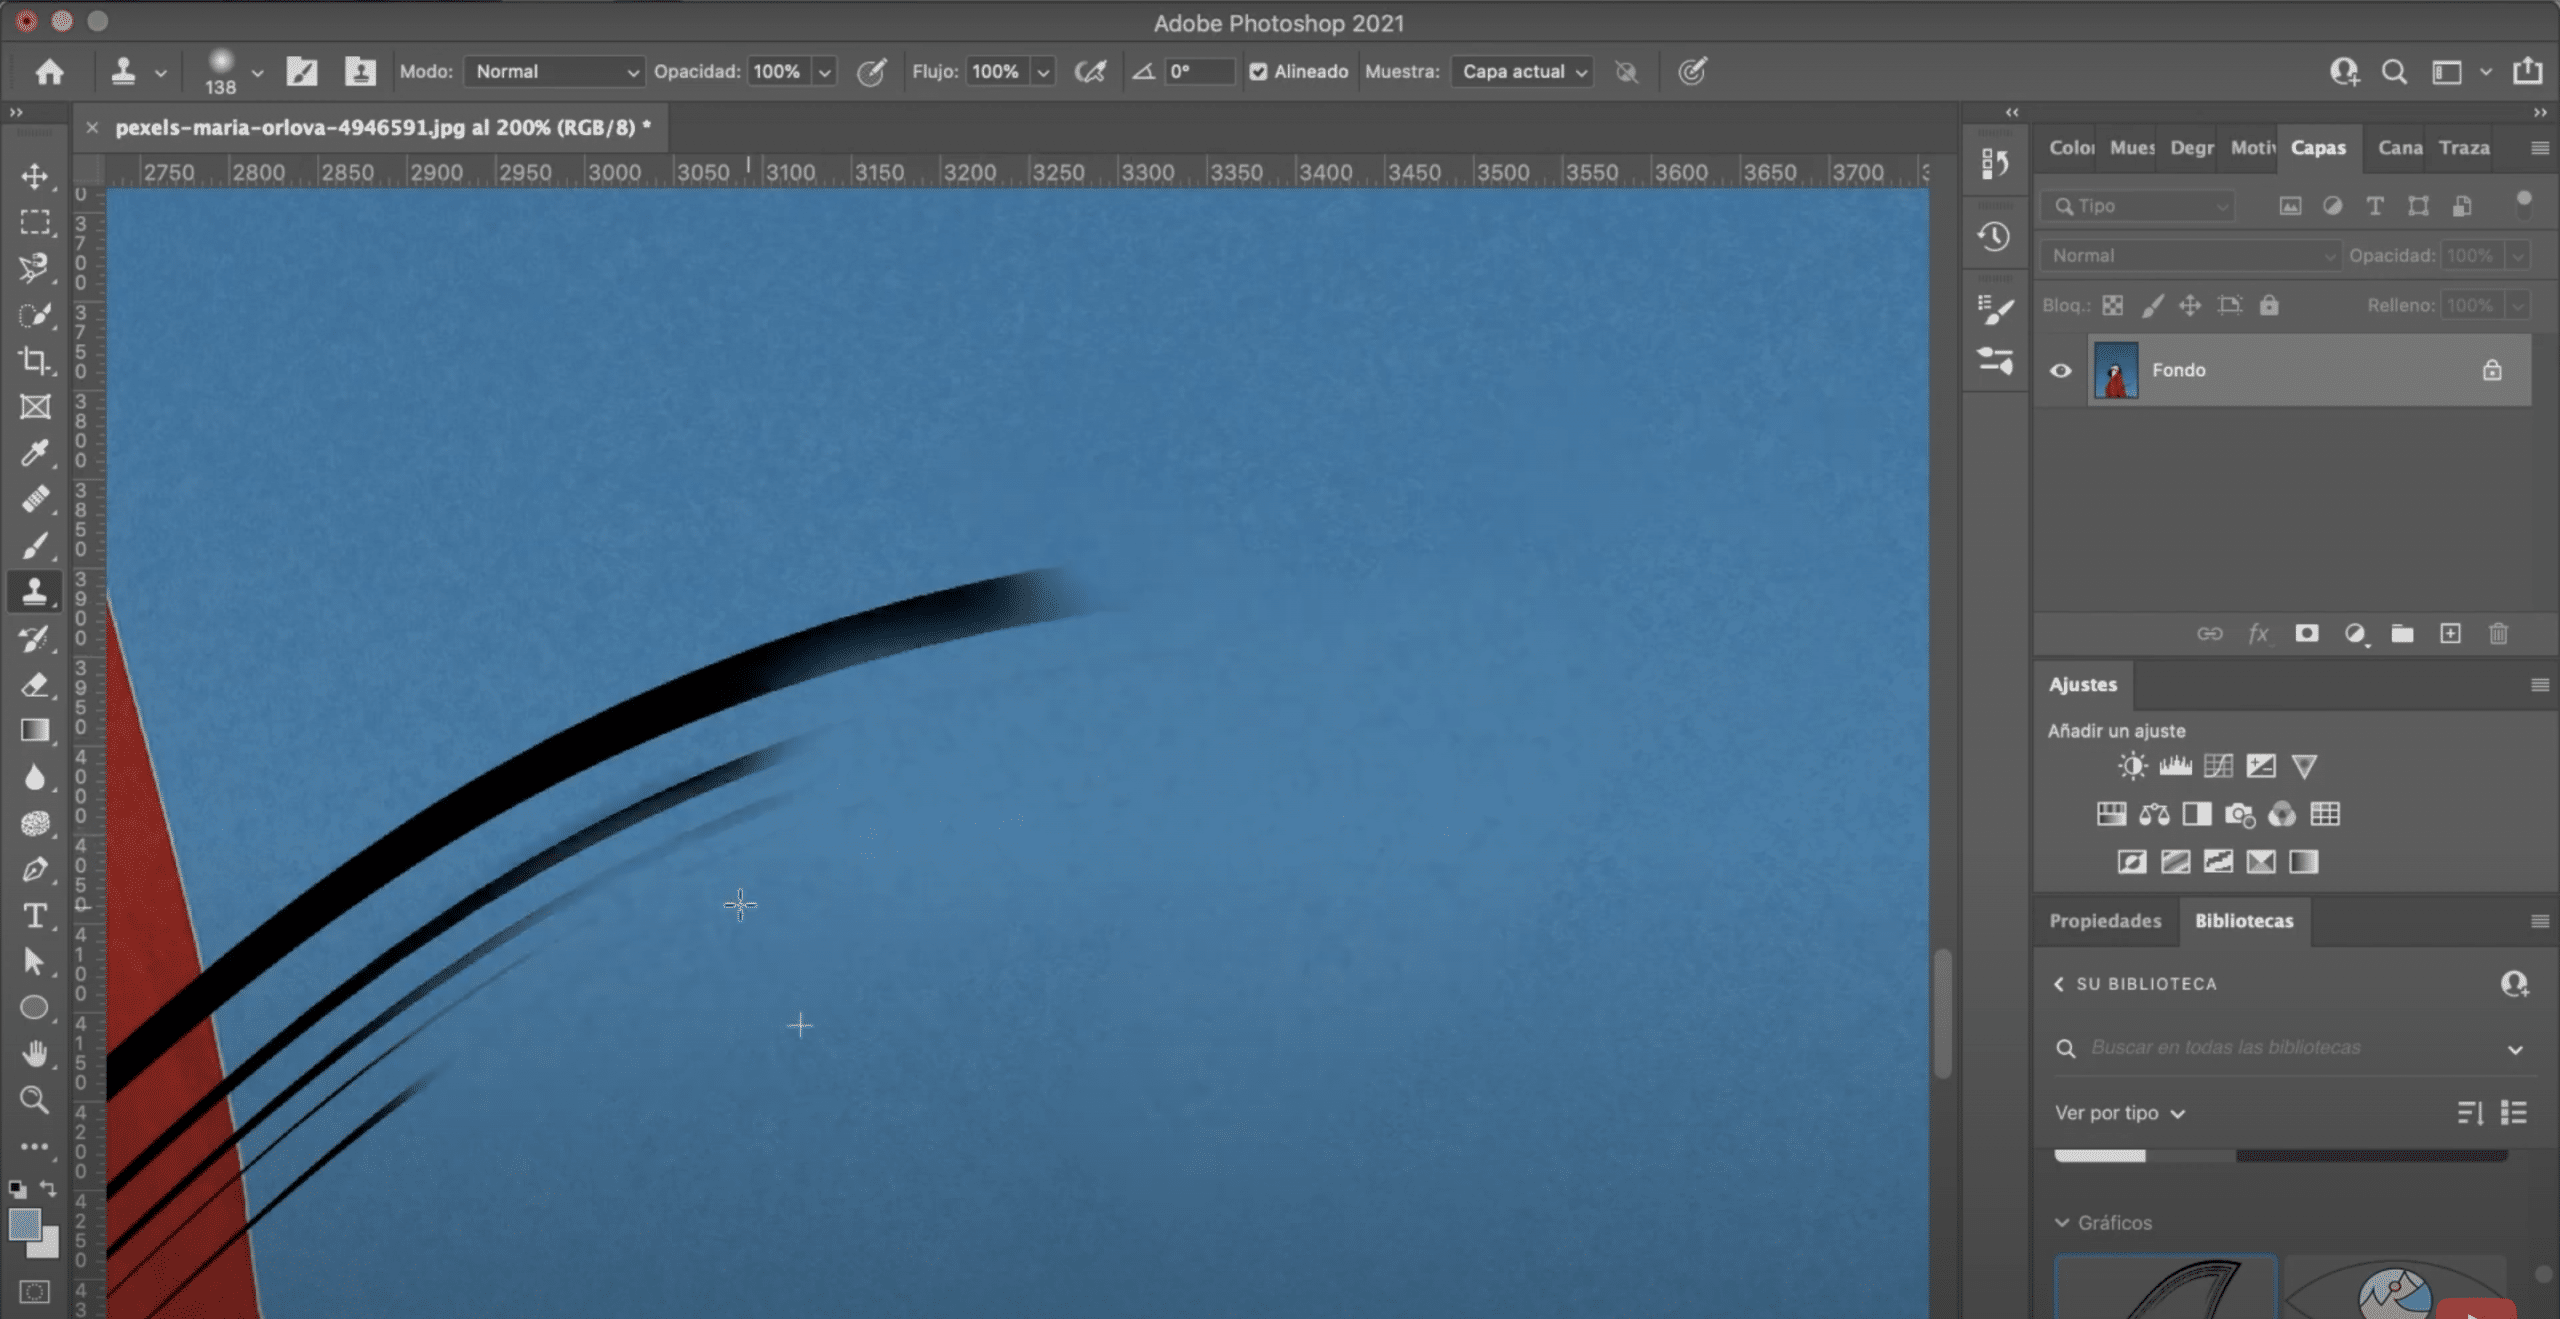
To get the best possible results, it is important that you show a lot. That is, when cloning, you take references that are as similar as possible in terms of color and texture to the area you are painting on. It is not the same to do this by sampling in a dark part of the sky, than in an area closer to the watermark, with a similar tone. This will make it more realistic for you.
Play with the brush size
Above, In the tool options bar, you can change the shape, size and type of brush, I usually choose the diffuse circular so that when covering it is smoother. But you can change it.
Erasing the part of the sky is easy, it will take a short time, because it is a very flat area, with little detail. Still, try to be thorough and paint carefully so there are no odd cuts and marks. With a small brush it is usually better.
Beware of edges and folds
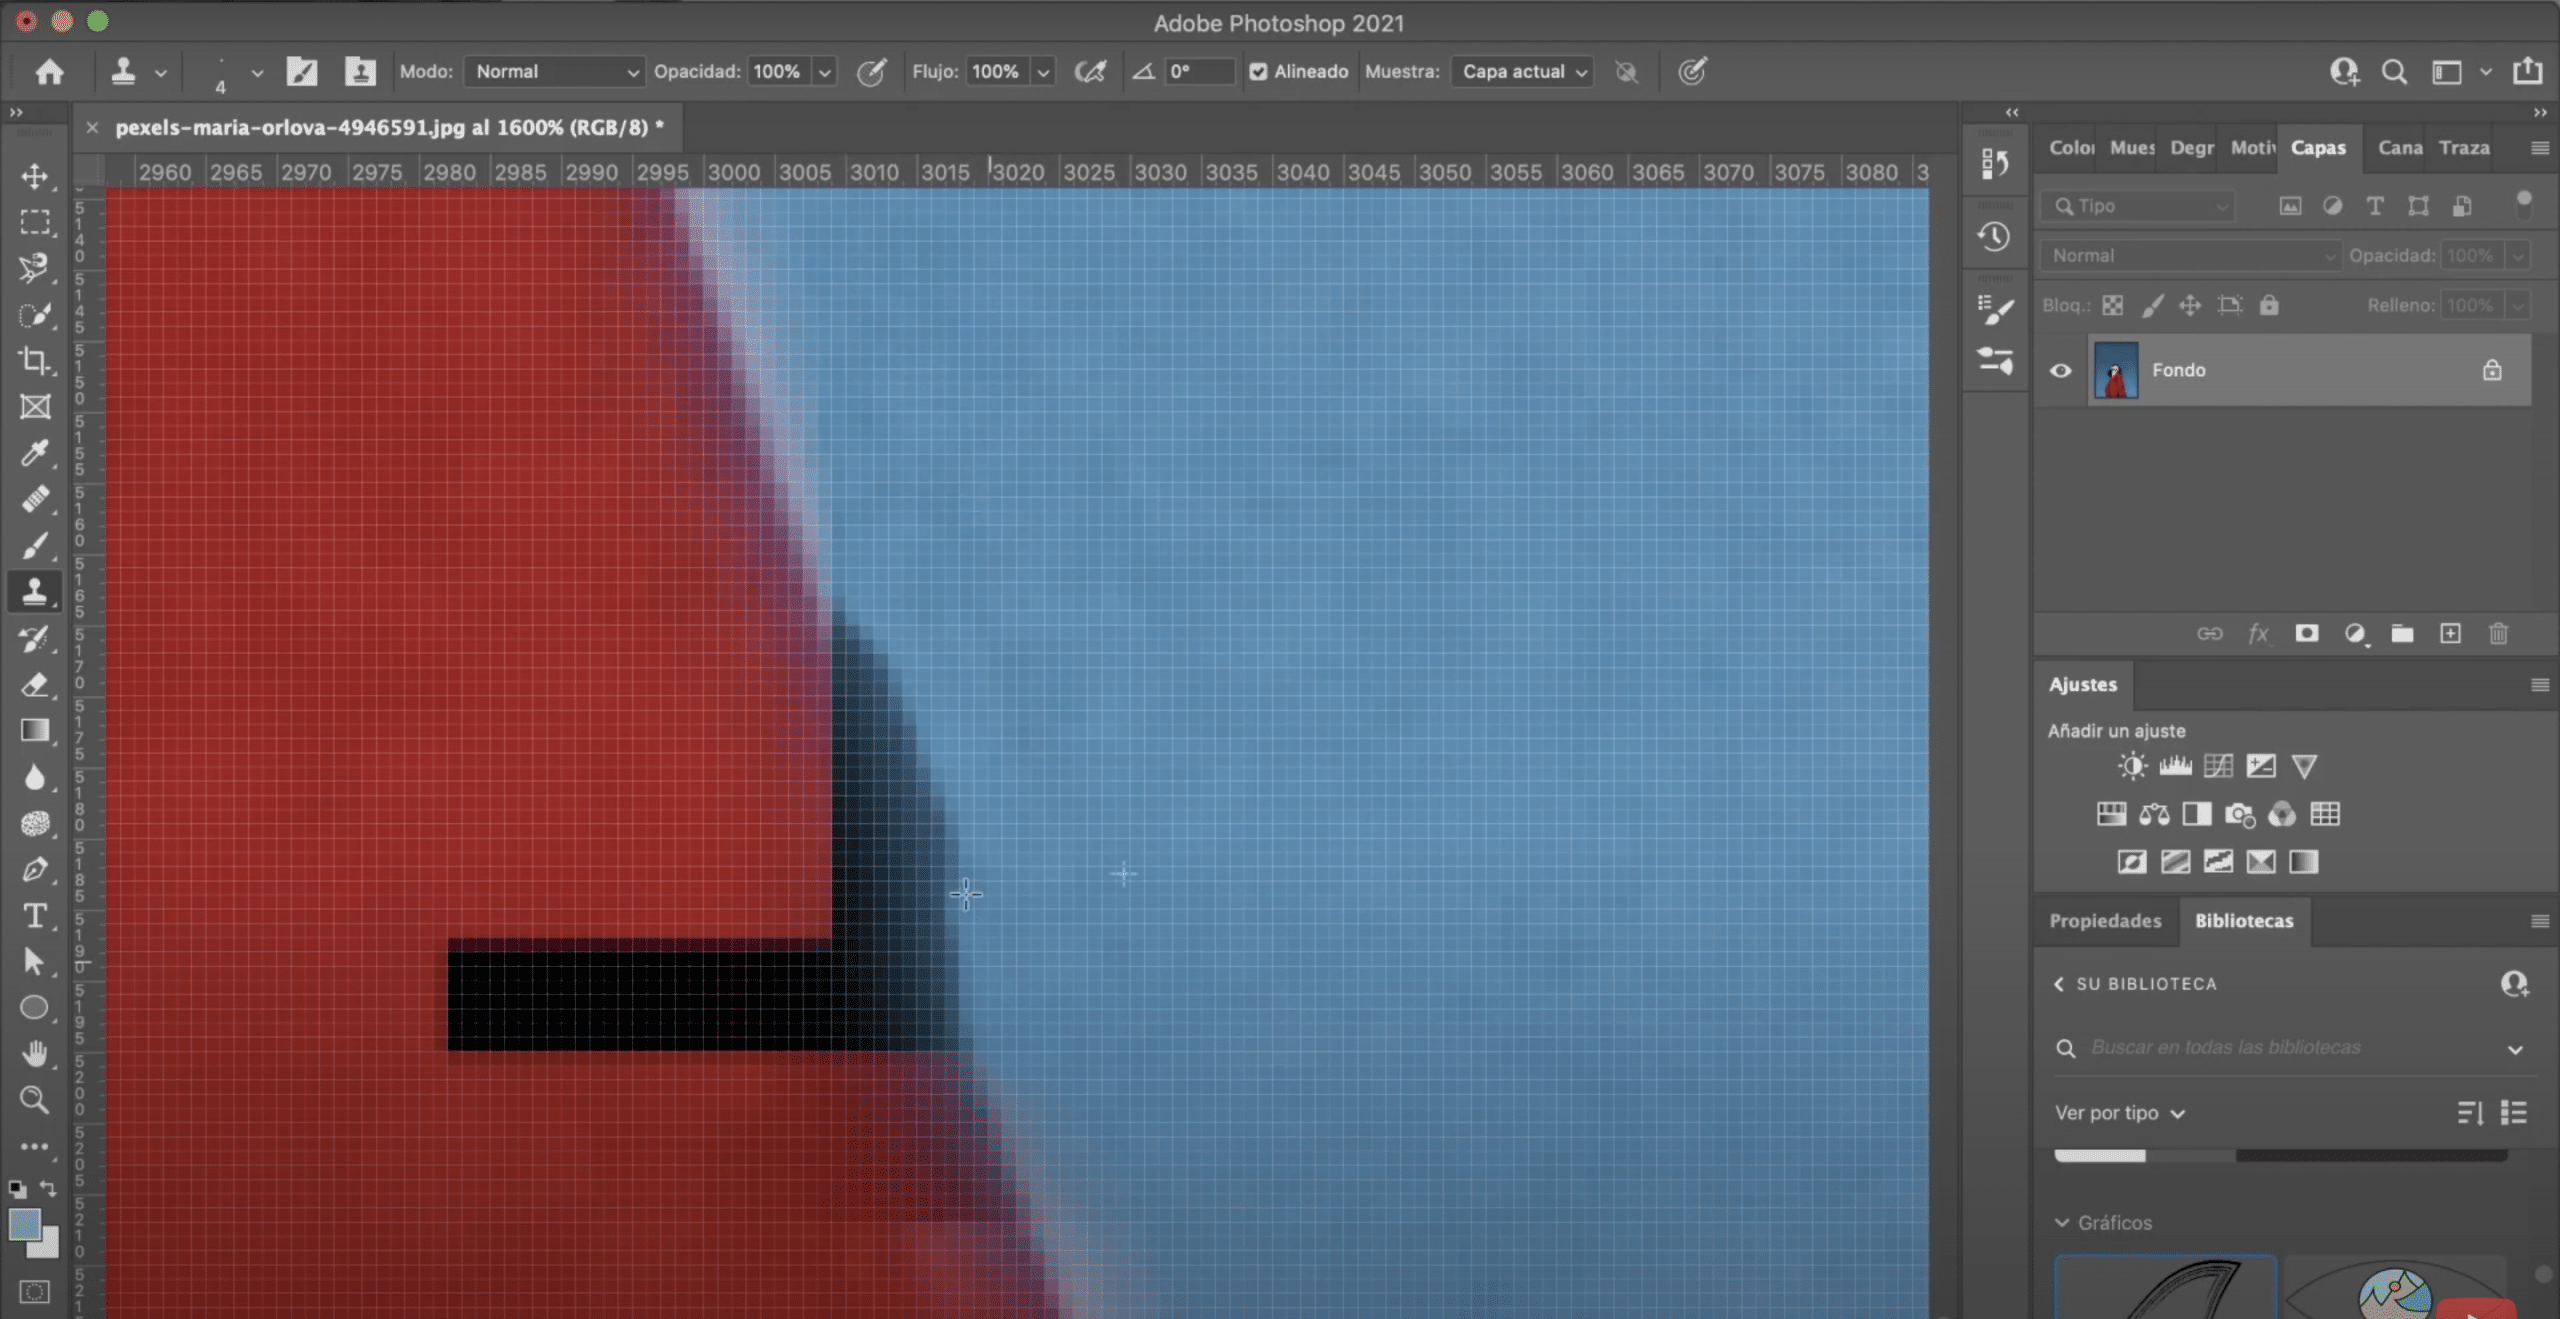
It will be more difficult to fix the edge area or for example areas where the clothes have wrinkles or folds. My tip is expand a lot, a lot, and reducing the size of the brush, carefully, go covering. You can even go pixel by pixel. It is slow and laborious, but the result will be much better than if you do it with a thick brush and from a distance. It is worth spending some time on it.
This would be the end result. If you want to learn to create your own watermark in Adobe Photoshop I advise you to read the post that I leave you linked here.