In the world of graphic design, when we talk about mockups we refer to mockups that show how a design will be implemented in reality. They are very useful because they help us to know if our creations really work and, if we work for clients, it helps them to get an idea of how the work you do on physical supports will look. In this tutorial I'm going to show you how to make a mockup in Photoshop. Although we will use a bottle of cream, you will learn techniques applicable to almost any type of object. Do not miss it!
What do you need to make a mockup in Photoshop?

The first thing you will need is a mockup template on which we will implement our design, you can find many types in free image banks like Pexel or Pixaby. What's more you will need one plot to create the label and a logo. If you still do not have your logo you can consult this tutorial how to create a logo in Adobe Illustrator.
Open the mockup template and select the object
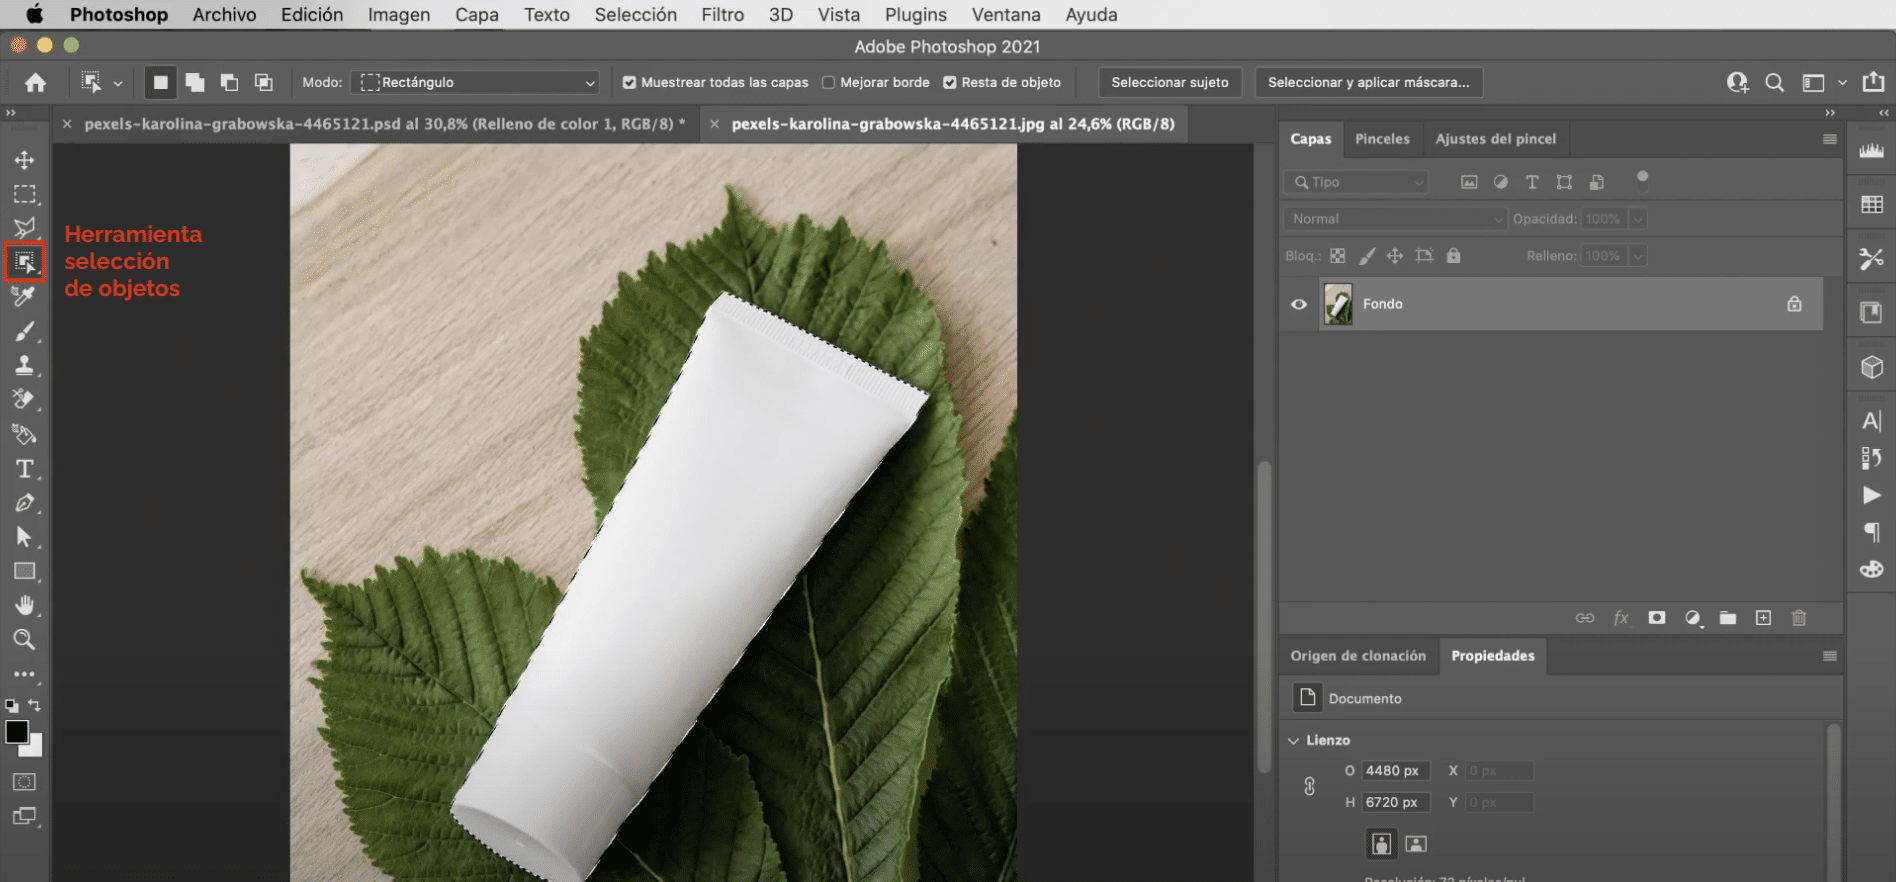
Let's start opening the mockup template. Then use the tool object selection to select the cream pot. Avoid leaving a halo in the selection by going to the tab "Selection", "modify", "expand" and we will extend it 2 pixels (approximately).
Create a layer of uniform color

The next thing you have to do is create a uniform color layerYou can do it by clicking on the symbol that appears marked in the image above and giving it "uniform color". Since you have the cream pot selected, a mask will automatically be applied to the layer with that cutout. With this, what we get is to change the color of the object. To make it more realistic, you will go to the panel marked in the image above and you're going to change the blending mode to linear underexposure. By last lower the opacity from the uniform color layer to the 75%.
Add a tag to your mockup
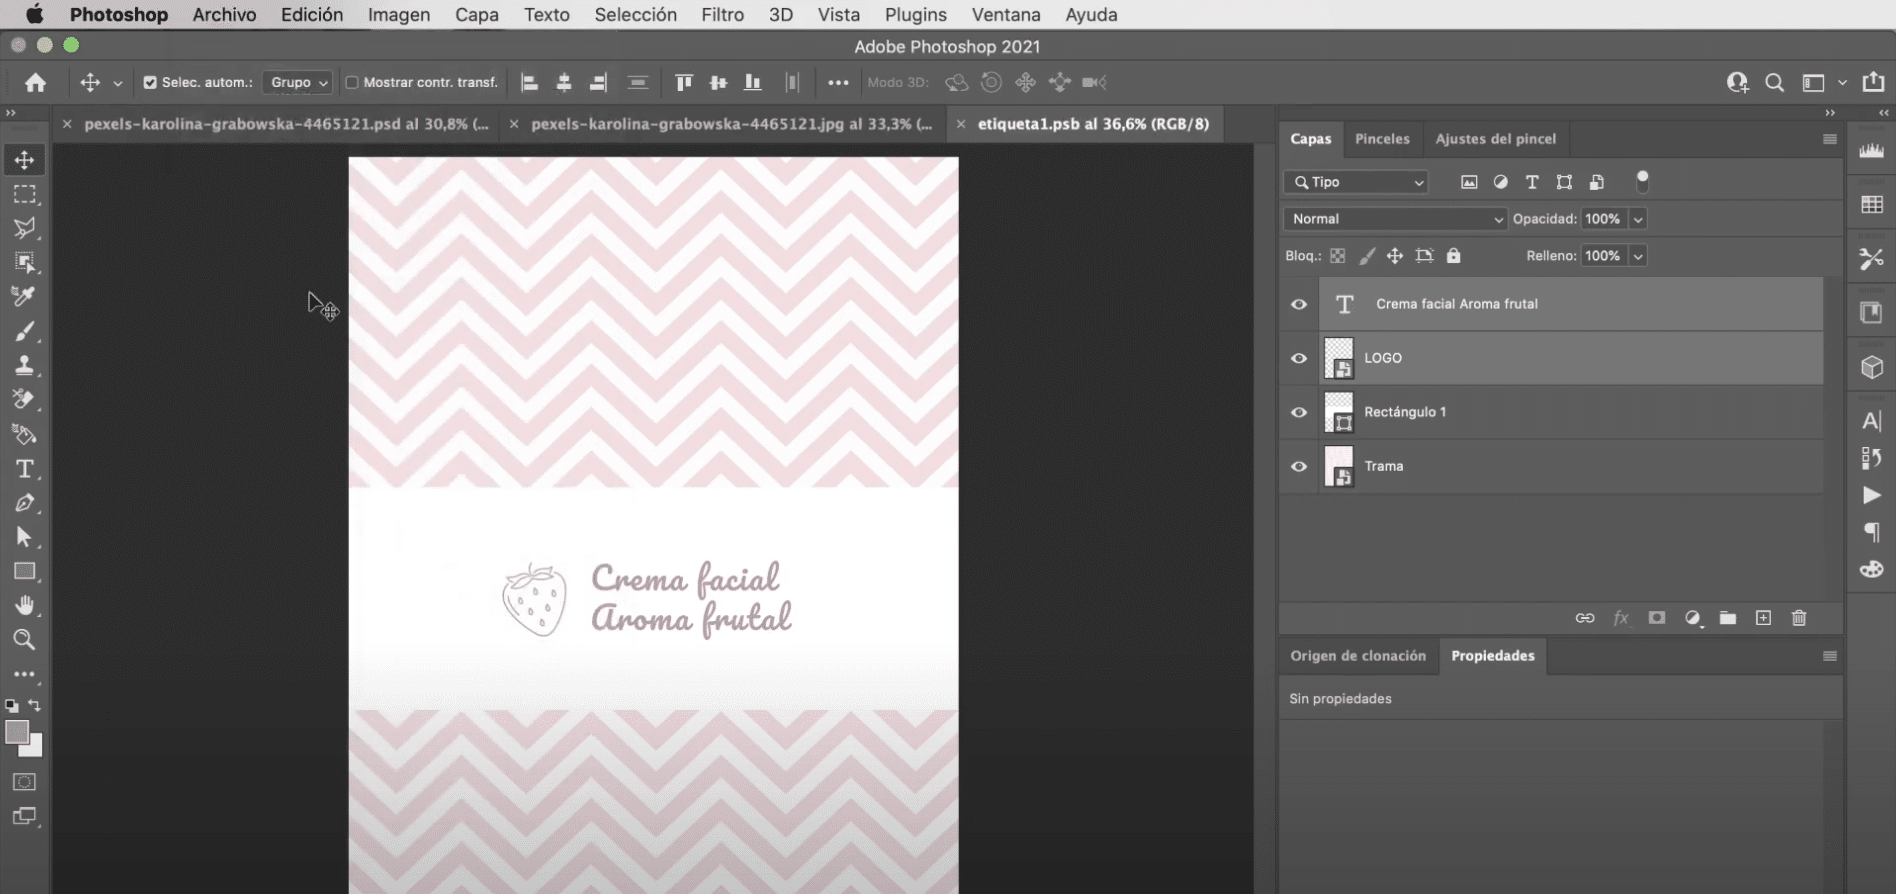
For create your label, you need create a new layer and turn it into a smart object. If you double click on it, directly a new document window will open where you can edit your label independently. The first thing you are going to do is use the crop tool to reduce canvas size. Then, drag the plot to the screen and adjust its sizeor to suit the space.
With the rectangle tool and using the color white, you are going to create a rectangle in the center of the image (It is what will serve as a label). When you have it open your logo and place it near the left margin of the rectangle. By last, use the text tool and the exact color of the logo to type the name of the product. In the tool options bar, at the top of the workspace, you can modify the characteristics of the text, I have used the pacific font and I have given it a size of 130 points. It is important that you now go to the file tab and click to save, if you go back to the document window in which we started working, the changes will have been applied to the label layer.
Finish your mockup
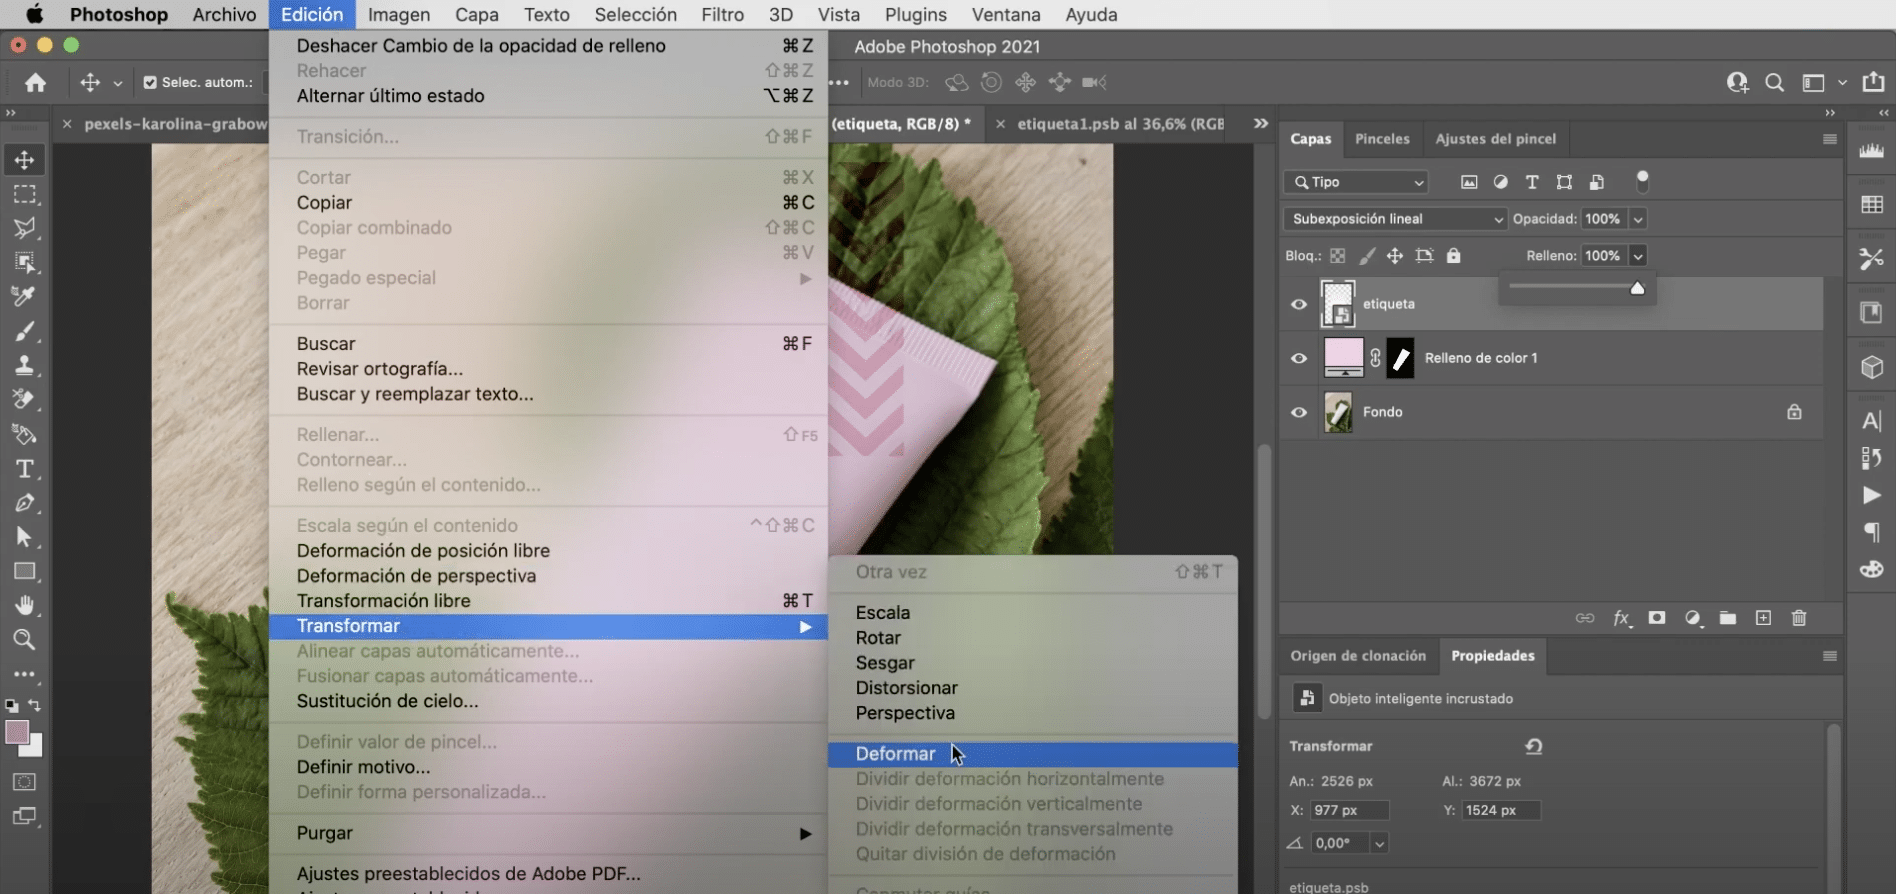
Change label blending mode, choose Linear Burn again, but this time you don't have to touch the opacity percentage. Now you have to adjust perspective, for this you must go to the tab edit "," transform "," deform ". If you don't have the guides active, left click and activate them in «toggle guides». It will only be left to move the handles to adapt the label to the shape of the mockup. And you would have it!