Today Photoshop allows us to do real wonders with a little ingenuity and knowing how to use some tools such as the quick selection tool. This tool has not been available forever, and when you know how to use it, it allows us to make really quick selections to focus on other tasks.
Therefore, apart from showing you this quick selection tool, we are going to teach you how to remove or put a background to a photo in Photoshop quite quickly. Already in its day we made a tutorial where we teach the use of other tools, but in this one we focus only on the said tool that will allow us to do an excellent job.
How to remove or put a background in Photoshop
We are going to use the quick selection tool and go to use two images that you can download below to make the tutorial, as we explained in the video made for the occasion. Through it, you can better see the use of the tool and the steps to follow.
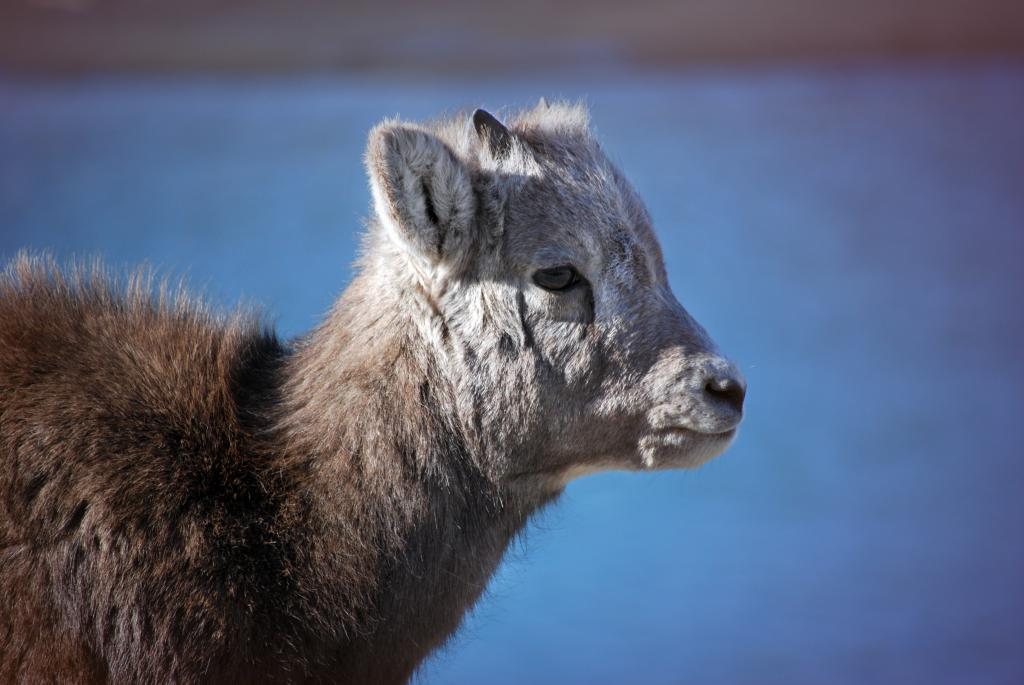

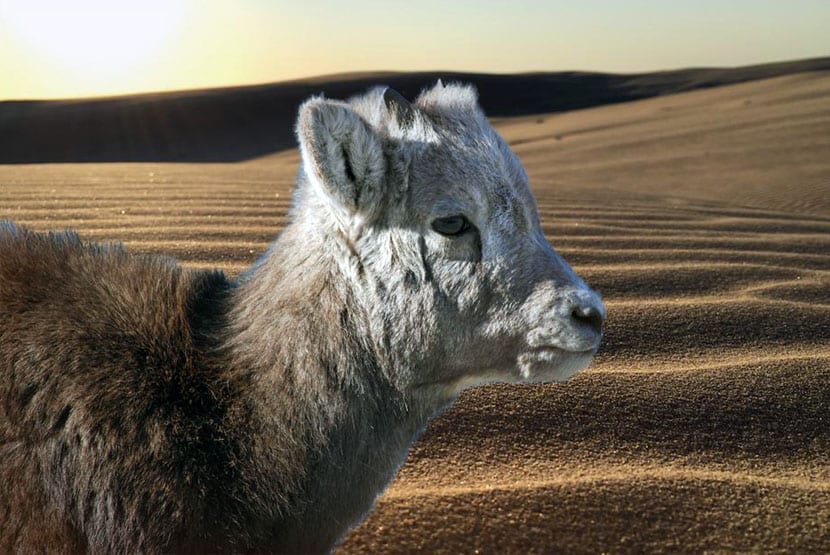
- We open the image of the ram.
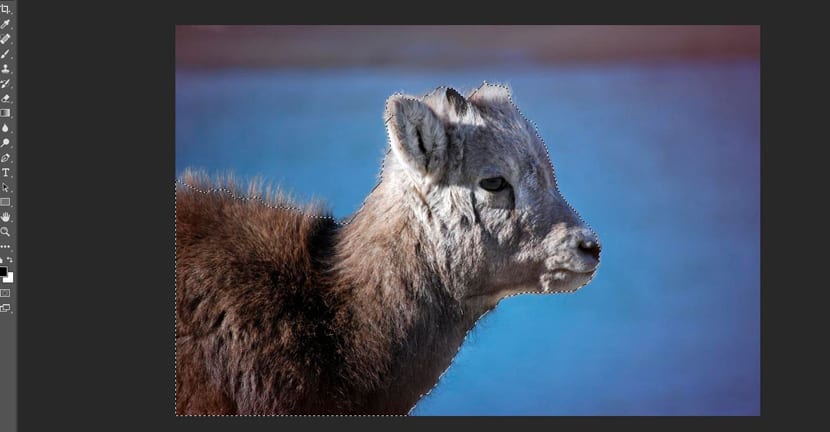
- select the quick selection tool who meets the magic wand.
- Press at the same time shift key as we click in different parts the background of the image to select that part.

- At all times we can use the «Alt» key instead of the capital letter to subtract a zone that we do not want, as can be when taking part of the ram.
- We invert the selection with Control + Shift + I to have the ram.
- We specify the selection with the lasso tool (L): «Uppercase» to add selection and «alt» to subtract
- We go to the layers window, and click on «Add a vector mask» at the bottom.
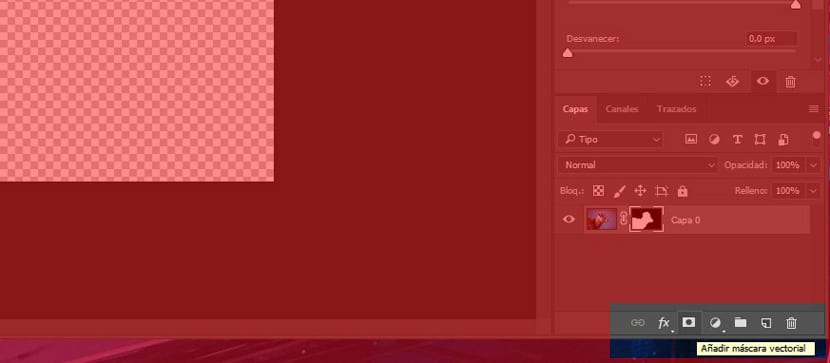
- El background disappears before us.
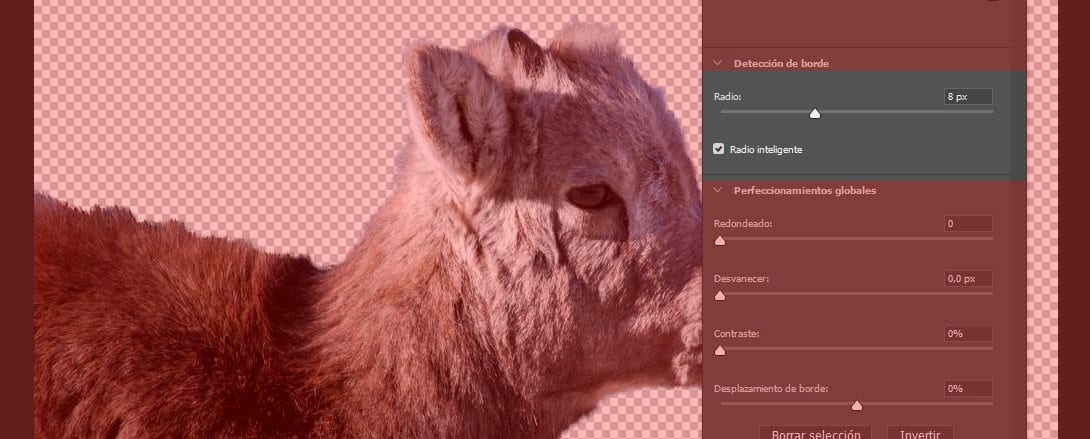
- We go to the cape and we double click on the mask.
- In the menu that appears, click on «Smart Radio», which will ensure that the hairs on the back of the ram appear detailed.
- We upload the radius parameter to 10.
- Click on OK and we have a better selection made.
- Now we have already removed the background and we paste the image of the desert to put it in the background.
- We put the copied image in the background of the desert.

- We give to Control + T to enlarge the image with the shift key pressed (to have the same aspect ratio when enlarged).
- We will have the background in the image.
We can select both layers and touch the levels so that the two layers blend better, especially in the color, luminosity and contrast, or even that Photoshop is the one that assigns these values automatically from Image> Automatic Tone / Automatic Contrast and Automatic Color.