When we create a brand logo it's good to keep a vector version design. Normally, logos have to be implemented in different formats and spaces, and it is not the same to stamp it on an envelope than on a marquee. If we only have the logo in bitmap, we run the risk that when using it in large sizes, the pixels will be seen. If this is your case, you have to keep reading the post because I'm going to tell you how you can vectorize a logo in Adobe Illustrator.
We are going to see two examples, we will create the vector version of a logo designed in Adobe Photoshop and the digital version of a logo drawn on paper.
How to vectorize a logo in Illustrator from a drawing
Create a new artboard and Illustrator

I have drawn a symbol on a sheet of paper and I have taken a photograph of it. We are going to create an artboard in Illustrator, I have given size A4 and I have changed the color mode to RGB.
Make an image tracing in Illustrator
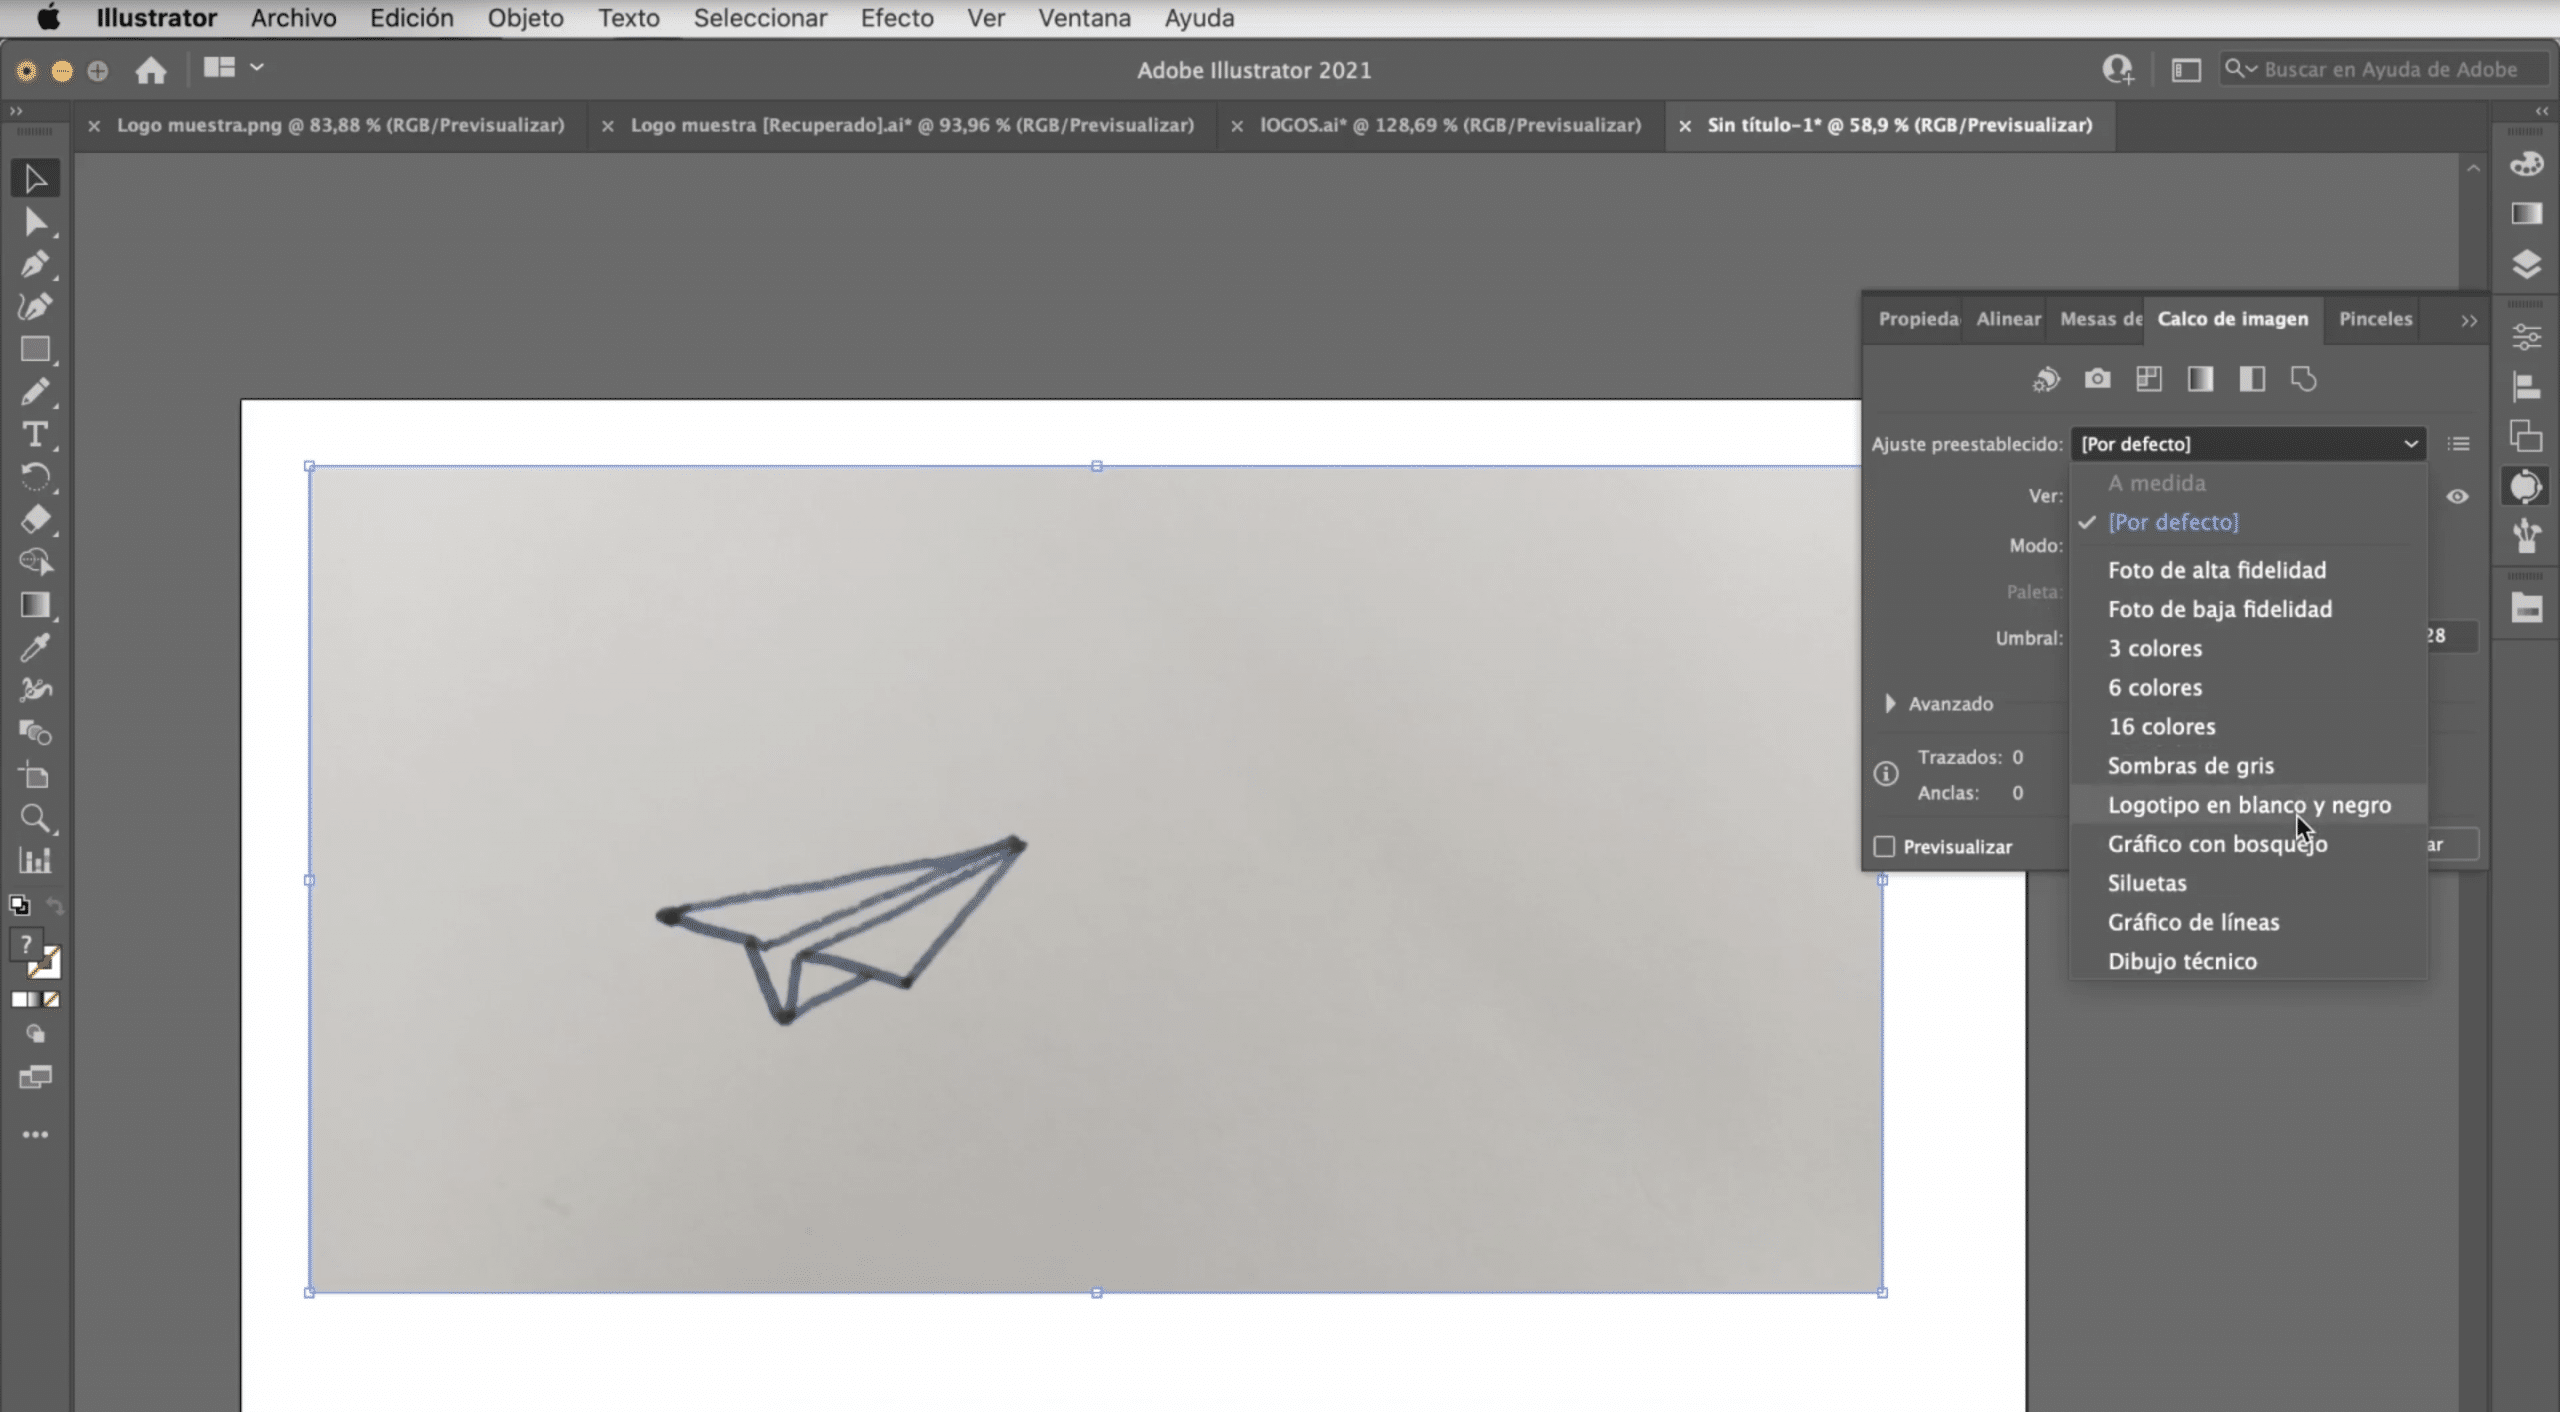
Paste the photograph on the artboard, select it and make an "image tracing". This tool is usually not visible, but you can find it in window> image tracing. As you can see, it gives you several options. There is not one that always works, so you will have to try. In the case of logos, they usually work very well: logo in black and white, silhouette or shade of gray. In this case, we will stick with black and white logo.
How to make your logo editable

Once you have done the tracing, you will have a vector version of the logo. In order to edit it, we need to go to the object tab> expand and by the Ministry of Home Affairs of the Government of Spain with the direct selection tool We can touch each stroke, modify the thickness, change colors, eliminate parts and correct any aspect that does not convince us of the logo.
Add the brand name
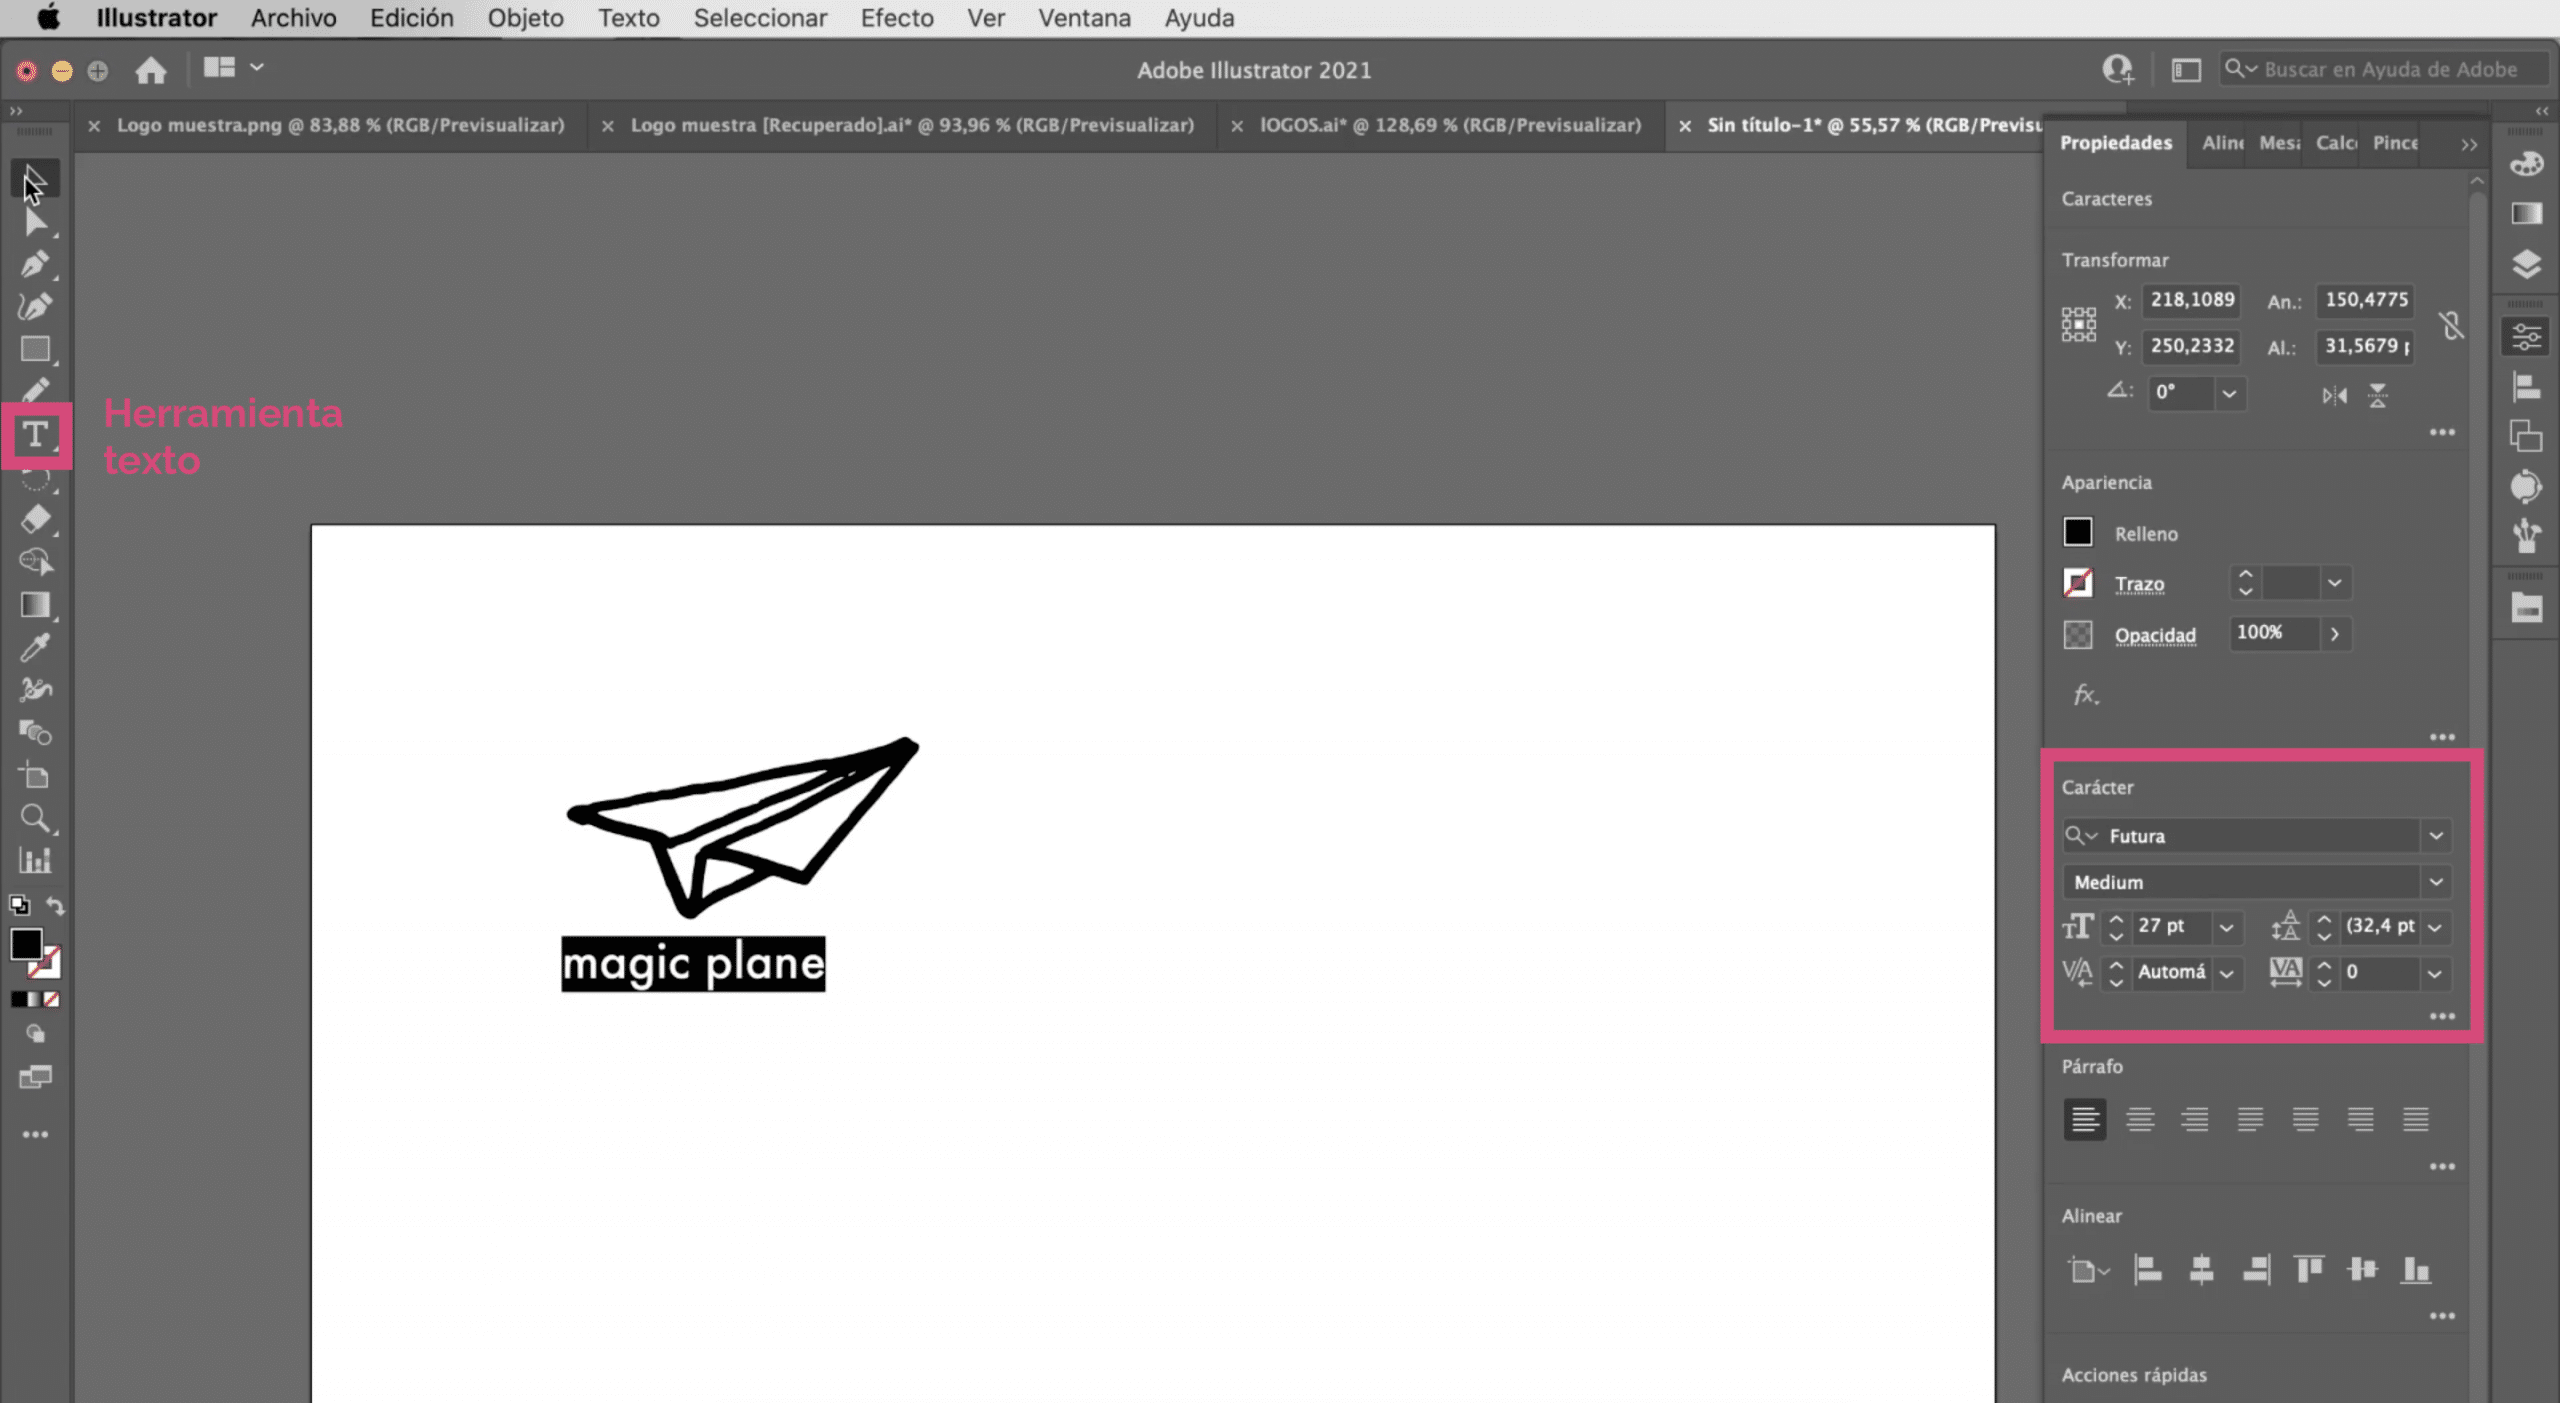
Let add the brand name below the logo. I have opted for the Futura typography and I have given him a 27 point size. Remember to check that all the elements of the logo are perfectly aligned. If you don't have the align tool visible, you can find it in the window tab.
Another option: use the pen tool
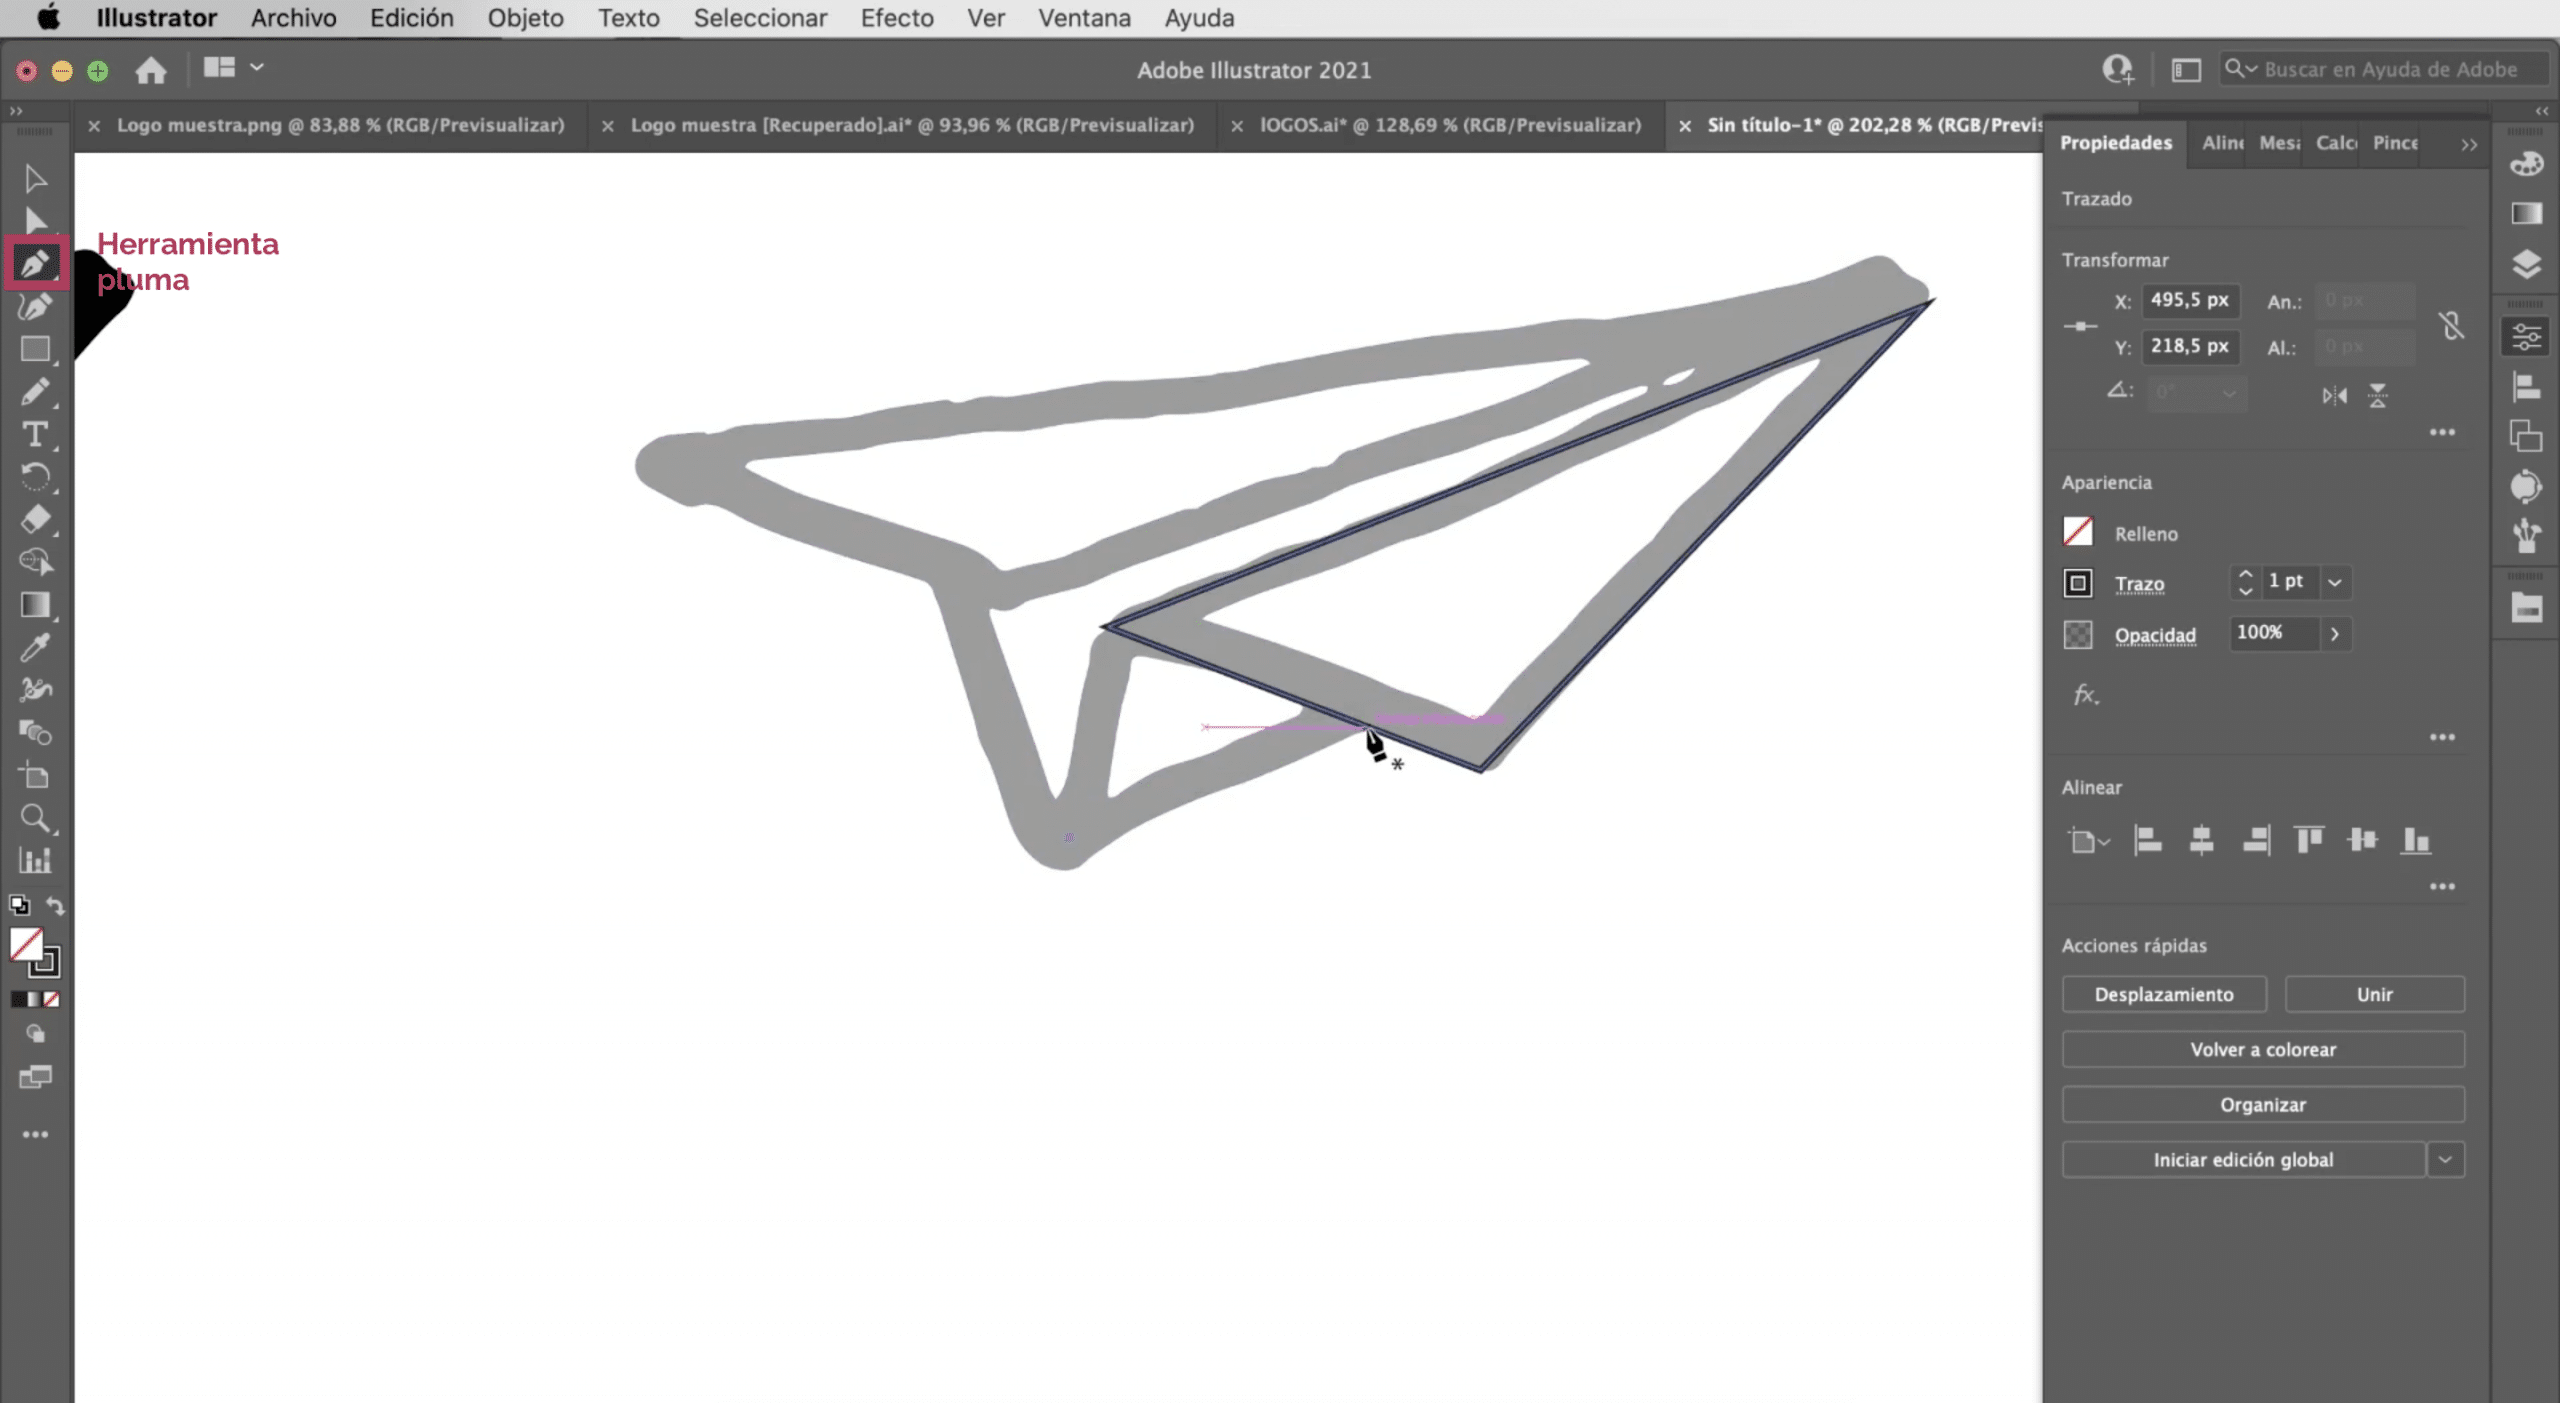
As you can see, although we are already facing a digital version, it continues to be noted that it is a freehand drawing. This is not bad, in fact it can be a sought after style. But if you don't want to keep those kinds of lines, you can always trace by hand. Use the image tracing what have we done as base, give it a very light color and with the pen tool go reproducing the strokes above.
How to vectorize a logo designed in Photoshop
In this other example we have a logo that I have designed in Photoshop. The downside to designing logos with Adobe Photoshop is that this is simple graphics software, it decir, you work with pixels. When designing the logo in bitmap, it may give us resolution problems when we implement it on large surfaces.
Create new artboard
Let create an artboard with the same characteristics as the previous one (A4 sizes, RGB color mode) and we will open the logo in Illustrator.
Make image tracing in Illustrator

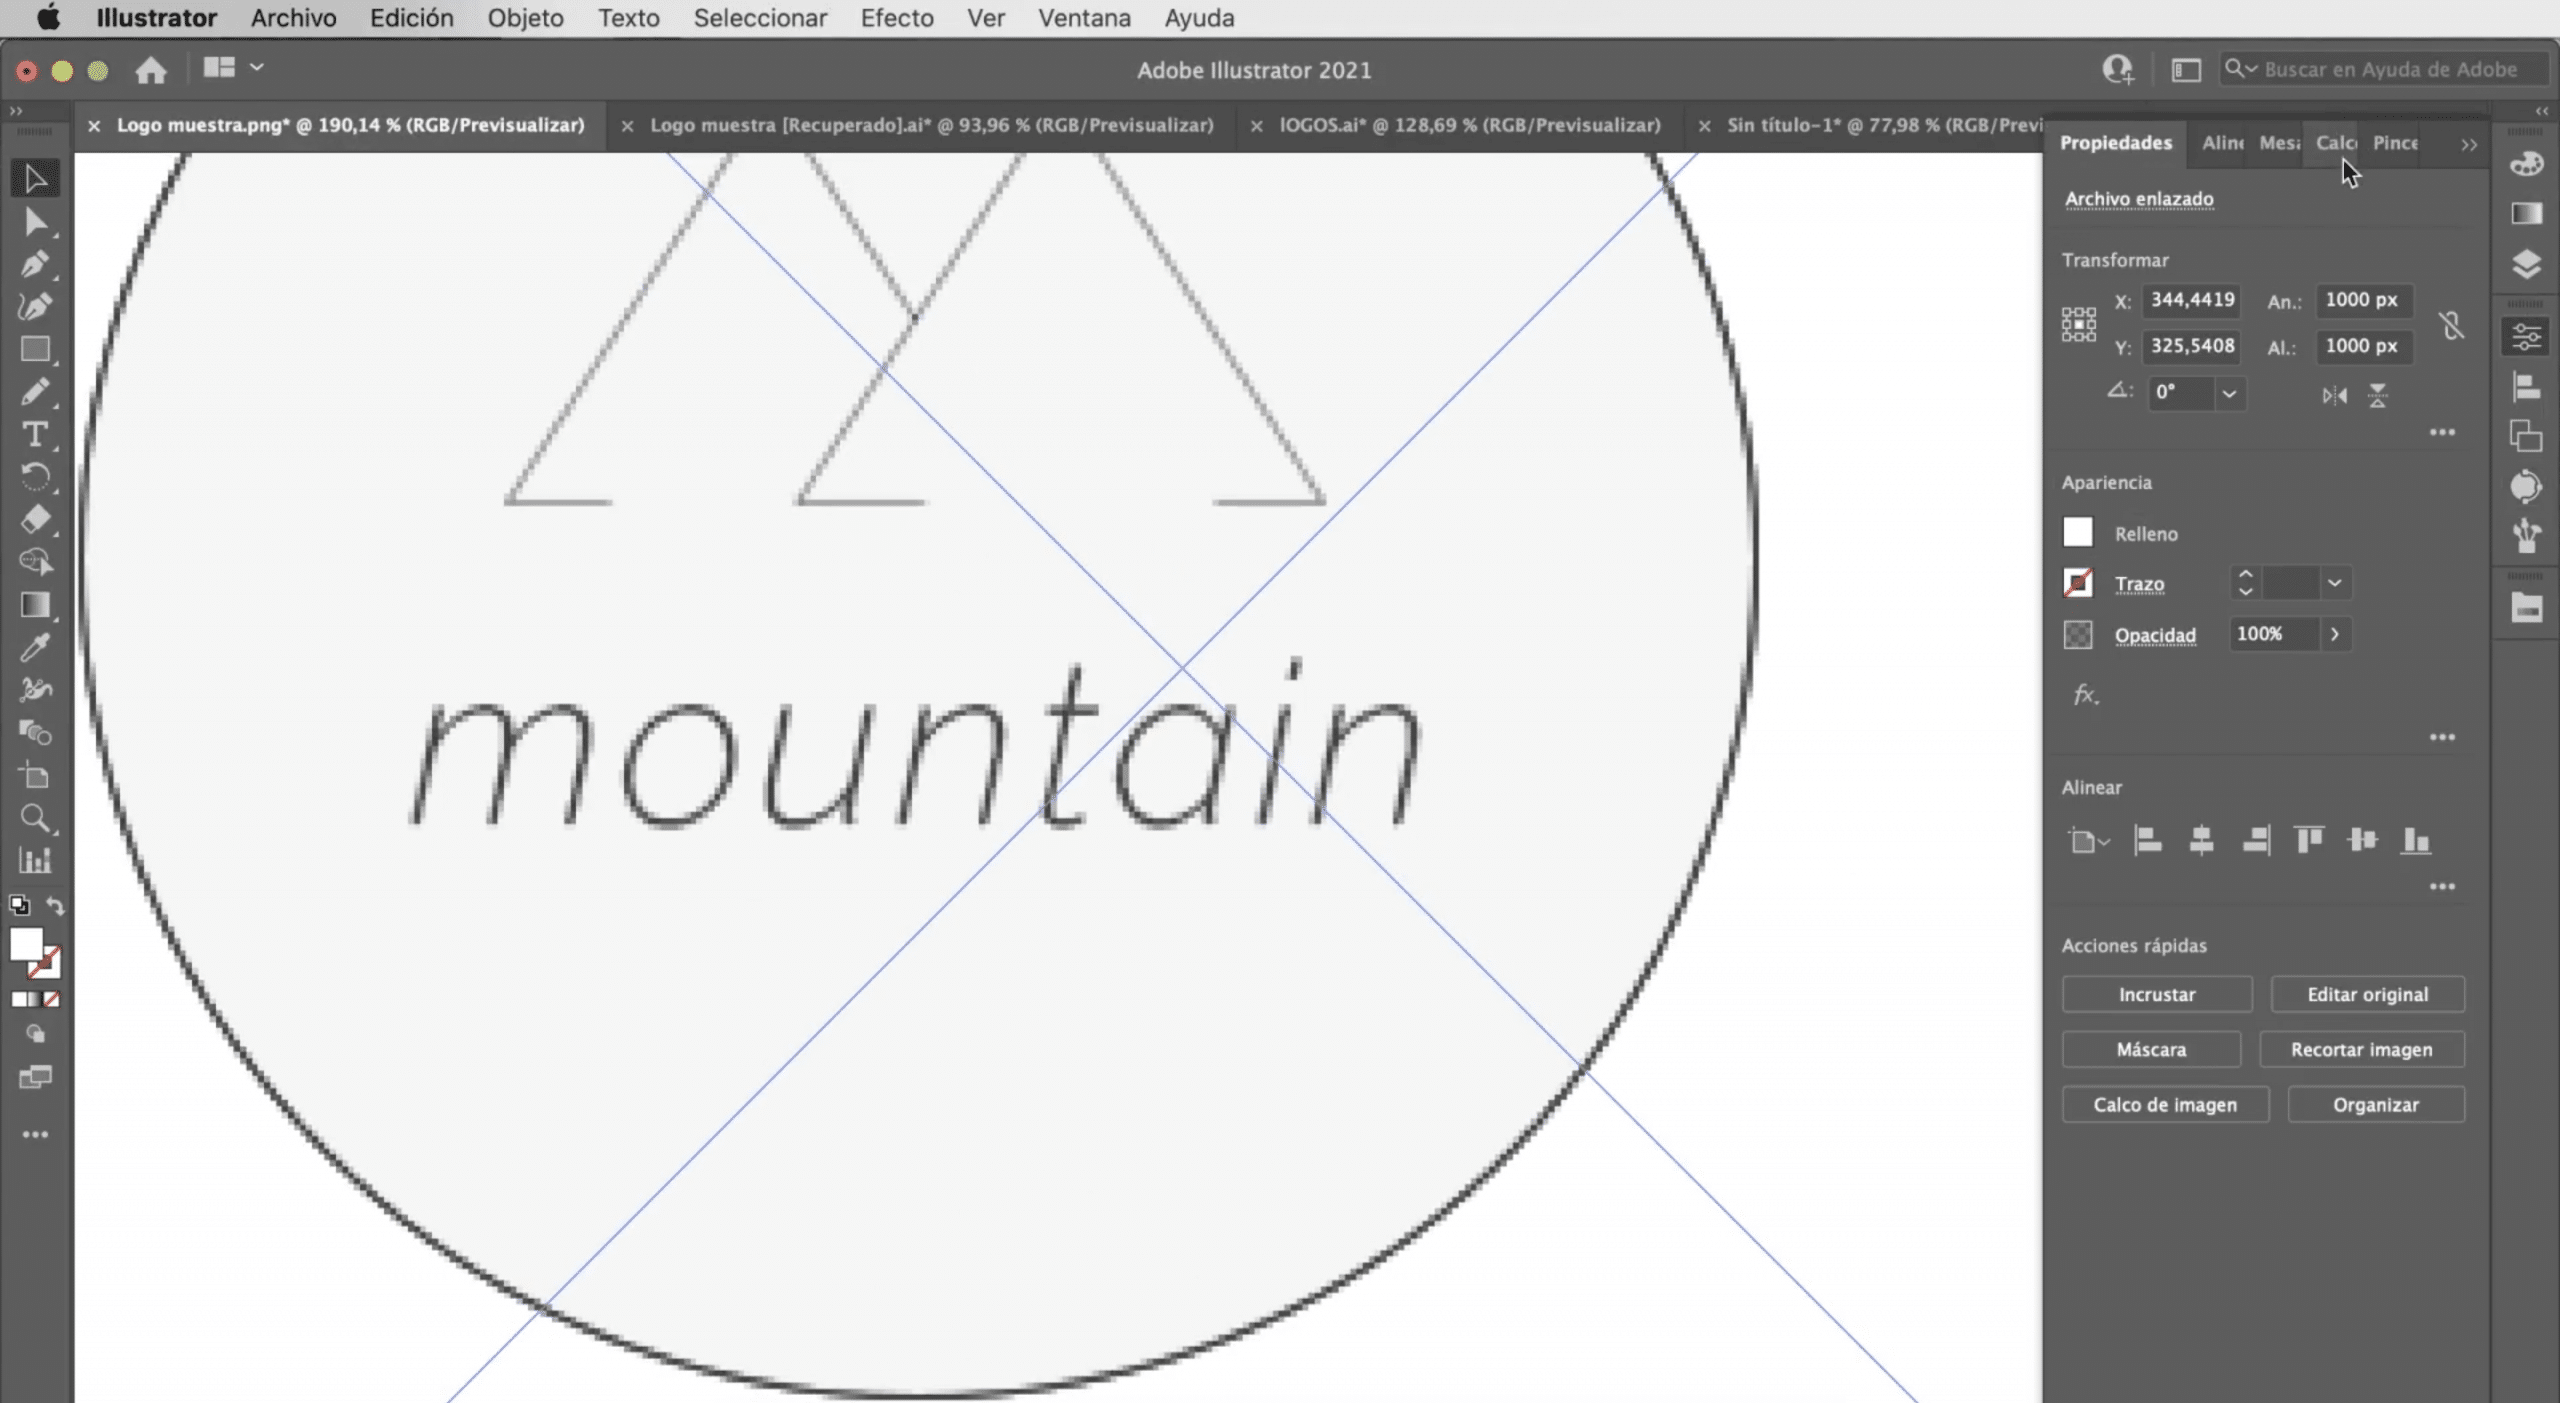
The process will be the same. We will select the logo and we will make an image tracing. In this case the option that works best is "Silhouettes", although as you can see, some details of the logo, such as the color, will be lost and the typography will be damaged.
Modify logo defects in Illustrator
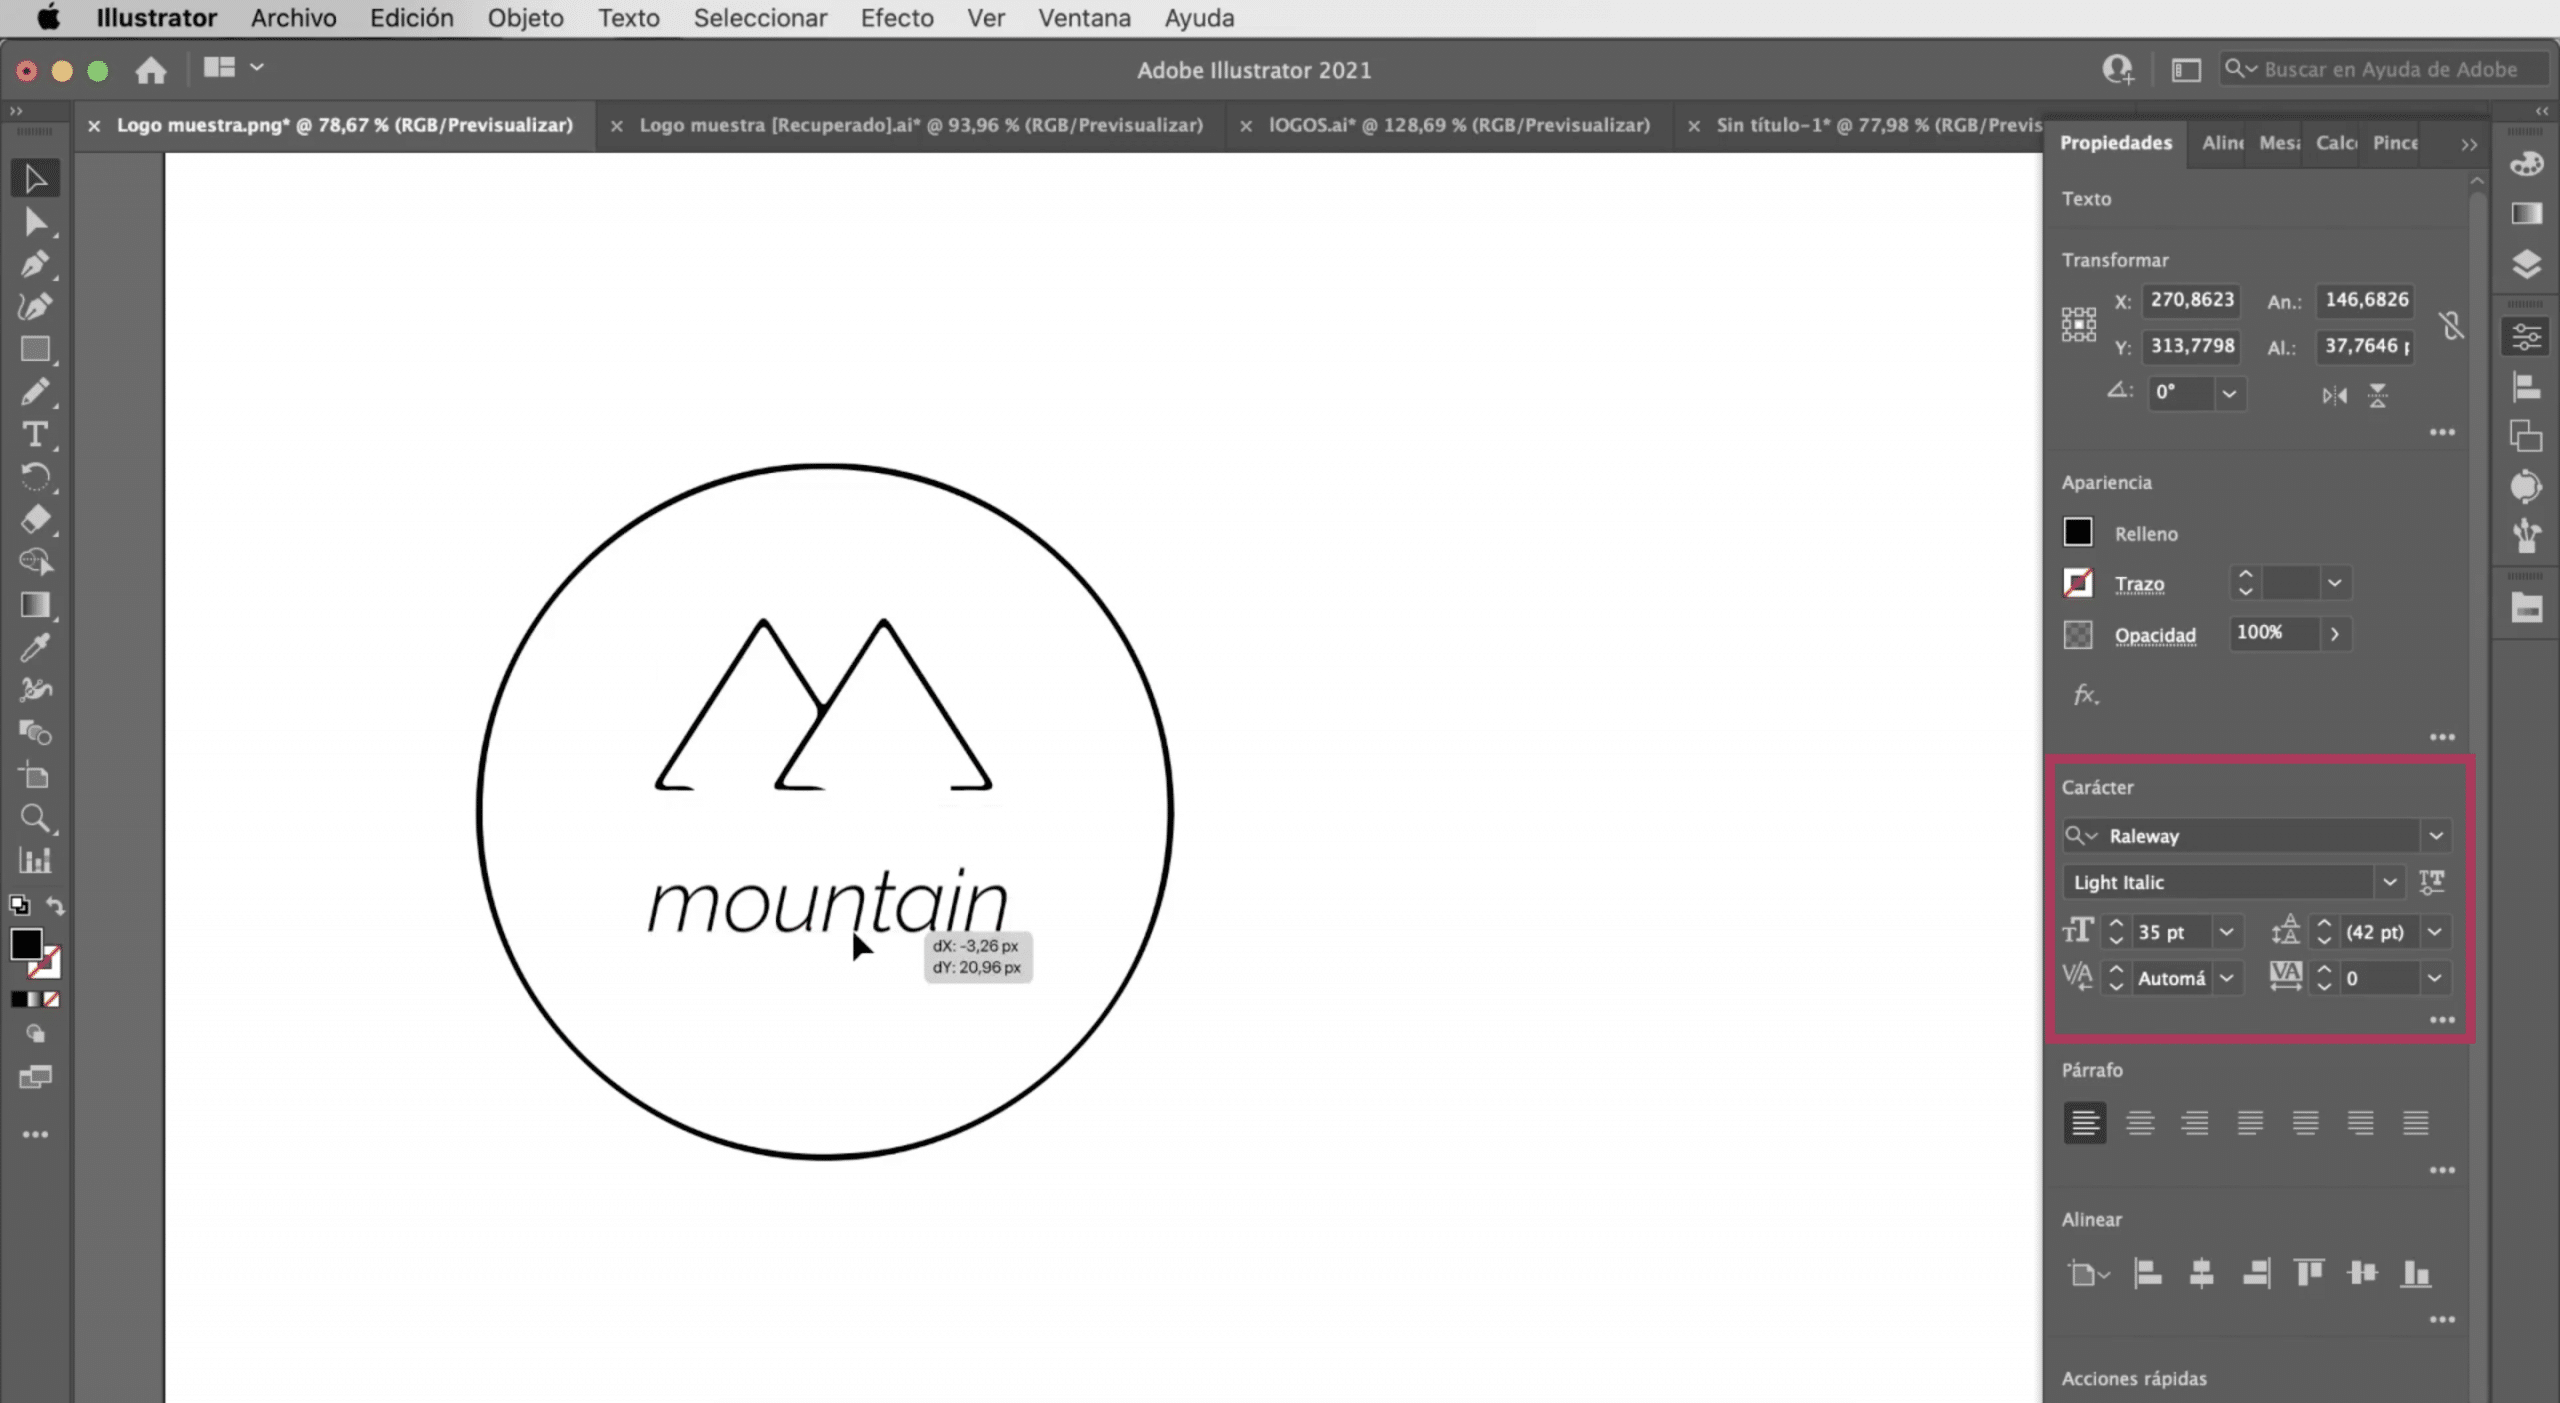
Let's go to the object tab and click on expand. With the direct selection tool, we are going to remove brand name and we are going to add the text with Illustrator, we have chosen the Raleway Light Italic typeface and we are going to give you a 35 point size. Align all the elements of the logo well and you would have it ready.
Another option: use the shapes tool and the pen tool

As we did with the first logo, we can create a new version with the tools of the program. Use the pen tool to trace the mountains and the ellipse tool for the circle.
If you liked this tutorial on how to vectorize a logo in Adobe Illustrator and You want to know more about how to vectorize images in the program do not miss the post that I leave you linked.