
How to deliver a final art to a client correctly it's always a battle for any designer / artist. Most of the time we usually have mistakes that drive us crazy that is why it is necessary to have a series of key notes when doing this. How to deliver a final artwork to a client or, failing that, to a printing company in such a way that we get the work to come out as faithful to our digital design.
Learn to work with the client in such a way that both can communicate correctly, know fundamental aspects necessary to submit a design to print, create a list for check for possible errors and to be able to correct them in time. Slowly errors will decrease and the work rate will be more fluid if we correct the errors in each new graphic project.
The first thing we have to know when we get into a graphic project is to be clear from the beginning that the client is not a designerTherefore, we must treat it in a way that is comfortable for it, avoiding using too many technical technicalities.
Understand that the client doesn't know about design and that it does not have professional programs is one of the fundamental points that we must understand first of all.
The client does not know about formats, neither of color spaces, nor of programs, for that reason when we send a file it is advisable to do it in formats that are readable quickly and without the need to have any program installed, a good format is the JPEG. This first contact helps us to send you proposals that are not yet final, for that reason we can send you the design in JPEG.
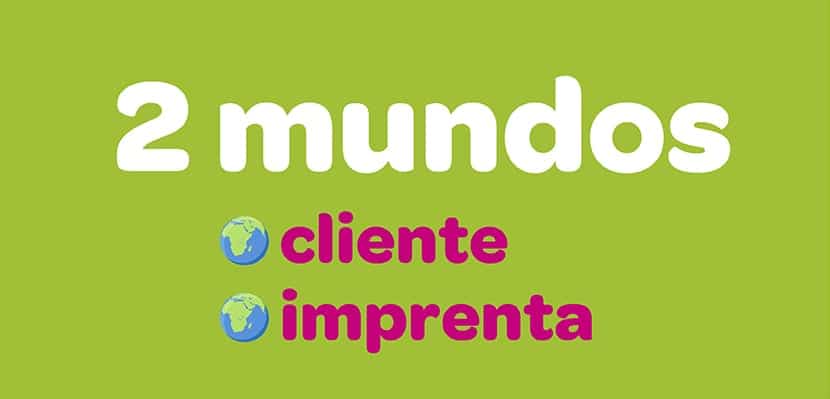
On the other hand, we have print, this is where we can talk about formats, supports, programs and all kinds of technicalities because they they are graphic arts professionals as well. When sending a final art to a printing company we must review a number of technical aspects:
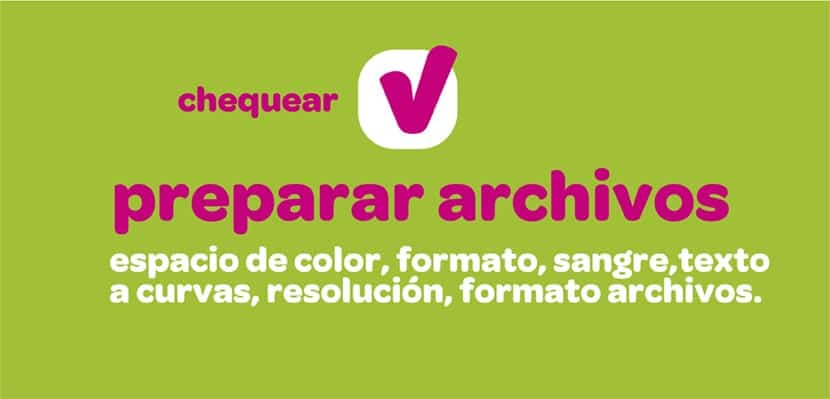
- Convert fonts to curves
- CMYK color space (ink color)
- Check document dimensions
- High resolution in images
- Blood
- File format
These technical aspects are essential to achieve a good print result. and not go crazy about possible last minute mistakes. Next we will see how to carry out the steps mentioned above with some design programs.
Convert typography to curves It is essential to avoid changes in the typeface when we are going to send a final art to the press, it is not unusual to find a different typeface in our design because of this mistake that can be corrected in a second. For convert text to curves en Illustration we just have to select all our text and in the upper menu press the option text / create outlines. After doing this, our typography will become contour and you will not have problems when sending it to the press, we must check that the text is correct because since we move it to contour we won't be able to write any more text.

El color mode It is something very basic in a graphic project, we have to know that there are two main color spaces:
- RGM (light color / screen color)
- CMYK (ink color / printing)
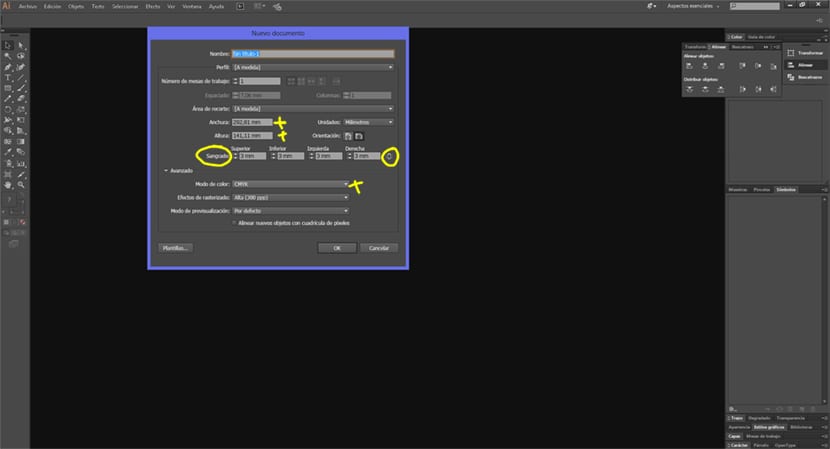
Based on this we must work with the CMYK color mode if our design is to be carried printing subsequently. Can check the format of our design and blood at the same time we choose the color mode.
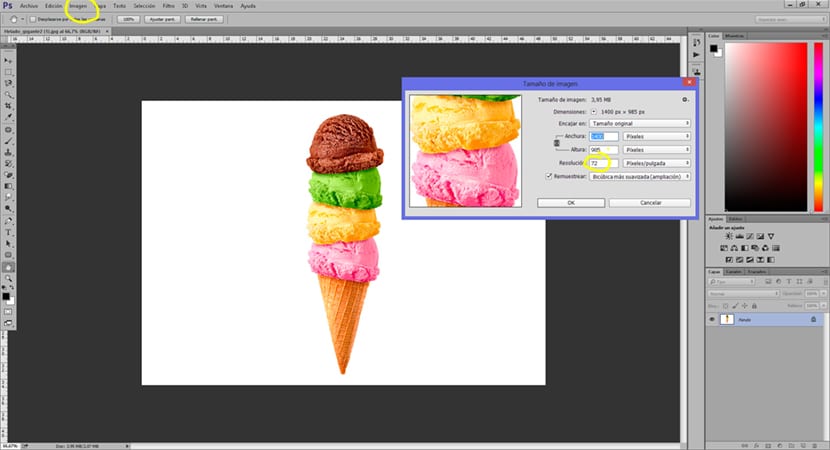
There is nothing uglier in a graphic project than seeing poor quality and pixelated imagesFor this reason, we must ensure that all our images have the necessary quality to prevent them from losing sharpness once printed. For check image quality we can do it in Photoshop going to the top menu and pressing the image / image size optionIn this section we will see the size of our image and its resolution. It is best to work with 300 dpi quality in the images and can even lower it to 240 dpi, anyway the recommendation is do a printed test to check that all images are sharp enough.
The blood is a fundamental element when it comes to making graphic projects that will be printed on paper because printing on paper implies a guillotining process that can have a error range and cause a white steak in our final design, for that reason to avoid this common mistake we add a blood margin to design. The most normal thing is to add some 3mm of blood On both sides of the design, but depending on the printing company, other measurements can be requested. We must consult this information as soon as possible to avoid future errors.
Whatever the measure of our blood, the system is always the same, first expand color or images outside of our format (original design size without blood) up to the limit of blood, it is recommended leave a little margin for error inside our work area also avoiding adding important text or images to the edges of the final format.

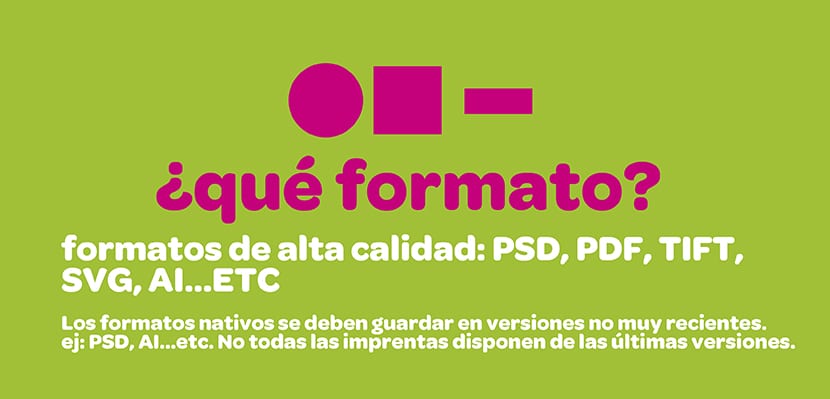
The format of an image must be adapted to the needs of the printing pressFor this, we must first know what formats they use, once we know these data we will send the final art with that type of format. Depending on the printer we they can request one format or another, some well known are: PSD, AI, SVG, TIFT, PDF ... etc. Always we must avoid sending final art in formats with loss as is the case with JPEG. If we ship it with a native format (PSD, AI, ... etc) we must always send it in a not very recent version, not all printers have the latest versions of the programs.
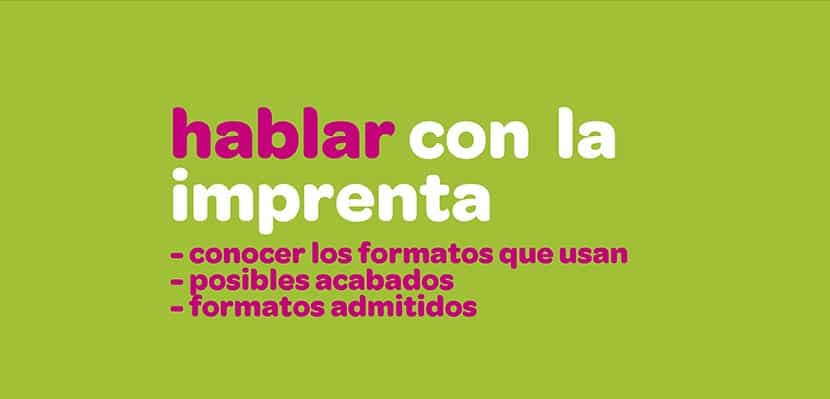
After doing all this we are ready to send our design to printing and hope not to make any mistakes. Visit the print shop to know what type of services they offer and what are the technical data necessary for the final art to be sent.
We have to be clear that taking a design to print is always a challenge in each new project: last minute changes, errors, technical errors and many other factors can appear and play a trick on us. Following this small guide and reviewing our designs before taking them to print, we will be able to reduce the possible errors that may arise.
Other posts that could help you:
- Pinterest: a tool between client and designer
- How to take the design to print without dying in the attempt